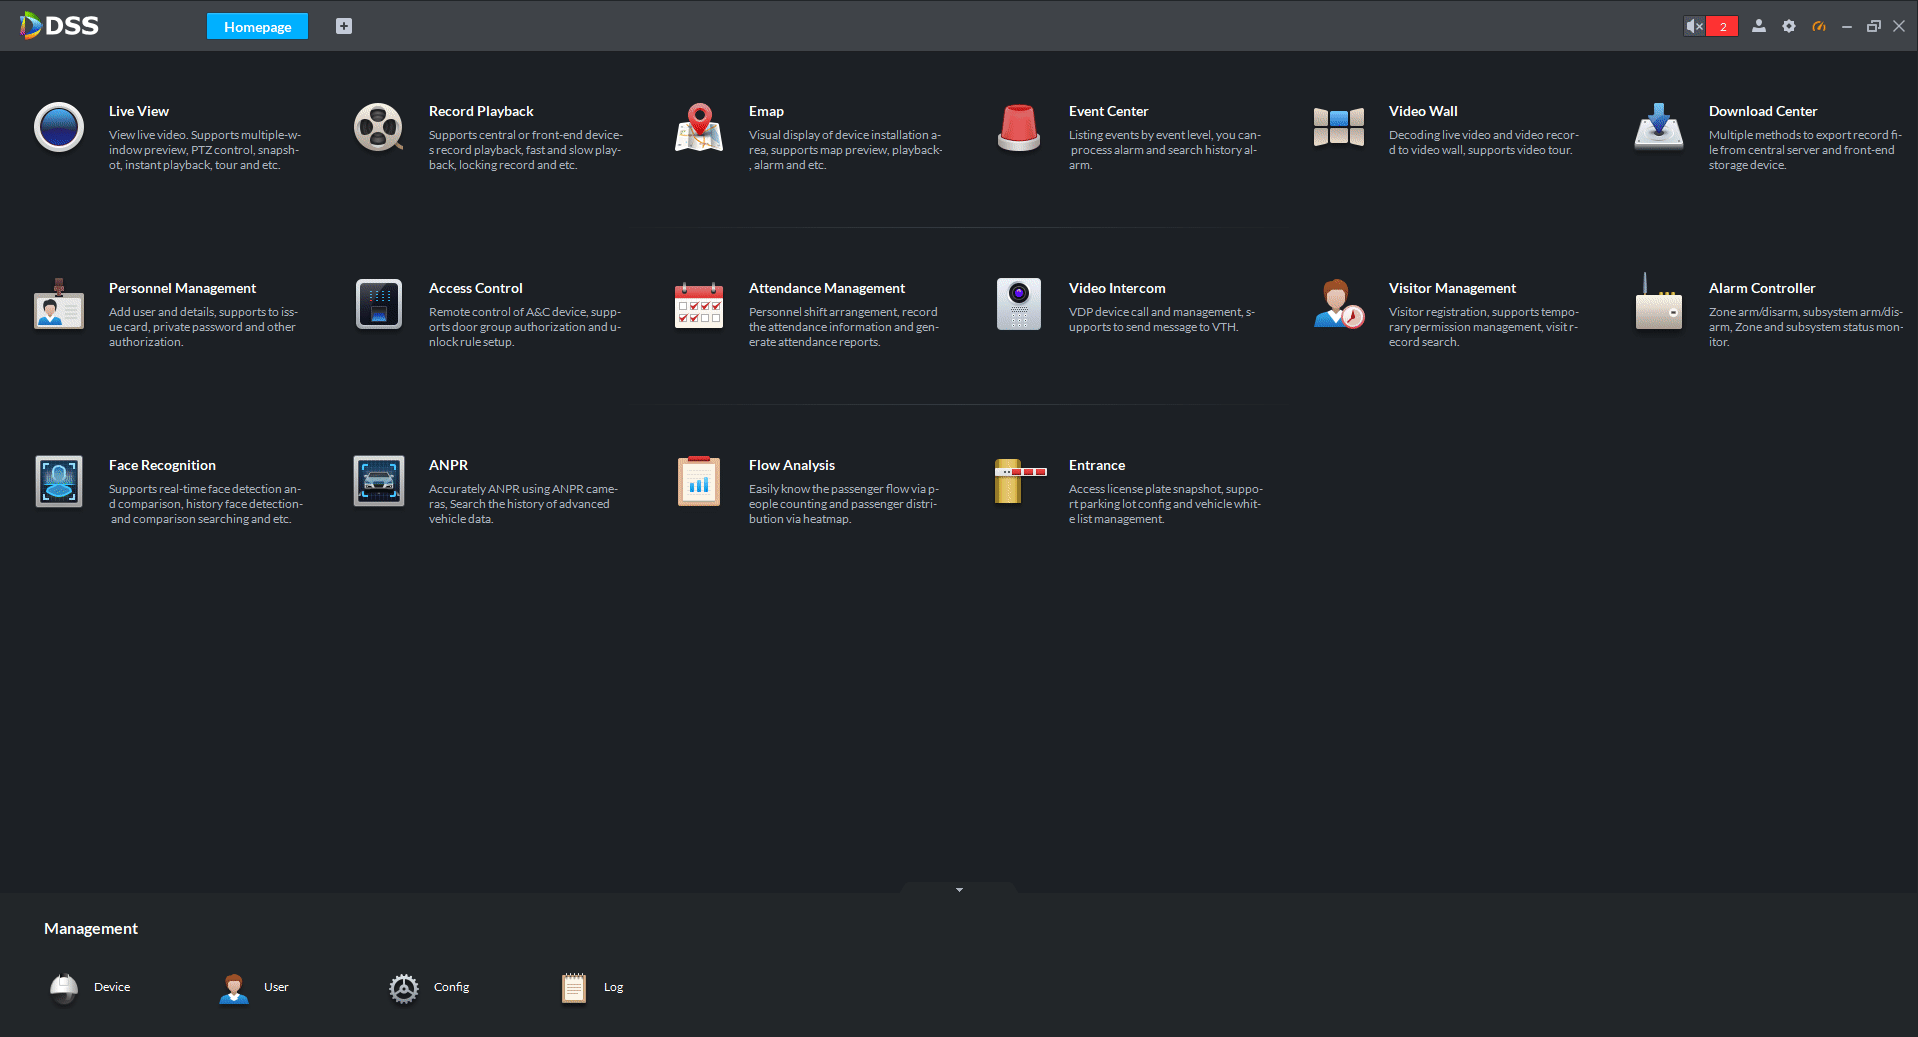
Live View
How to Live View Cameras
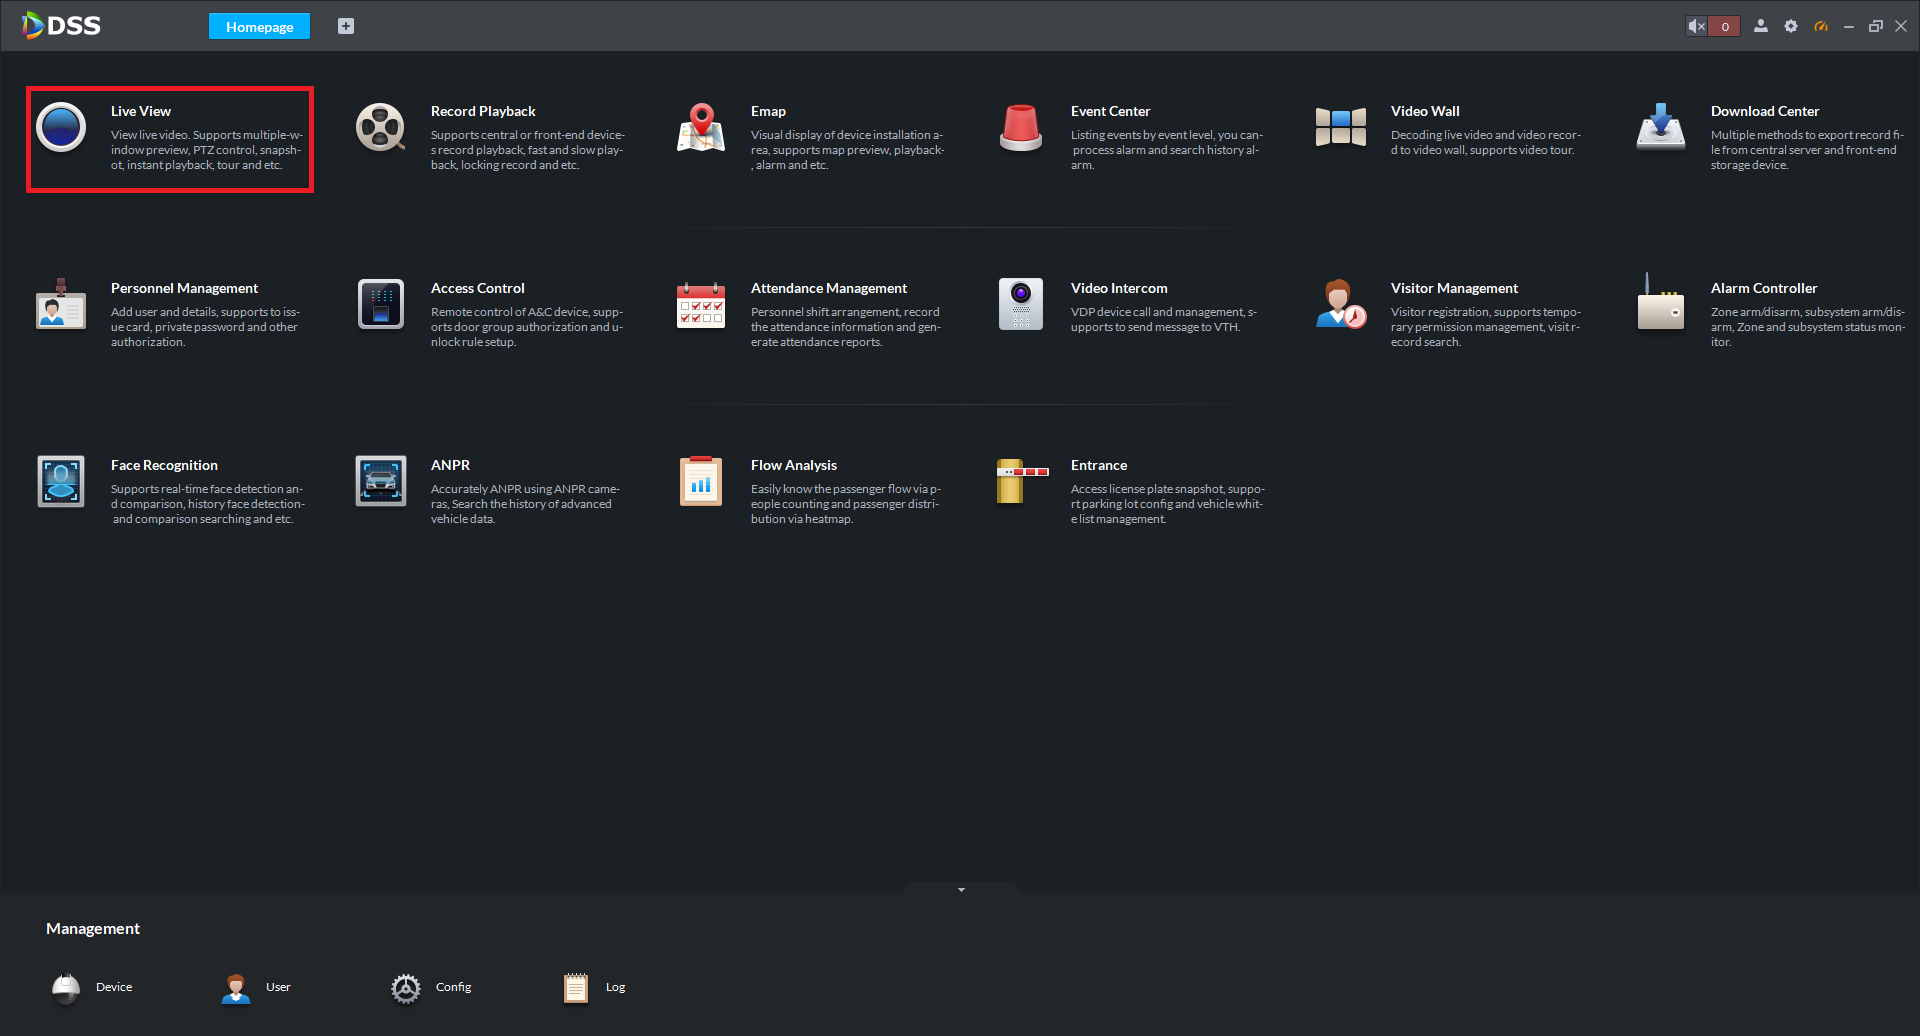
1. Open DSS and Login with your account details.
2. Select Live View.
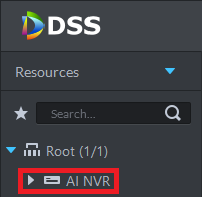
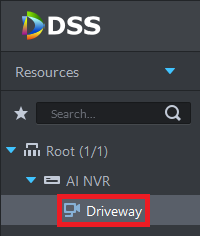
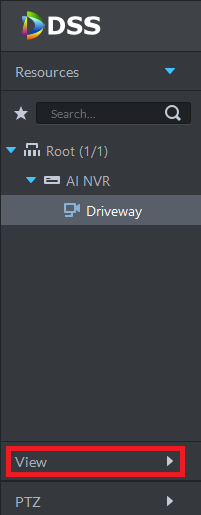
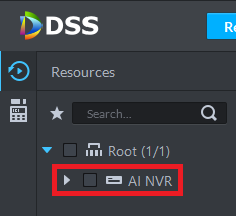
3. Expand the device/s on the left side to find the camera/s that you wish to view. Alternatively, type the name of the camera in the search box and press the magnifying glass.
4. Once the camera has been found, double-click on it to view it.
Demonstration
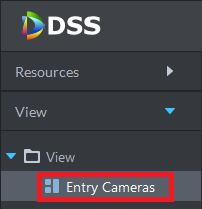
Saving Live View Templates
Saving Live View's allows for grouping of cameras, to allow you to quickly bring up multiple cameras on one page, in a select order.
1. Open DSS and Login with your account details.
2. Select Live View.
3. Select which Window Split you will be using, 4 way split for 4 or less cameras, 9 way split for 9 cameras or less, etc.
5. Select the Save button.

6. Enter the Name for the view, and select OK.

7. Select the View tab.
8. Double-Click on the View that you have created, to load the cameras from the view.
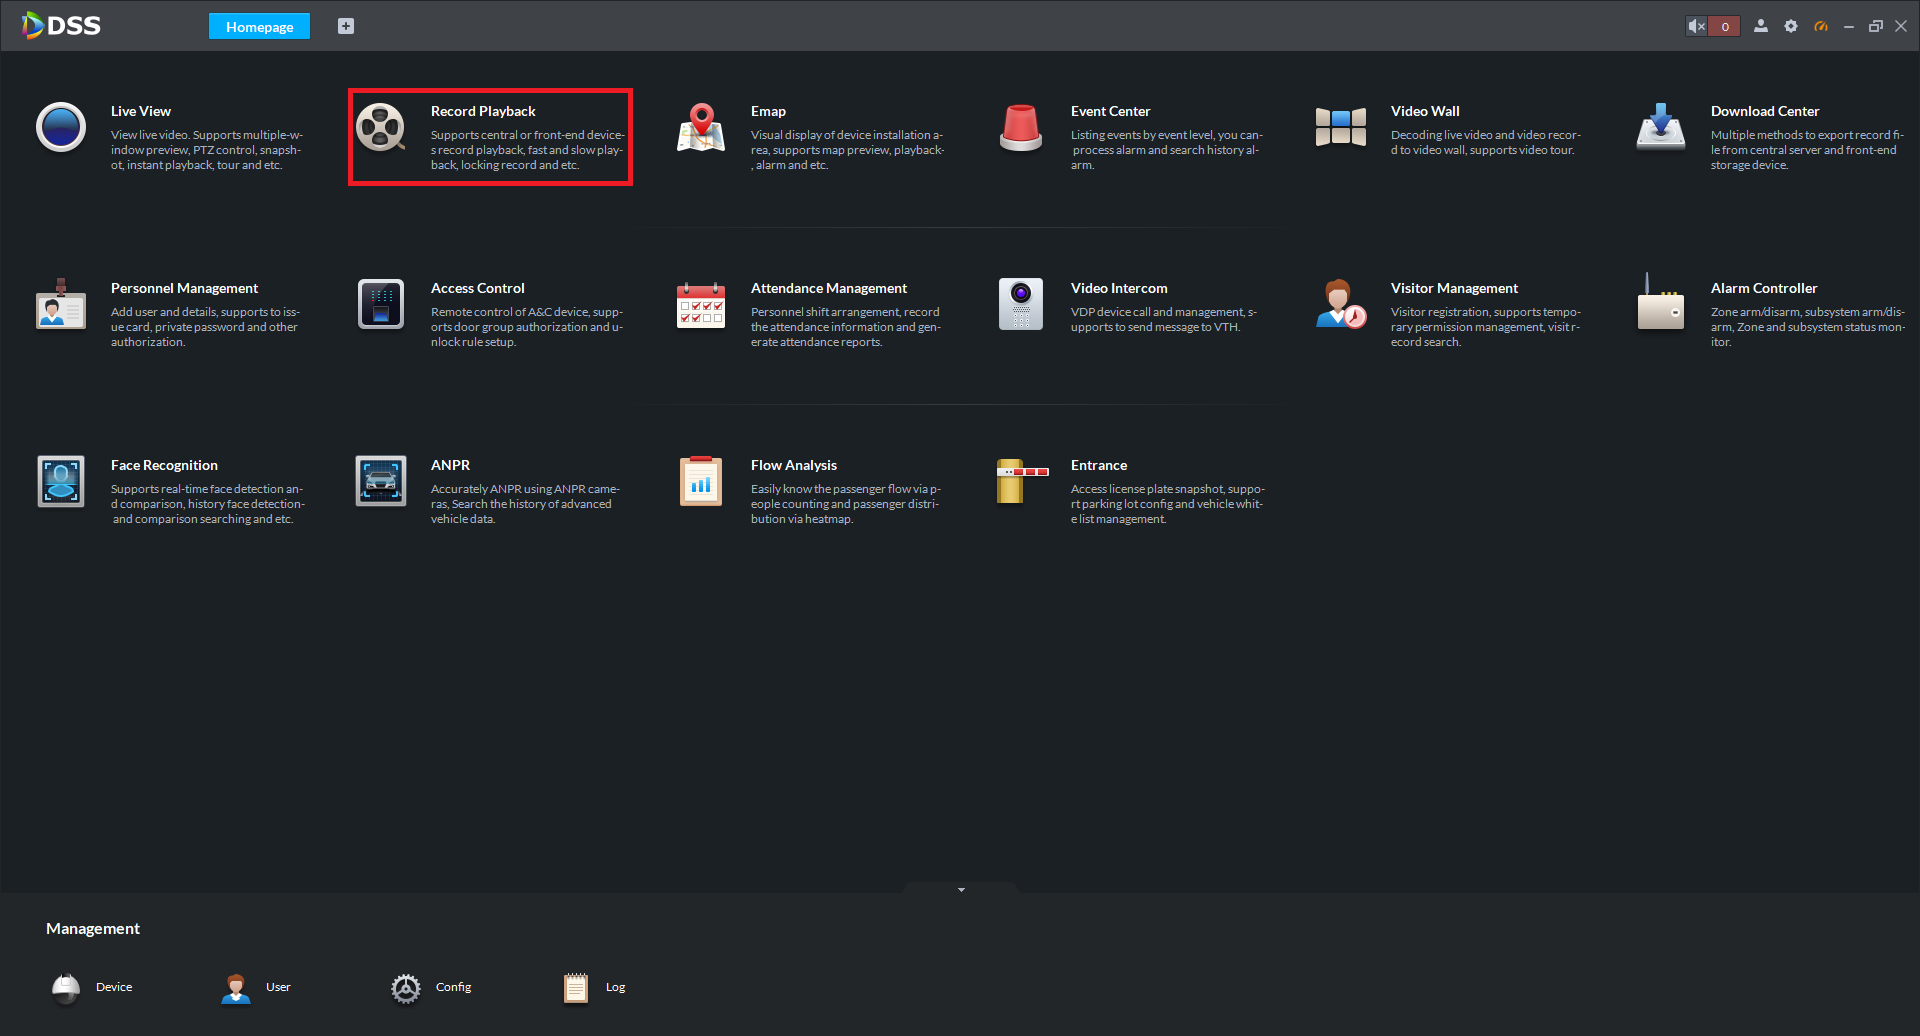
Playback
Playing Back Footage
1. Open DSS and Login with your account details.
2. Select Record Playback.
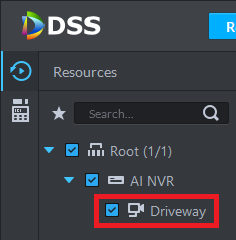
3. Expand the device/s on the left side to find the camera/s that you wish to playback. Alternatively, type the name of the camera in the search box and press the magnifying glass.
4. Put a tick in the box next to the camera/s you wish to play back.
 5. Select a start and end date and time. Select Record direct to recorder, then select Search. The days that are highlight blue, are days where there is recorded footage.
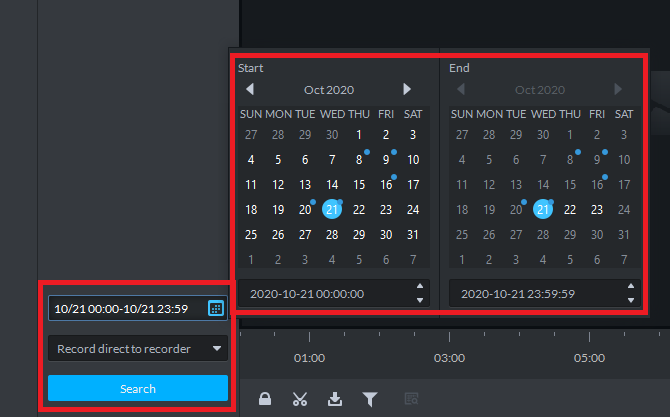
6. The timeline will now be populated, press the play button to start play back. Grab the blue line with the mouse and drag it around to skip through the footage.

Backing Up Footage
Follow steps for Playing back footage in full, then follow the below steps.
1. Press the scissors button.

2. Select a point on the timeline you would like to start the backup from, then select the end point.

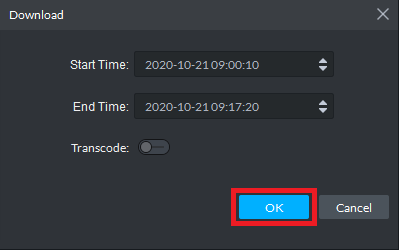
3. A prompt will appear, and you can adjust the time if required. Select OK to start the backup.
4. The download will now begin. By default, the backed up footage will be save in C:\DSS\Client\Record\
Playing Back Saved Footage and Exporting to AVI
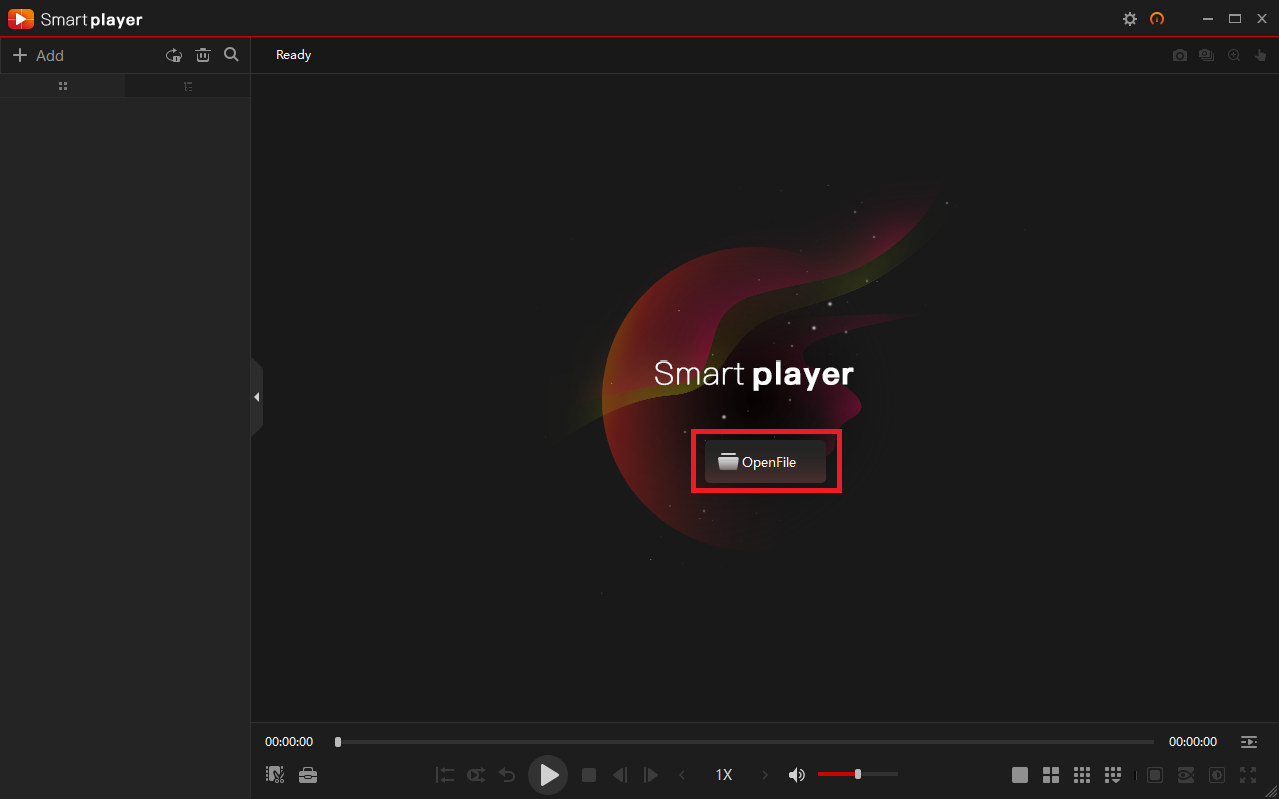
1. Open Smart Player - download link.

2. Select OpenFile.
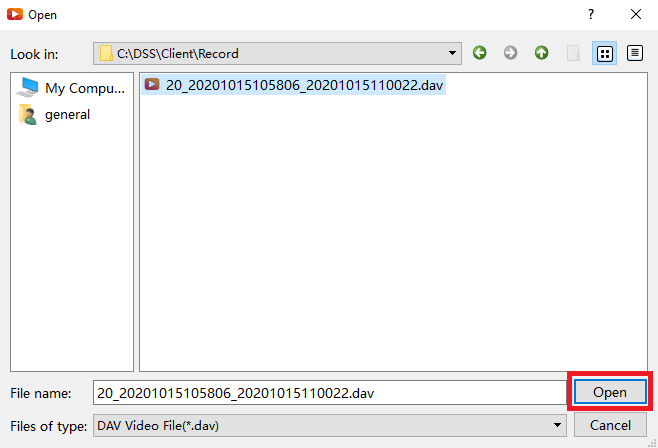
4. The footage will now begin playing back, use the controls to fast forward and rewind.

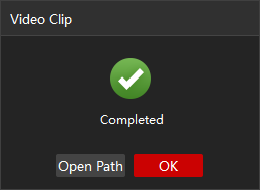
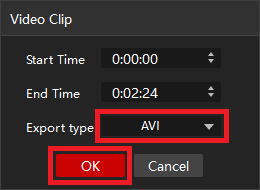
5. If you wish to export the footage to AVI, select the Video Clip button.

6. Select Export Type to AVI, and select OK.
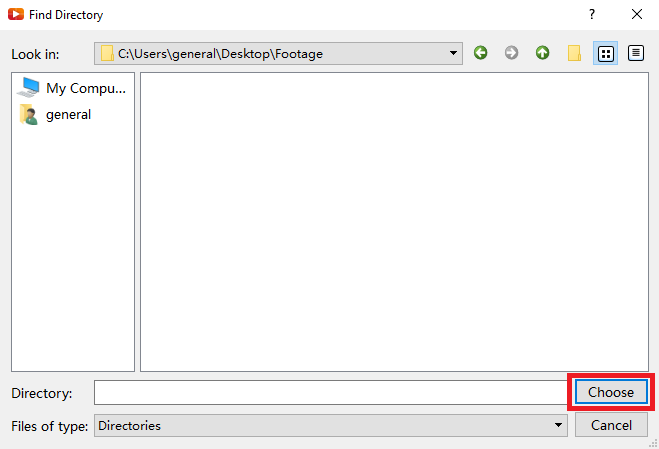
7. You will be prompted to find a directory to store the new file. Once you have selected a folder, select Choose.
8. The backup will now be completed.