FTP stands for "File Transfer Protocol". It is a network protocol for transmitting files between computers over local networks or the internet.
FTP is used when you would like to store footage or snapshots from a camera or recorder to a FTP server.
Primarily in CCTV scenarios, it is used to store snapshots directly from a camera.
In the below steps, we will be configuring a standalone camera to send snapshots to an FTP server that is remotely hosted. The snapshots will be taken every 10 minutes from 6am to 5pm Monday to Friday. This is typical of a camera setup to take snapshots to create a time lapse video when a construction project is underway.
Step 1 - Setup FTP Server
An FTP server can be on the local network, or hosted remotely. Knowledge of computer networks is required if you are going to setup your own server.
Alternatively, services such as http://couchdrop.io offer this service.
When choosing an FTP service, SFTP (Secure File Transfer Protocol) is recommended.
After a FTP server has been setup, it is recommended to connected to it with an FTP client to ensure it is working correctly. A simple to use client is FileZilla - https://filezilla-project.org/download.php
Step 2 - Camera Setup
Camera FTP Setup - New GUI (White/Blue)
The camera must be connected to the internet directly, not through an NVR's PoE port. A computer is required as you will need to log into the camera's the web interface.
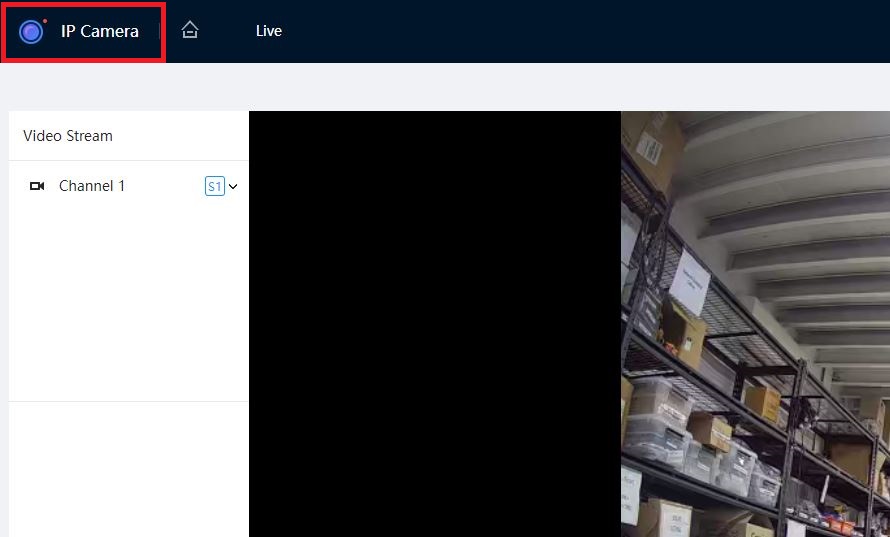
1. Log into the cameras web interface.
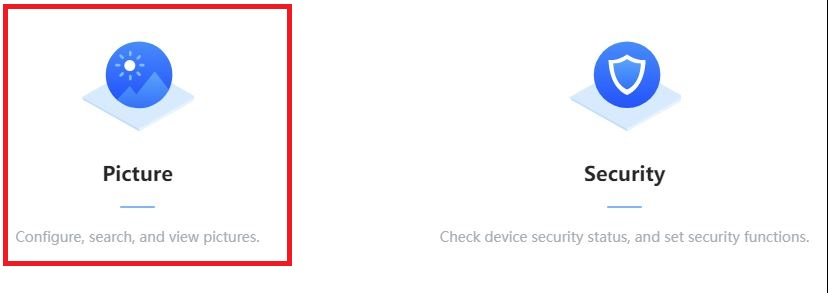
2. Select Picture, depending on Firmware Version/Camera Model, may have to Scroll to second Menu Screen.
3. Under Picture > Snapshot set Type to event. Select Apply. 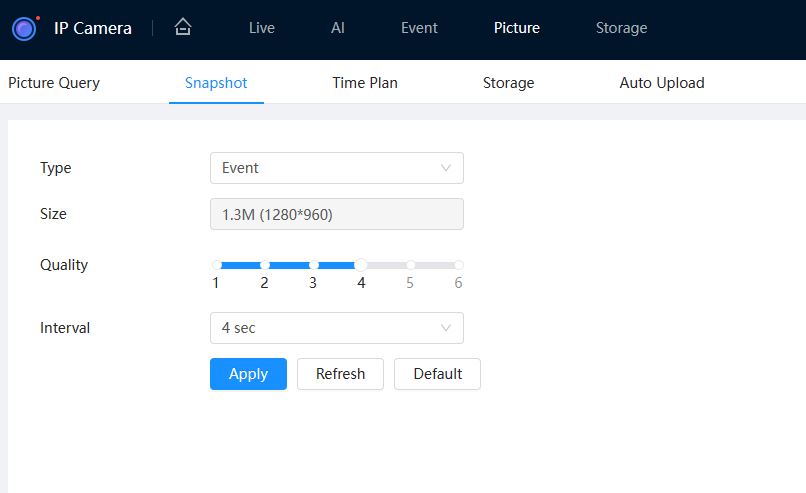
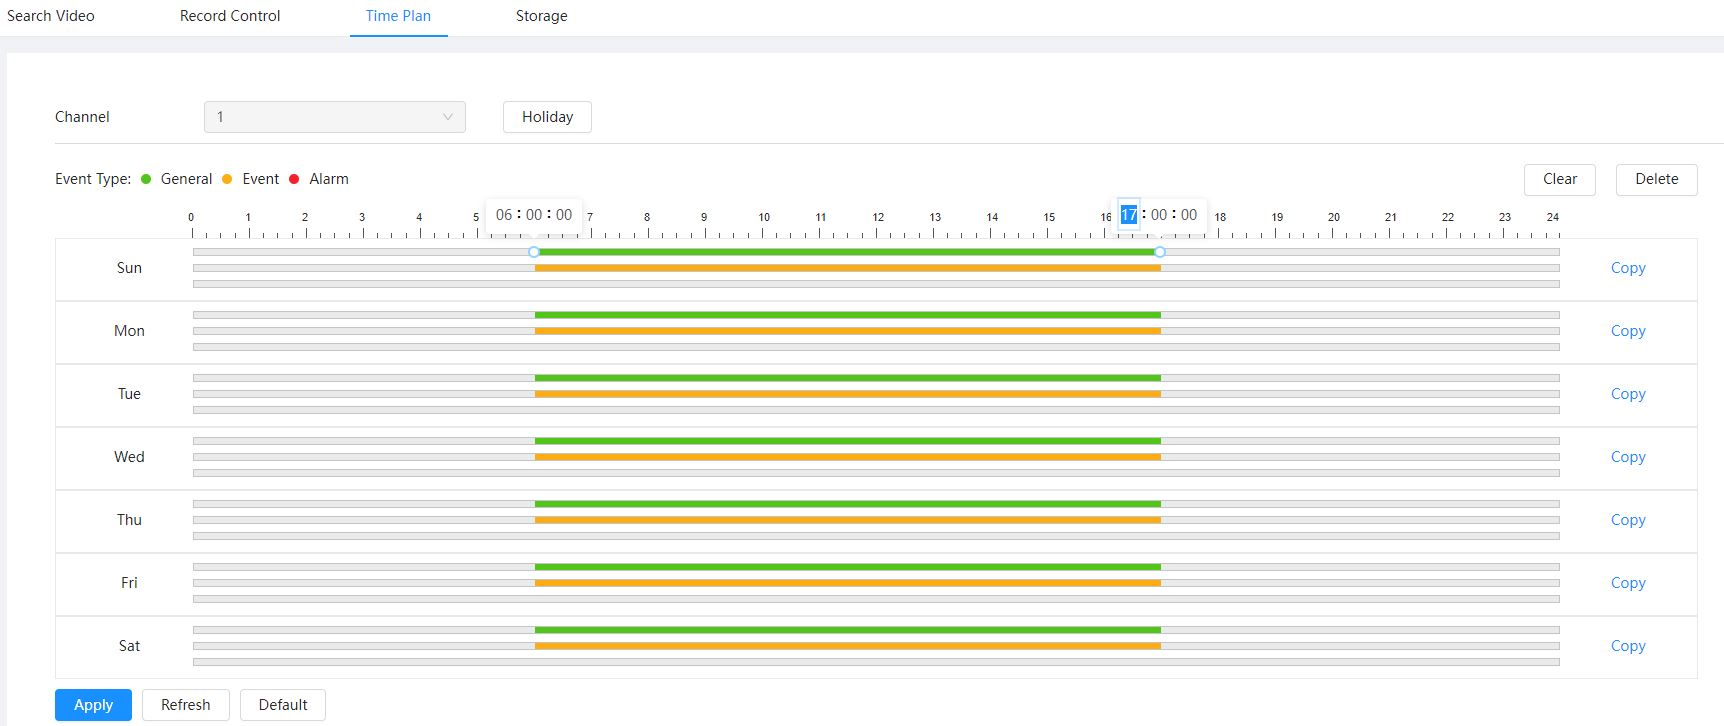
4. Under Picture > Time Plan, Set the schedule to take snapshots to suit your requirements, Select Apply.
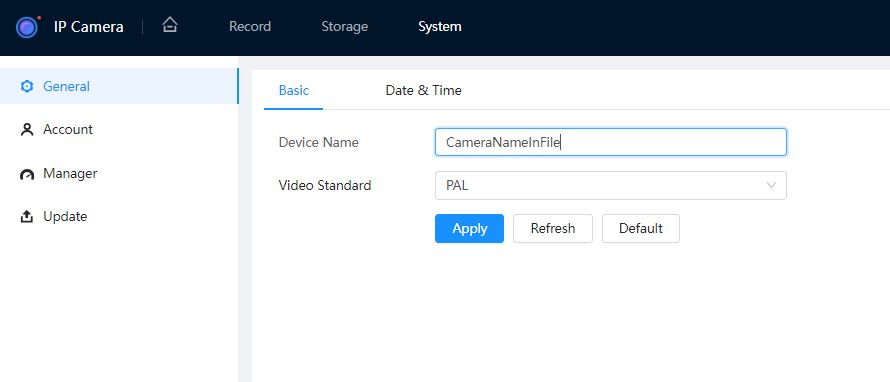
5. Before you being to setup FTP to the camera, you will need to set the name of the camera. This ensure that the files stored on the FTP server will be organised. System > General > Basic.
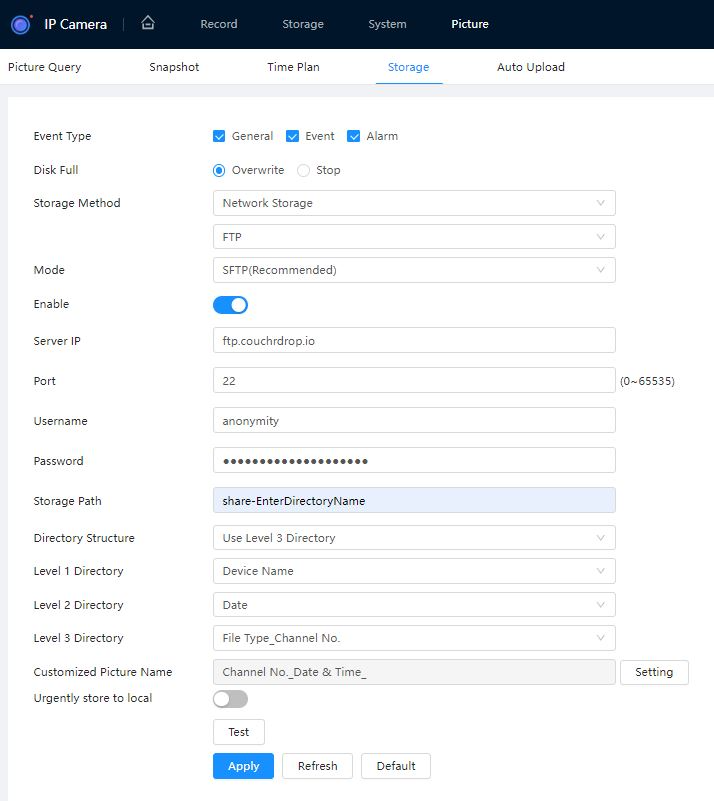
6. In Picture > Storage Change Storage Method to Network Storage and to FTP. Select Apply.
7. Leave Mode on SFTP and enter the Server Address, Port, Username, Password and Remote Directory. Select Save. Select the Test button to check the server connection. Note: Not every model camera has Directory Structure or Customized Picture settings. Click Apply
Camera FTP Setup - Old GUI (Grey)
The camera must be connected to the internet directly, not through an NVR's PoE port. A computer is required as you will need to log into the camera's the web interface.
- Log into the cameras web interface.
-
Under Video > Snapshot set the interval to 600 (10 minutes). Select Save.

- Under Storage > Schedule > Snapshot, Set the schedule to take snapshots to suit your requirements. In our example it is set from 6am to 5pm, Monday to Friday. Select Save.

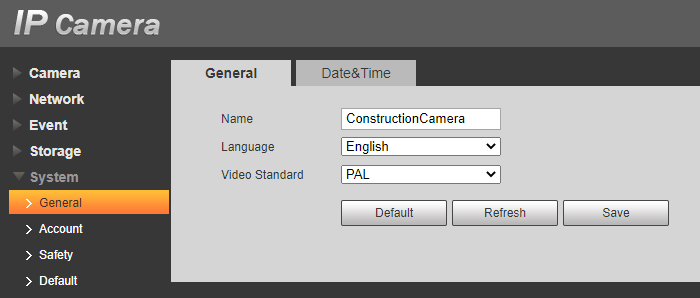
- Before you being to setup FTP to the camera, you will need to set the name of the camera. This ensure that the files stored on the FTP server will be organised correctly. This setting is located under System > General.
- Under Storage > Destination > Path select the snapshot location to be FTP. Select Save.

- Under Storage > Destination > FTP, Enable SFTP and enter the Server Address, Port, Username, Password and Remote Directory. Select Save. Select the Test button to check the server connection. Note: Not every model camera has Directory Structure or Customized Picture settings.
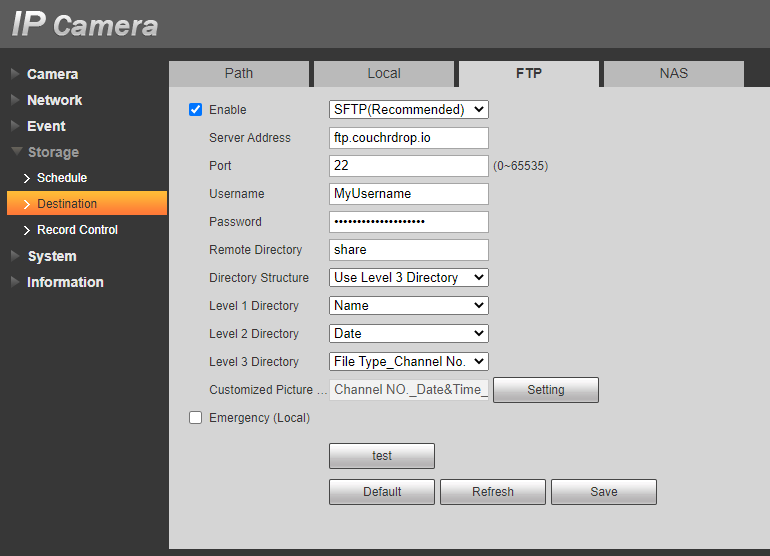
- Select test. It can take up to 1 minute for this test to be performed. If the test fails, ensure the SFTP details are entered correctly.
