Camera Overlay Display Options
(Black UI) Camera Overlay Display Options
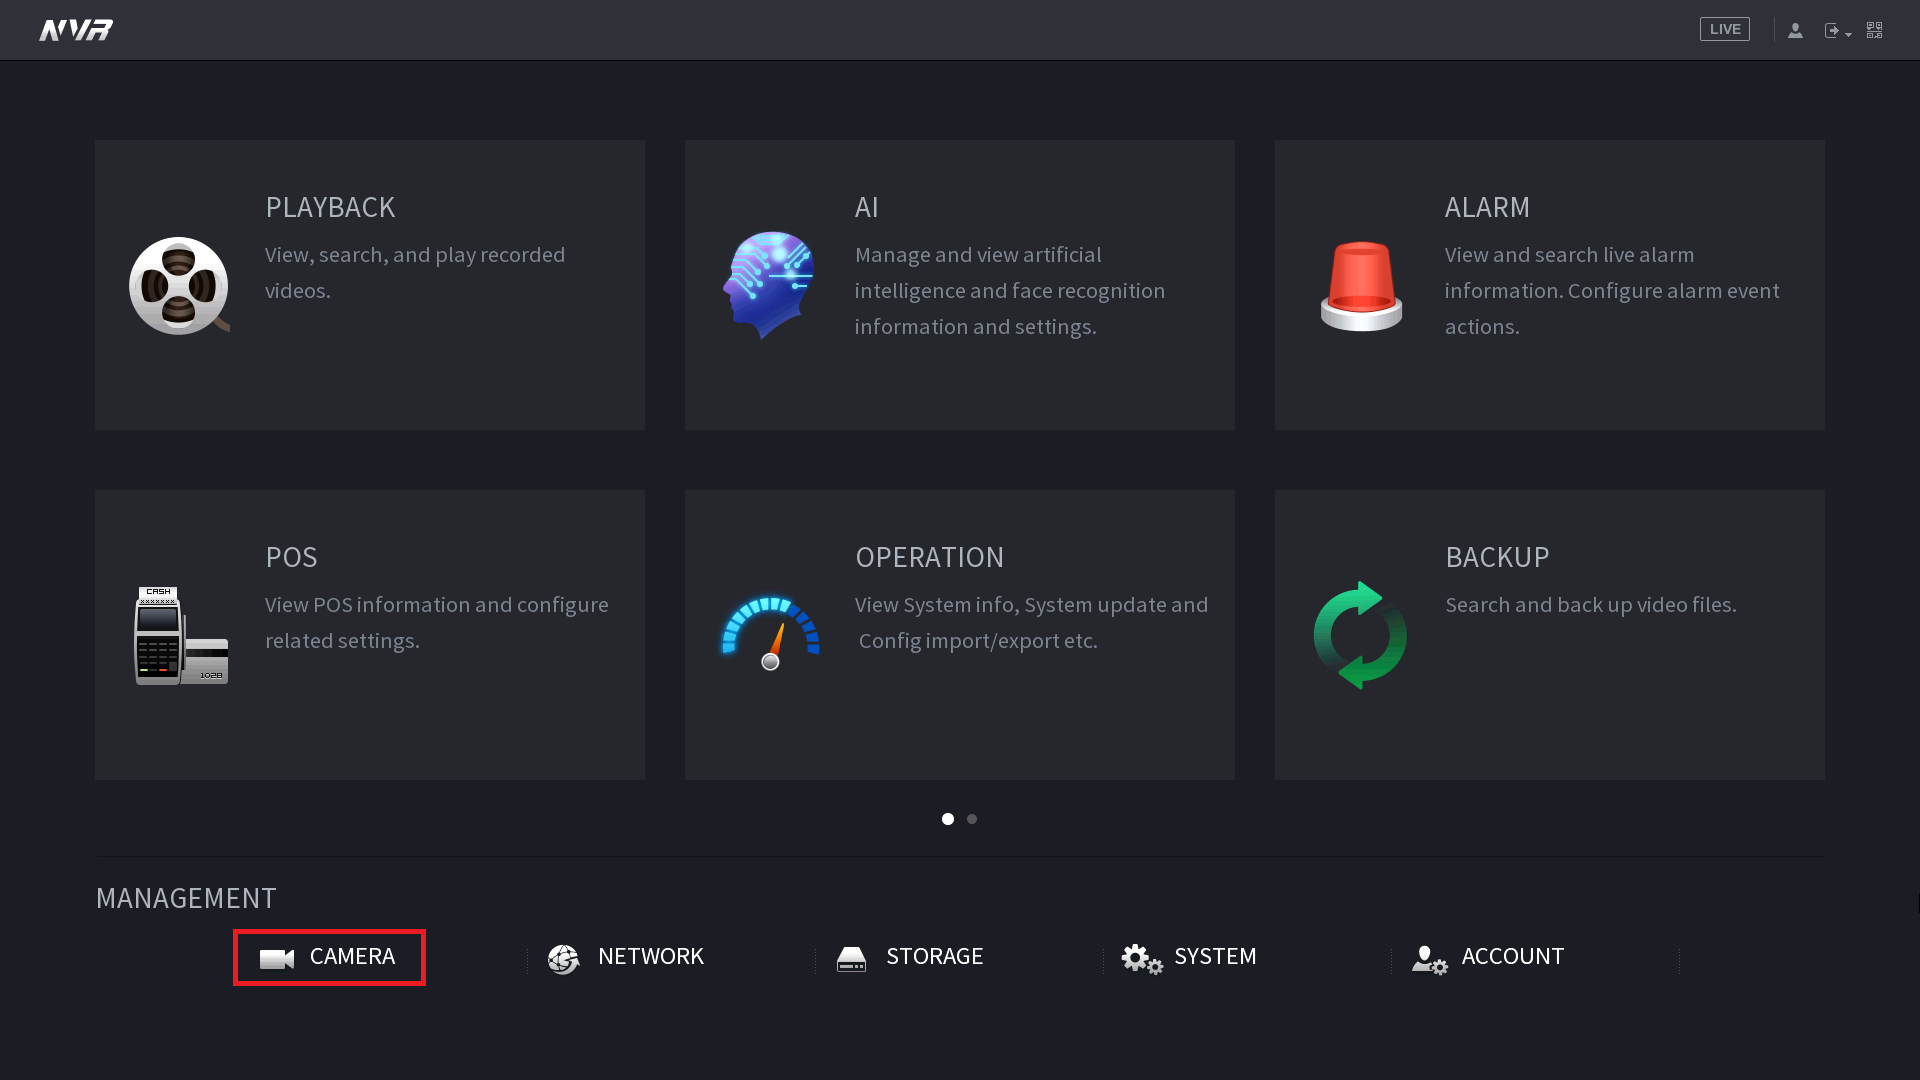
In the Main Menu, select Camera.
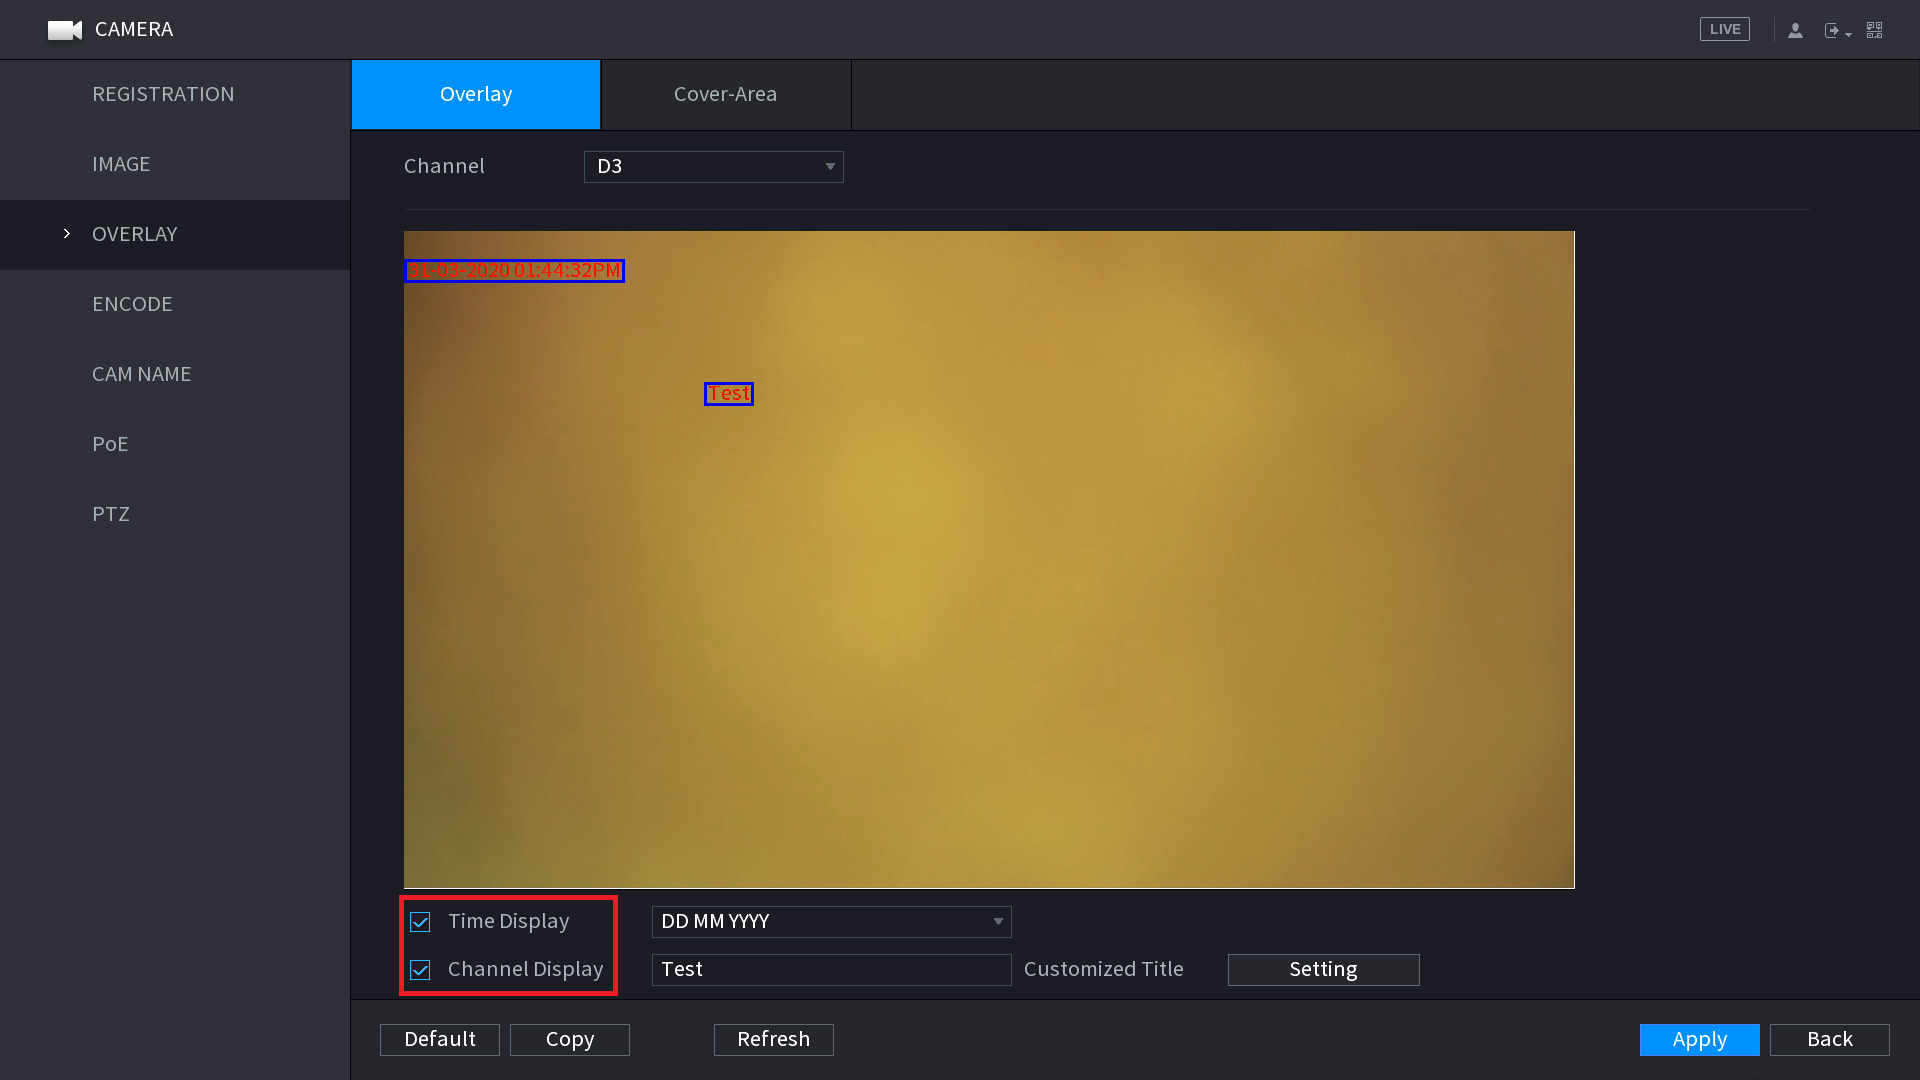
In Camera > Overlay > Overlay there are two options you can disable.
- Time Display controls the Time & Date that appears in the top right of the Camera display by default.
- Channel Display controls the Channel name that appears in the bottom right corner of the camera display by default
(Blue UI) Camera Overlay Display Options
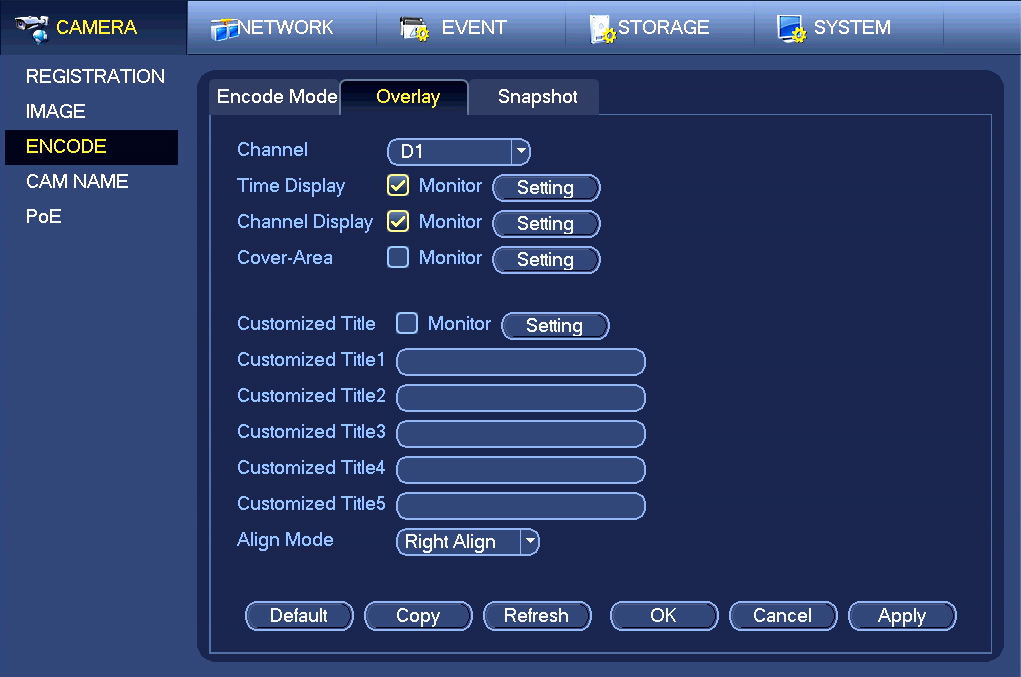
Navigate to Main Menu > Camera > Encode > Overlay
Select the Channel number, then deselect the items you do not wish to view, and select OK.
NVR Display Options
(Black UI) NVR Display Options
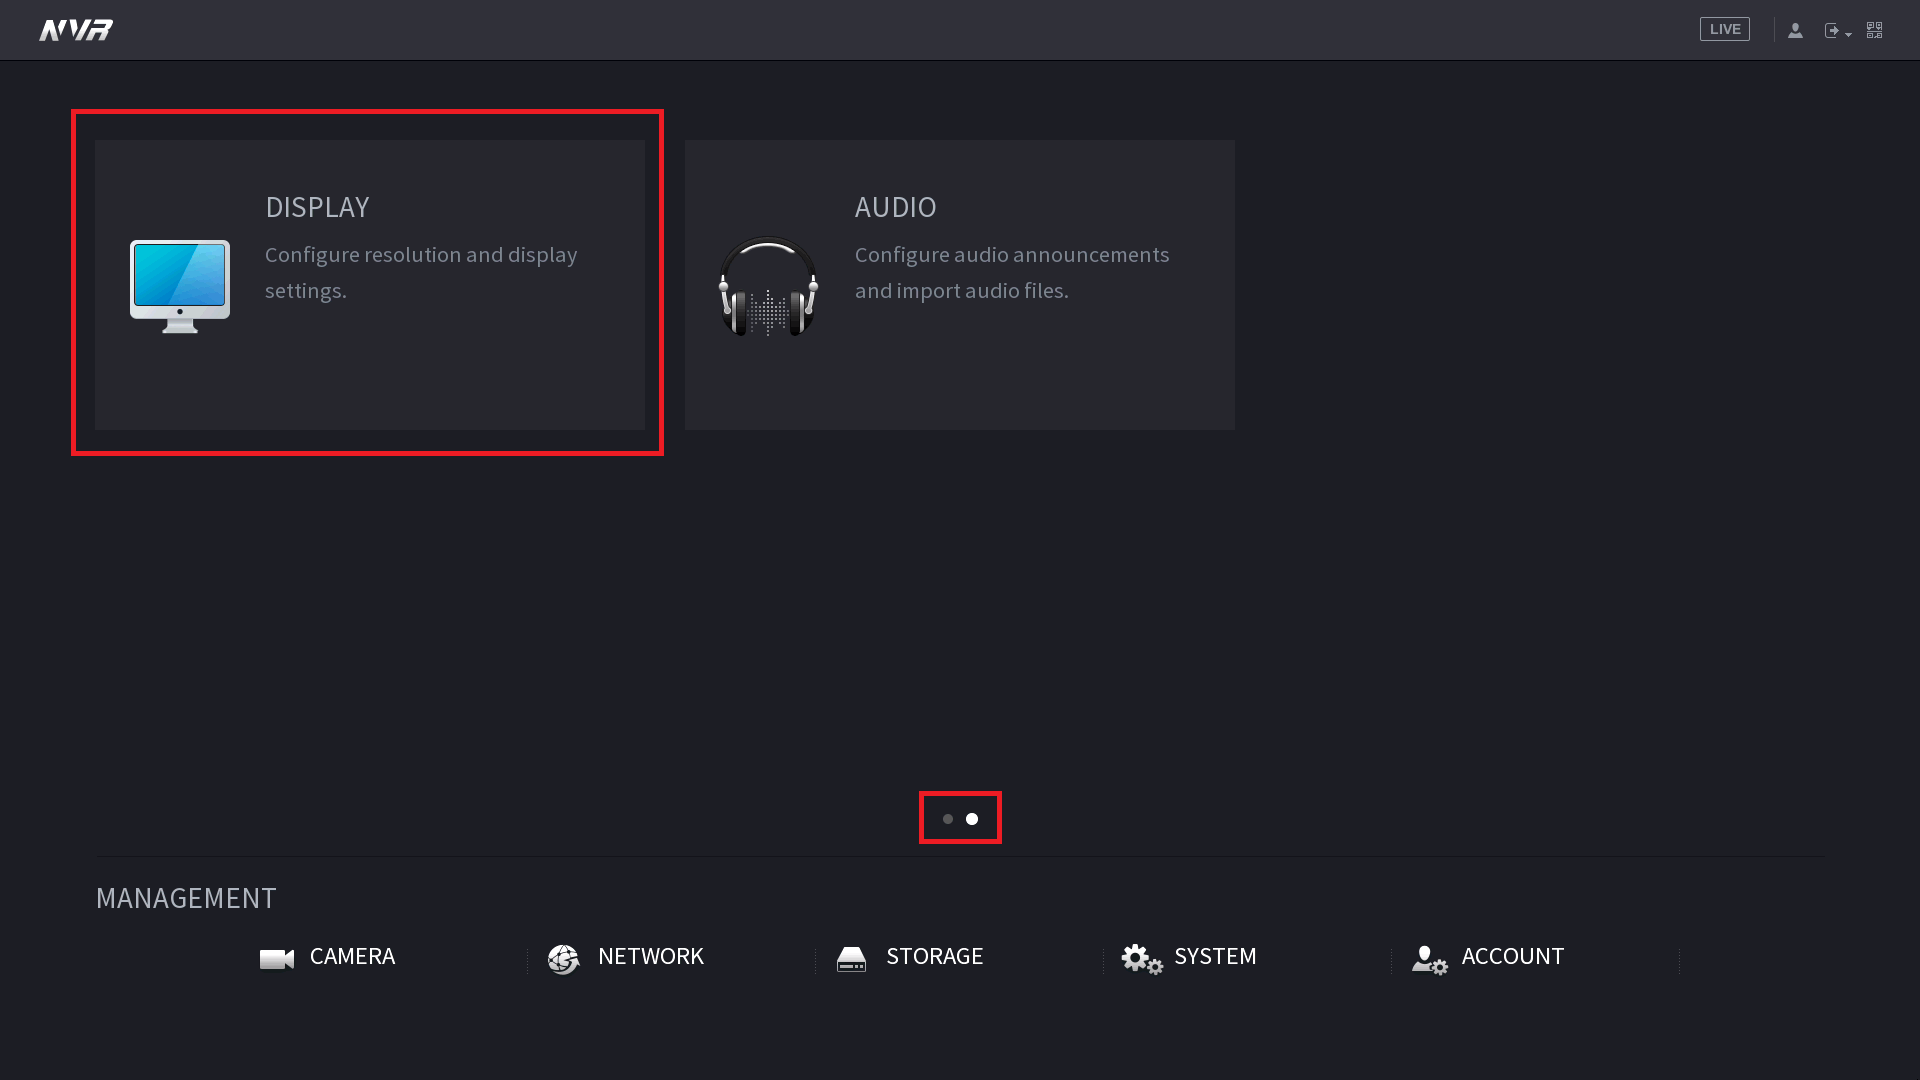
Click on Display in the Main Menu.
(Click on the second of the two dots at the bottom of the screen to move to the second page of options if necessary)
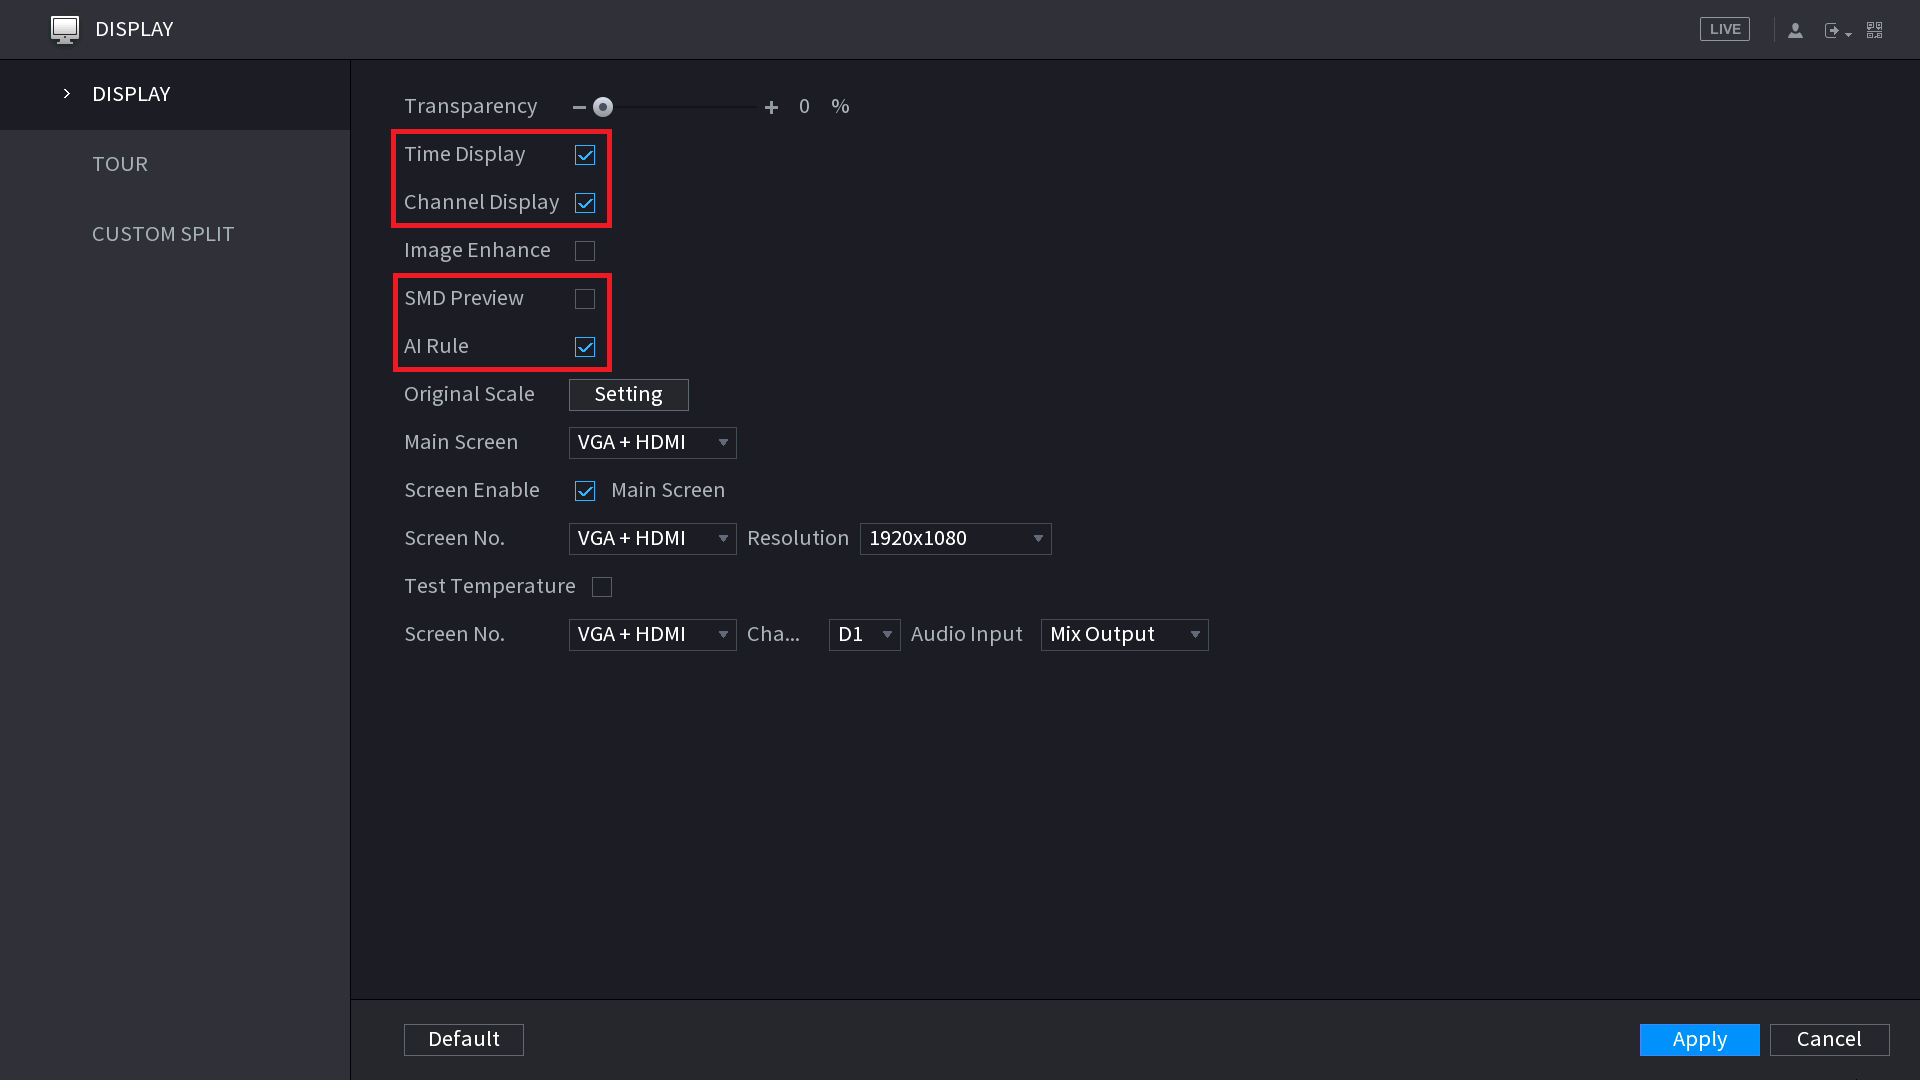
In Display > Display there are four options you can disable to remove elements.
- Time Display controls the Time & Date for the NVR that is visible at the top right corner of the Live Preview page.
- Channel Display controls the Channel Numbers (e.g "D1") displayed in the bottom right corner of each camera.
- SMD Preview controls the box that will appear around objects when SMD is enabled.
- AI Rule controls the lines and boxes that will appear around objects when an IVS rule has been added.
(Blue UI) NVR Display Options
Navigate to Main Menu > System > Display > Display
- Time Display controls the Time & Date for the NVR that is visible at the top right corner of the Live Preview page.
- Channel Display controls the Channel Numbers (e.g "D1") displayed in the bottom right corner of each camera.
- IVS Rule controls the lines and boxes that will appear around objects when an IVS rule has been added.

Camera Recording Icon
The green camera recording icon indicates that the NVR is recording. It cannot be disabled.
The only way to prevent it from appearing is to not record footage on that channel.
If you don't want to disable recording for that camera there is a workaround if you have a spare channel on your NVR.
You can have the same camera added twice. One to record, and one to display with no Recording Icon.
(Black UI) Disabling Recording for a duplicate camera
Adding a duplicate camera
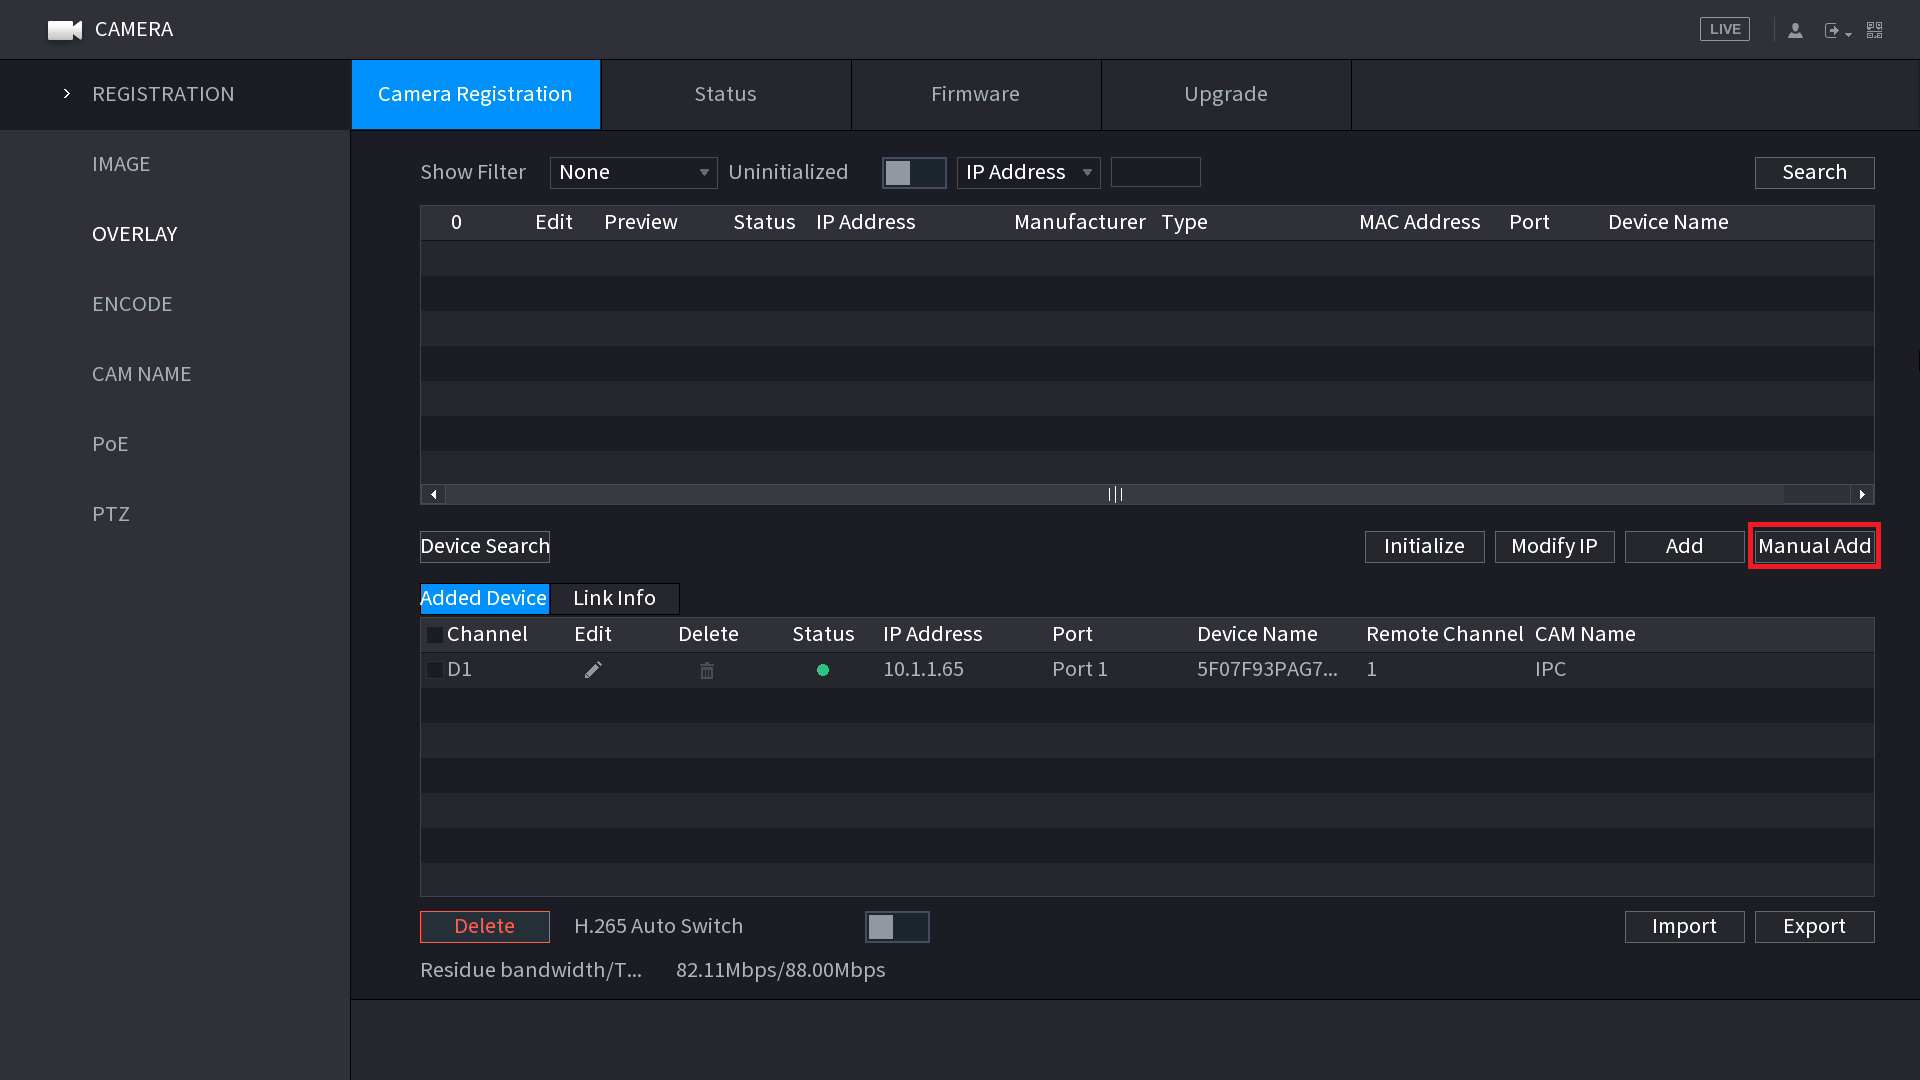
Navigate to Camera > Registration then select Manual Add.
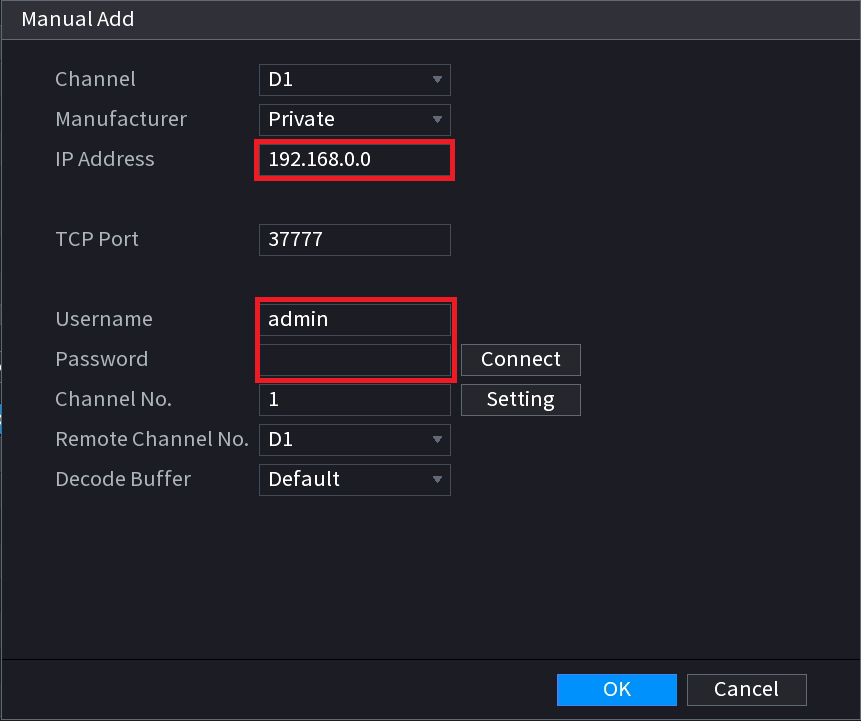
Enter the Camera's IP Address, Username & Password and click OK.
Then follow the instructions below to disable recording for the camera.
Turning off recording
You can turn off recording by modifying the schedule in Storage > Schedule.
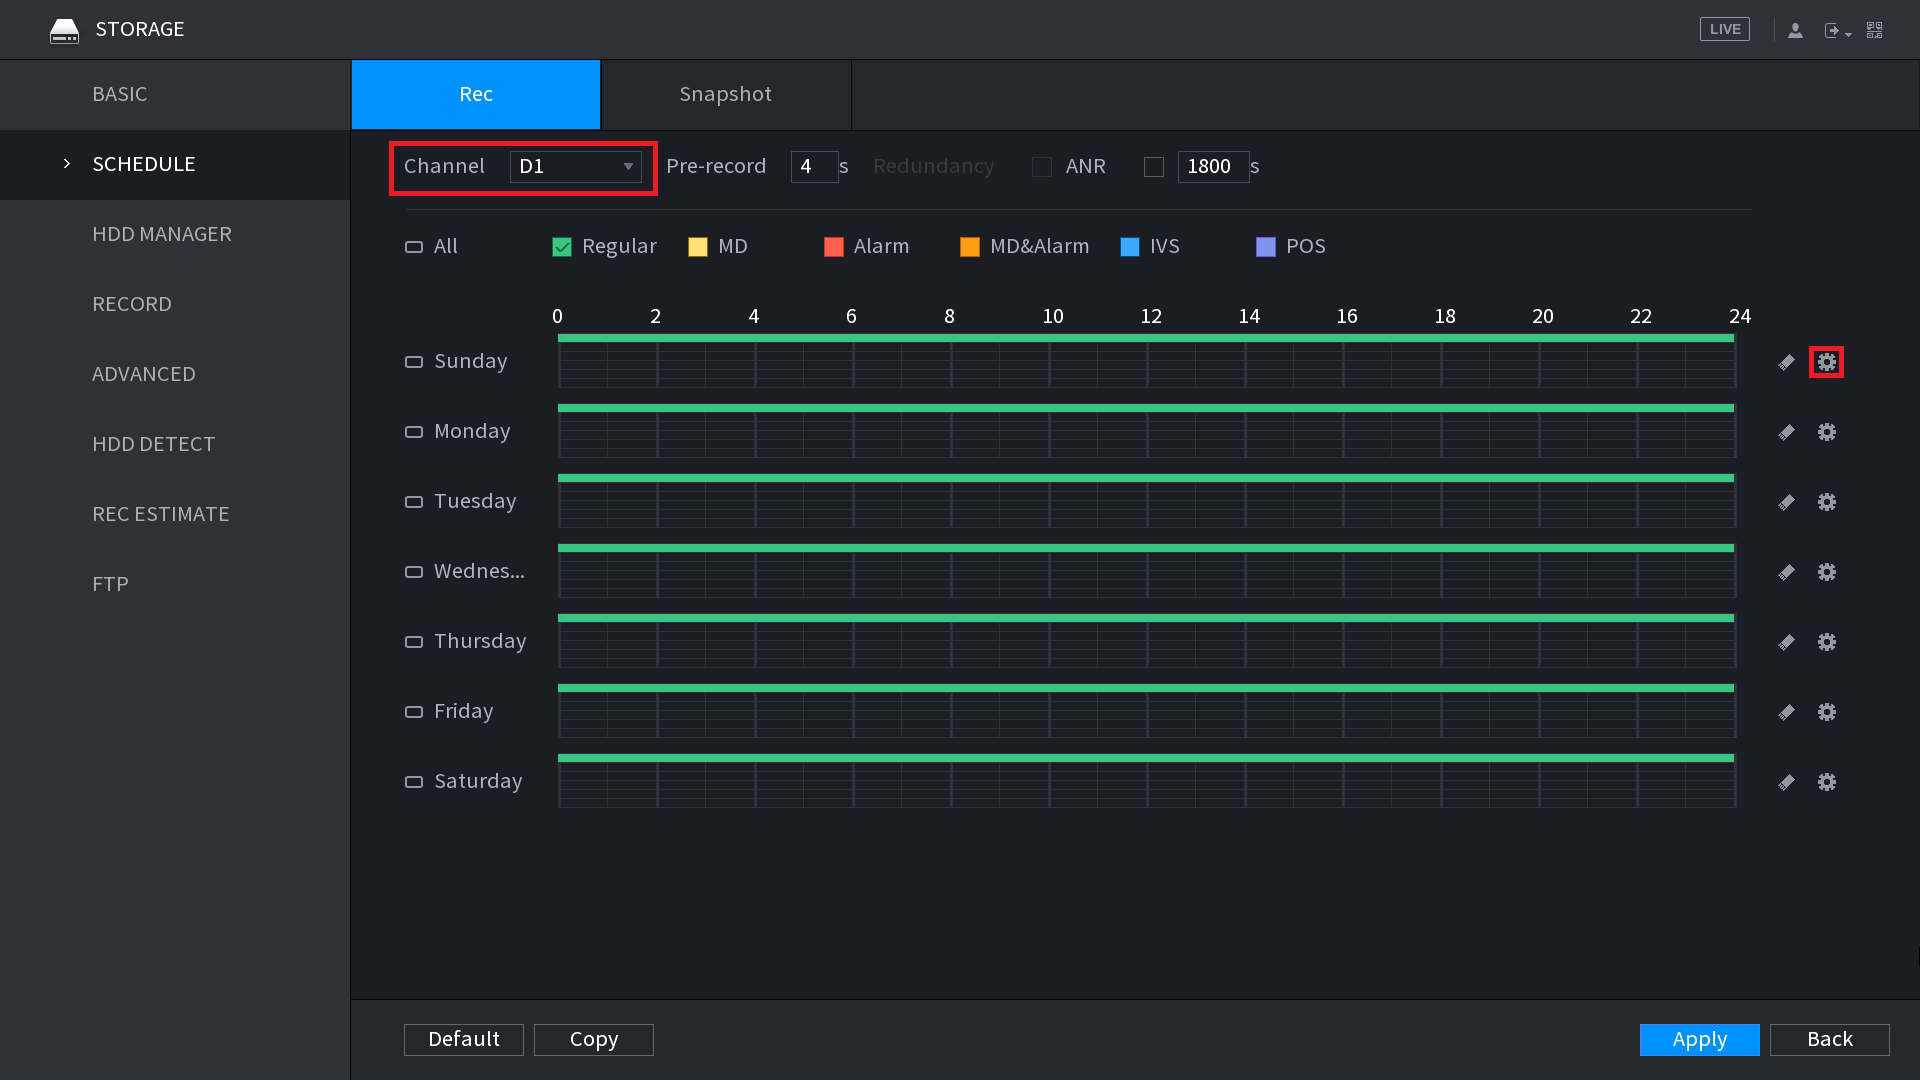
Select the Channel, then click on the Settings Icon.
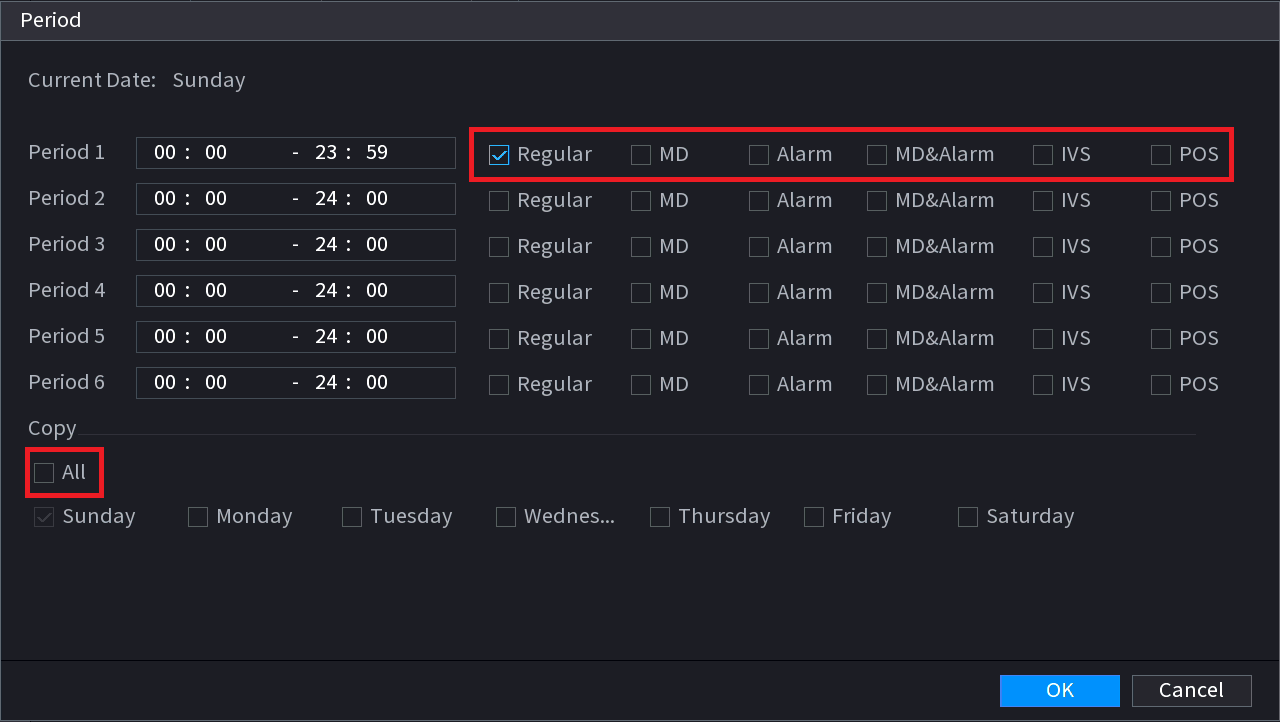
Disable all of the recording type check boxes, then tick Copy to apply it to all days of the week.