The DMSS Plus app is called gDMSS Plus on Android phones and iDMSS Plus on Apple phones.
How to add devices via P2P
 |
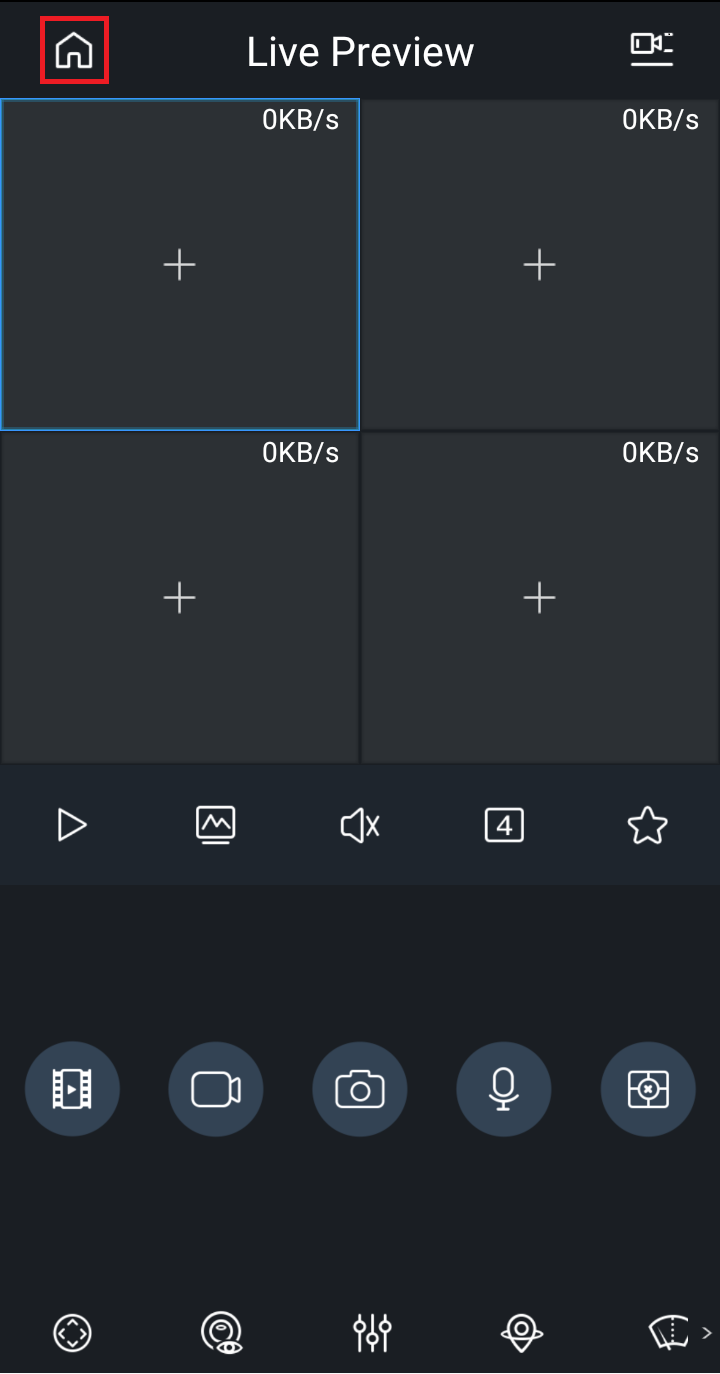
Tap on the Home Icon. |
 |
Tap on the icon  in the top right corner. in the top right corner. |
Click here if clicking on the icon in the top right does not take you to the "Add Device page"
 |
Tap on Device
|
 |
Click the + in the top right corner |
 |
Tap SN/Scan in the drop-down menu |
 |
Scan the QR code for your Device's Serial Number.
(It can be found at Main Menu > Network > P2P (or Easy4IP) on a recorder AND on the box the device came in) If you don't have a QR code, tap the "Manually Enter SN" button and enter the serial number of your device manually.
|
 |
Click Next |
 |
Tap on the type of device you wish to add.
(e.g NVR for an NVR for a recorder with IP cameras, DVR/XVR for a recorder with CVI cameras, VTO for a Door Station or Wired Camera for a standalone Camera wired to a switch or router)
|
 |
1) Name your device
2) Enter the admin account’s password
3) Click the save icon
|
How to subscribe to notifications
 |
Tap on the  icon icon |
 |
Tap on Message
|
 |
Tap on the  icon. icon. |
 |
Tap on the device you wish to enable notifications for |
 |
Enable the device
If your device is an Intercom Door Station, you are now done.
If you have an NVR/CVR proceed to the next step. |
 |
1) If you want IVS or Motion Detect notifications, select the type of push notification you want to receive.
("Live Preview" shows a live preview of the camera you received the notification about, "Video" shows a video of the event and "Image" shows a snapshot of the event)
2) Tap on the notifications you wish to receive and enable them.
E.g To enable notifications for Low HDD Space:
Tap HDD Alarm

Then tap Low Space so a blue tick appears.

3) Tap the save icon
|
How to enable Memory Play
 |
Tap on the  icon icon |
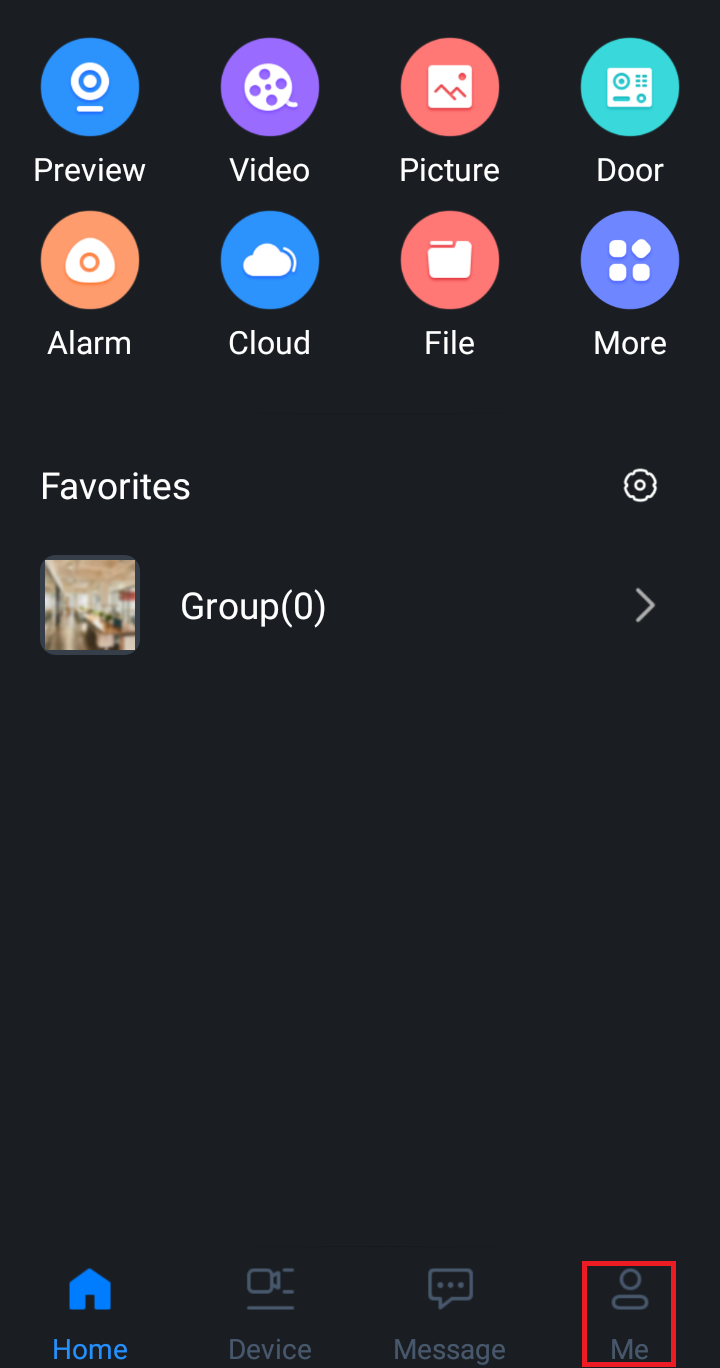 |
Tap on Me |
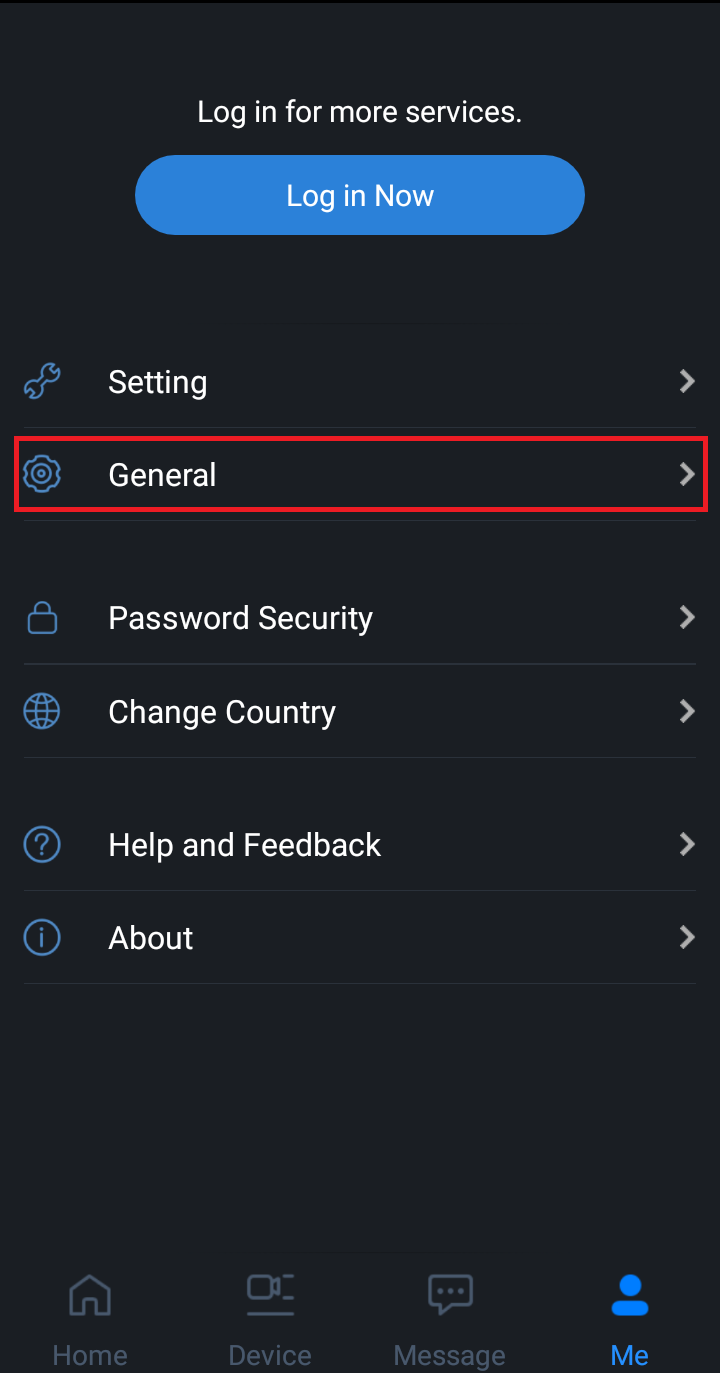 |
Tap on General |
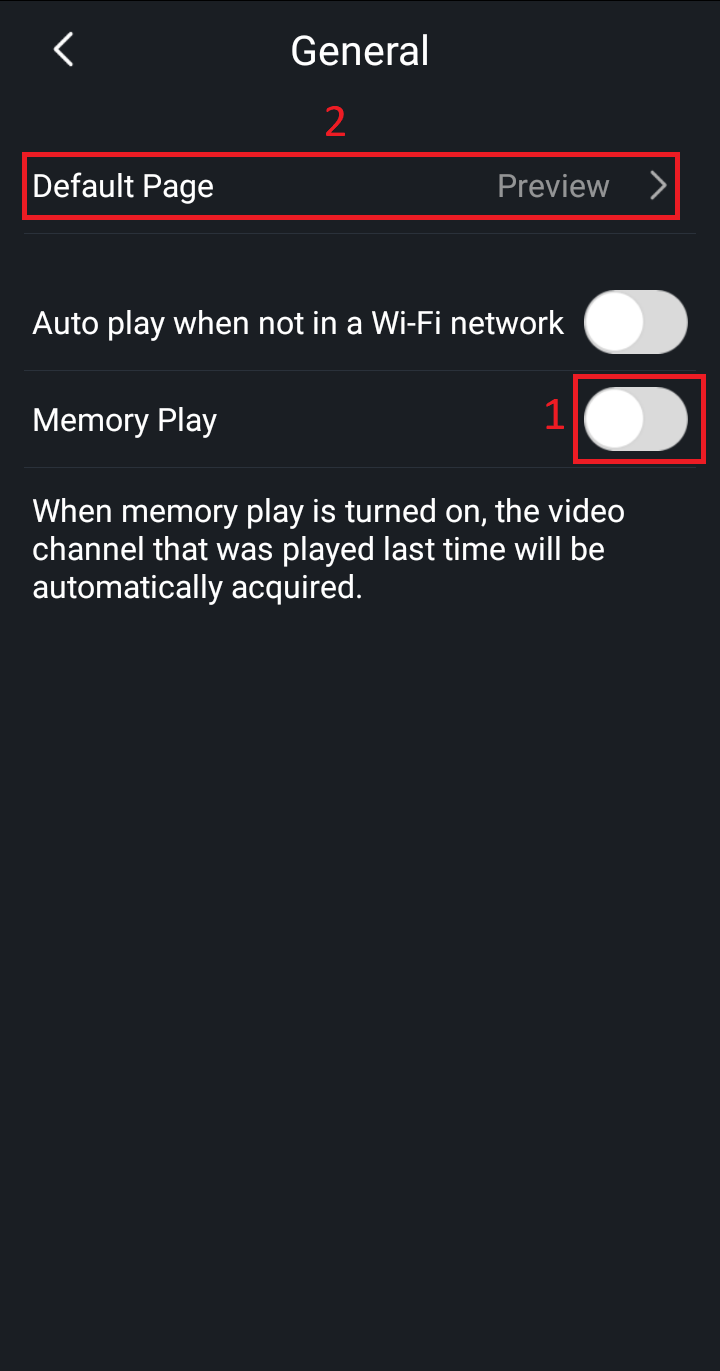 |
1) Enable Memory Play
2) Tap on Default Page
|
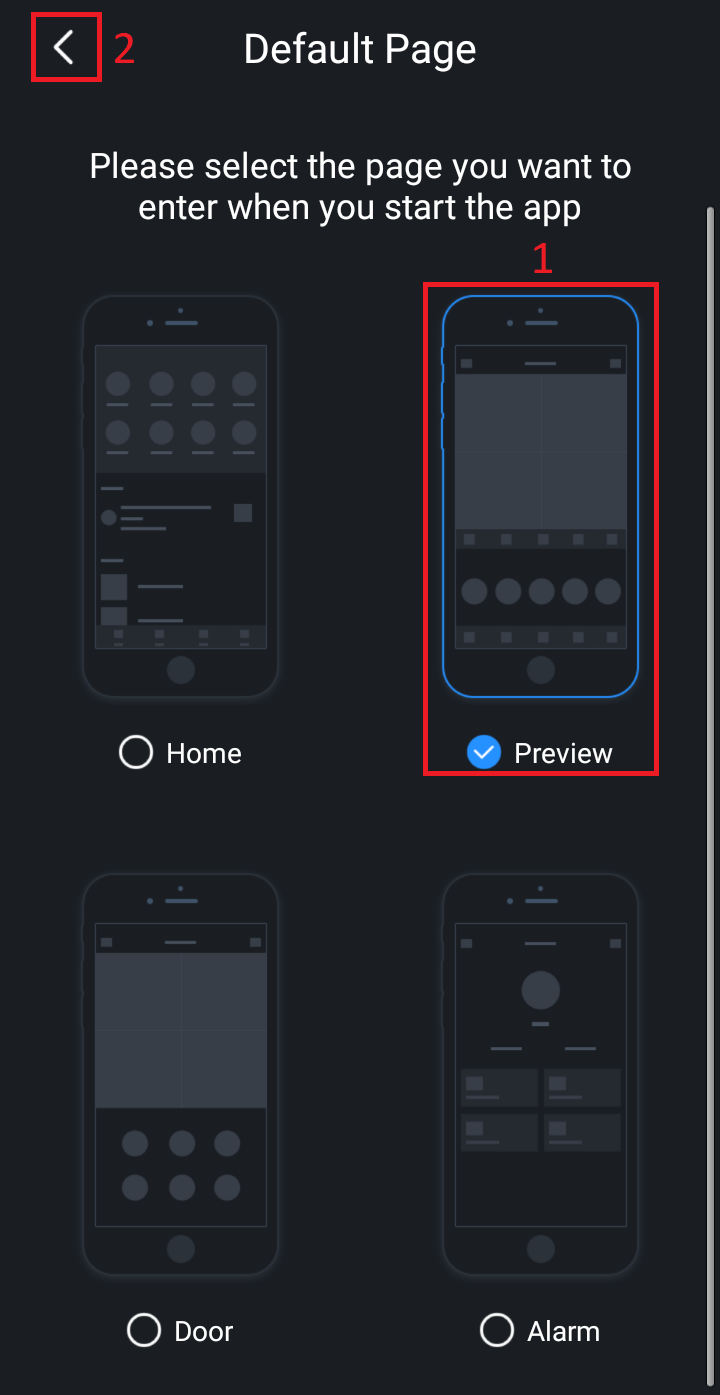 |
1) Select Preview
2) Return to the home screen by tapping the back button twice and then the home icon at the bottom of the screen |
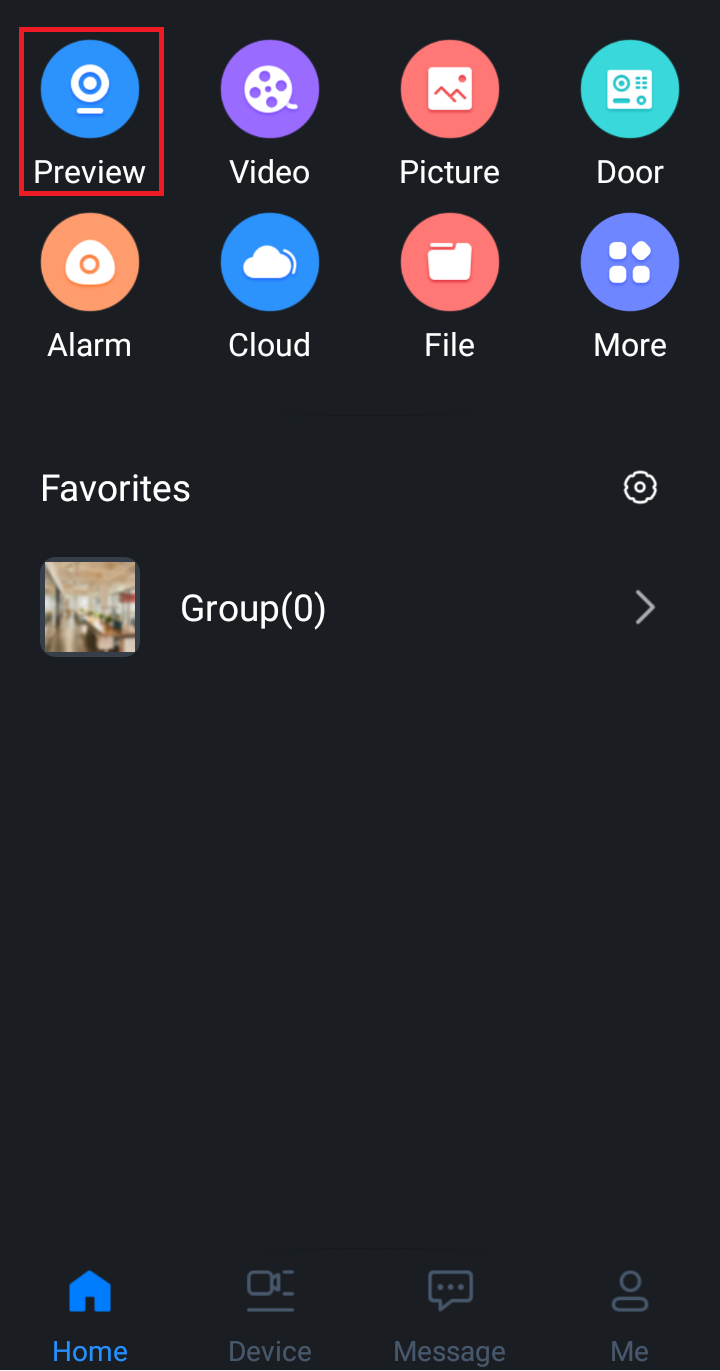 |
Tap on Preview |
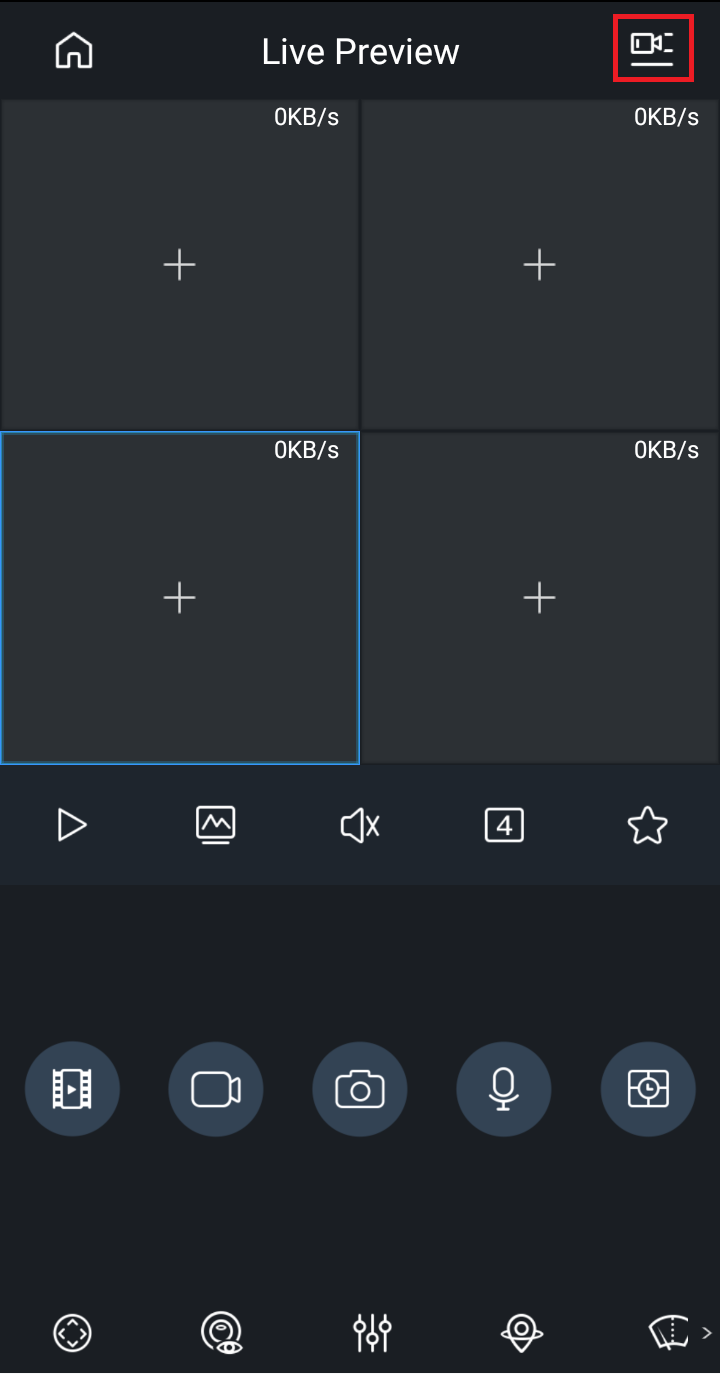 |
Tap on the  icon icon |
 |
1) Select the device you wish to view
2) Tap on Start Live Preview
|
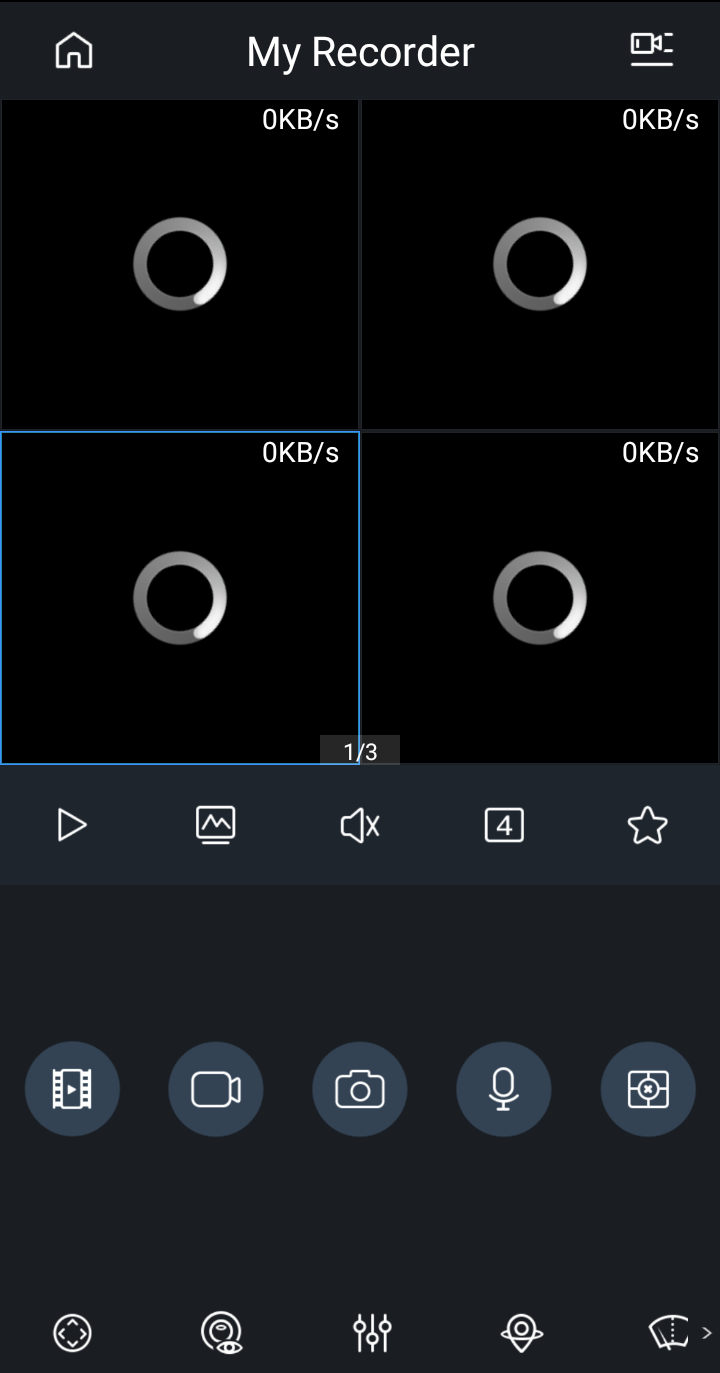 |
Once your cameras appear, close and reopen the app.
It will load the last cameras that were viewed.
|
How to Playback Footage
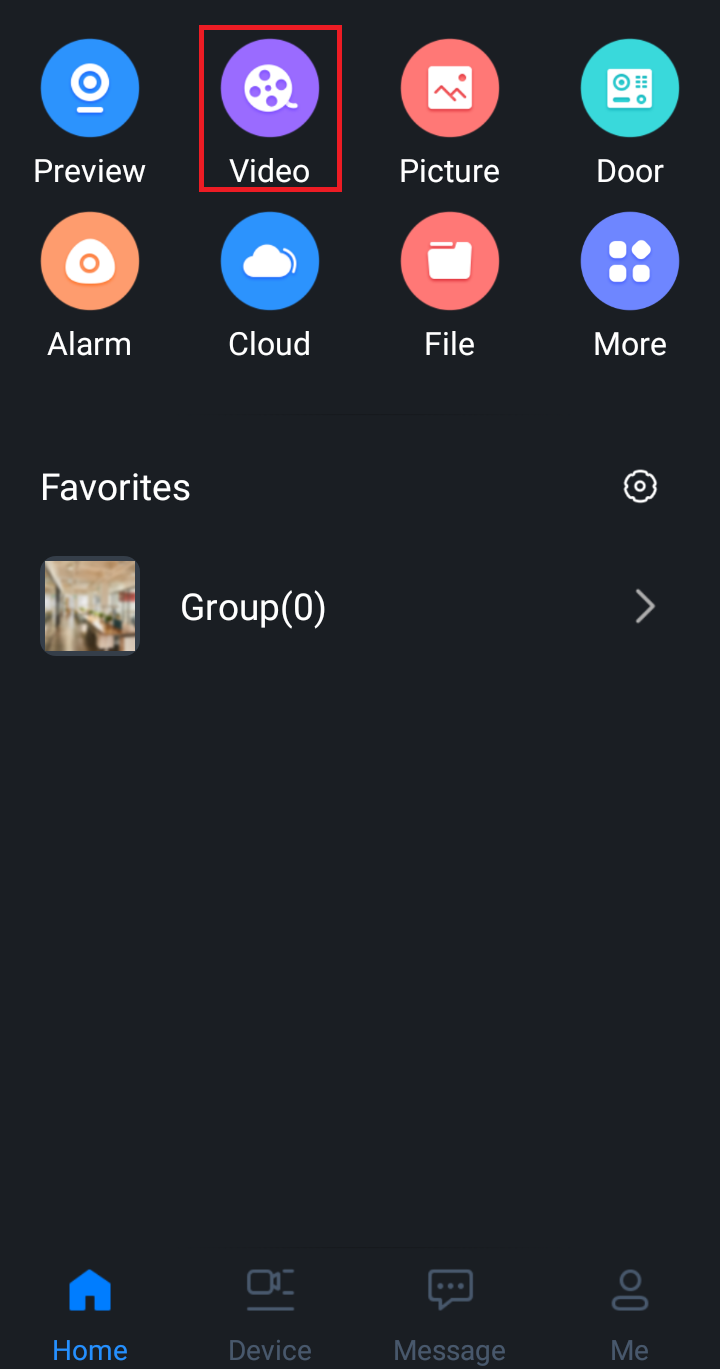 |
Tap on Video
|
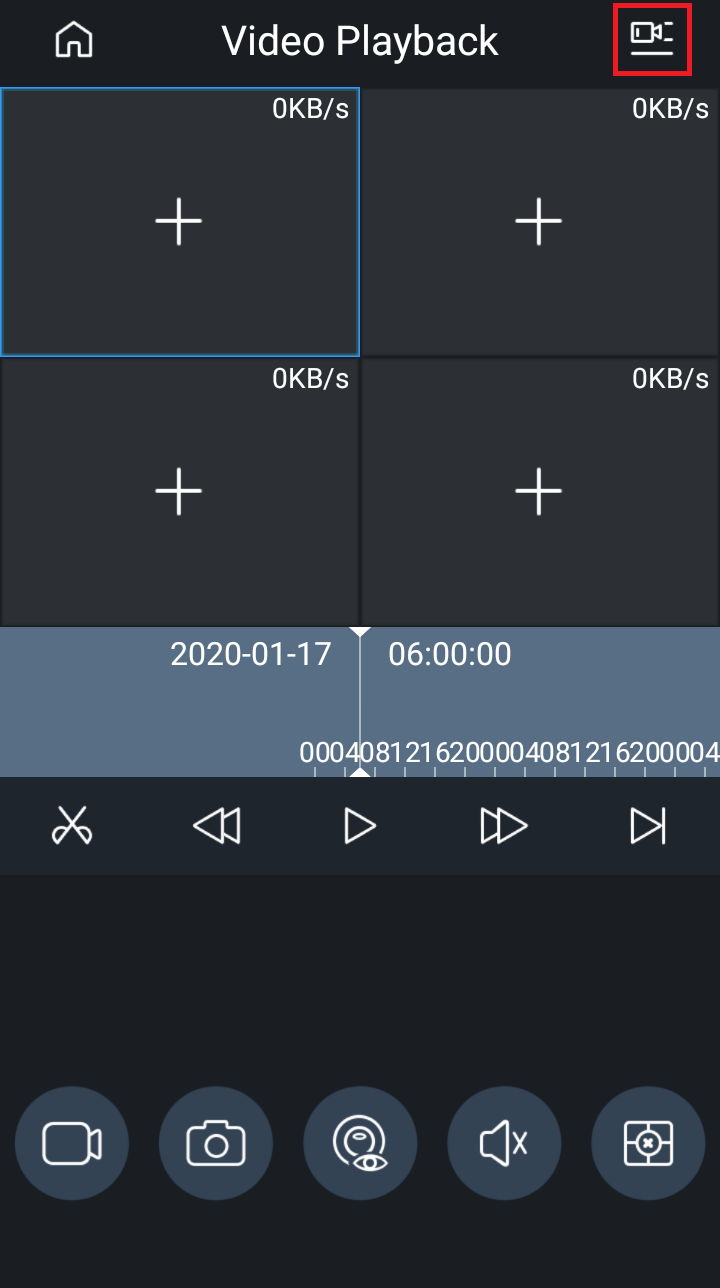 |
Tap on the Camera Icon in the top right. |
 |
Tap on the Start Time or End Time to change it.
You can select up to 72 hours of recordings.
|
 |
Tap on a Date to select it, then tap the Tick. |
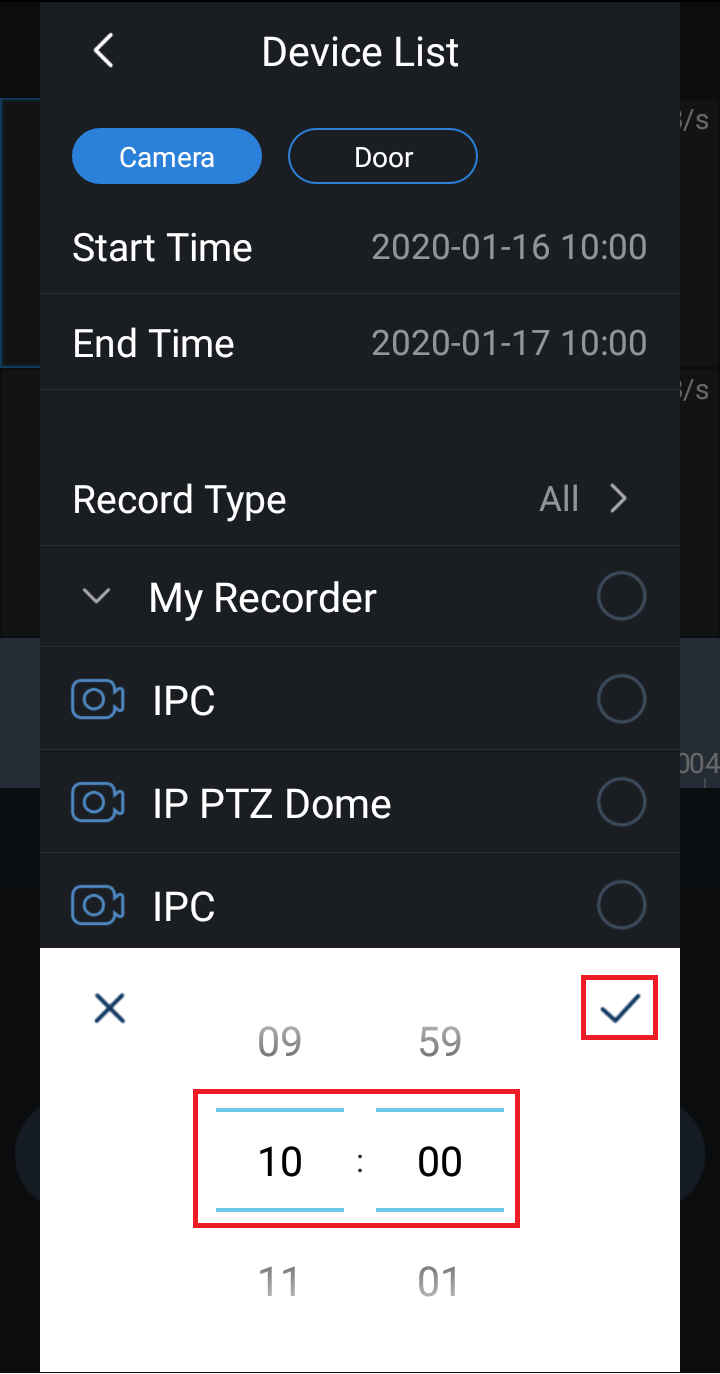 |
Select a Time, then Tap the Tick. |
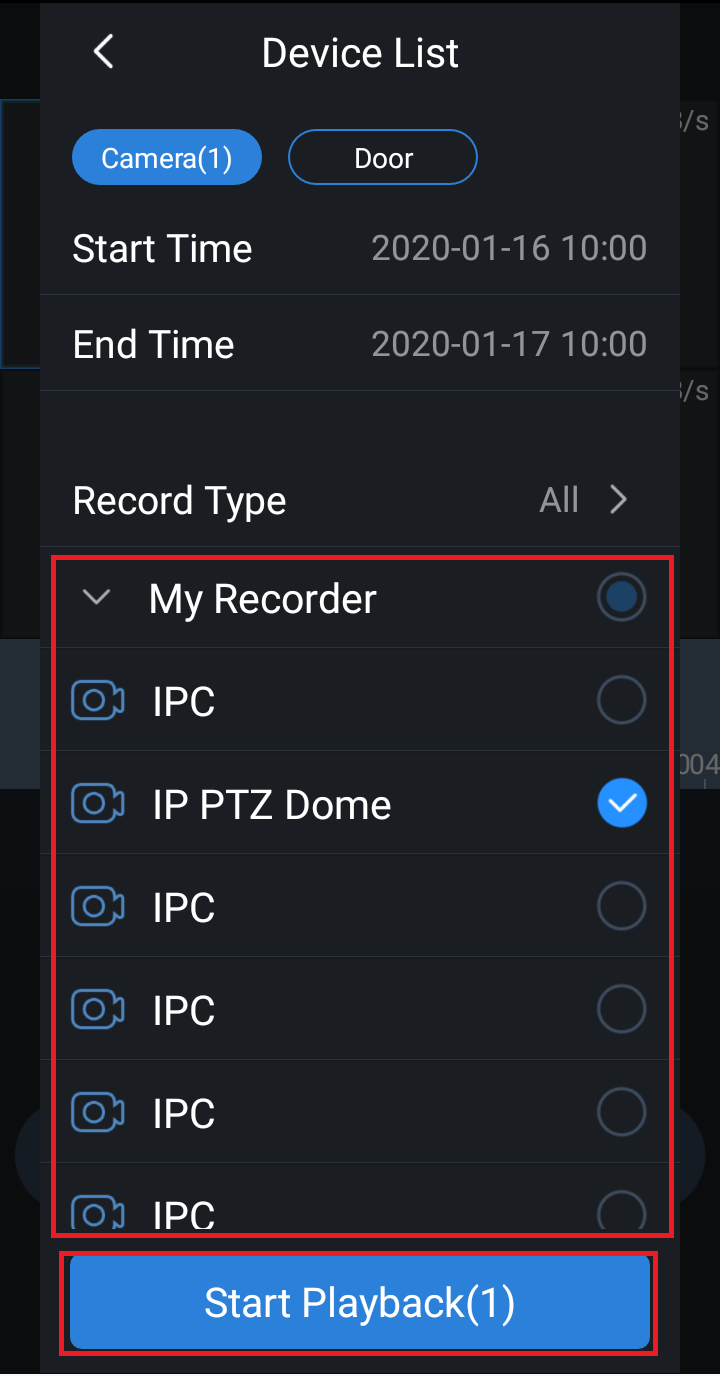 |
Tap on up to four cameras to select them.
Tap Start Playback. |
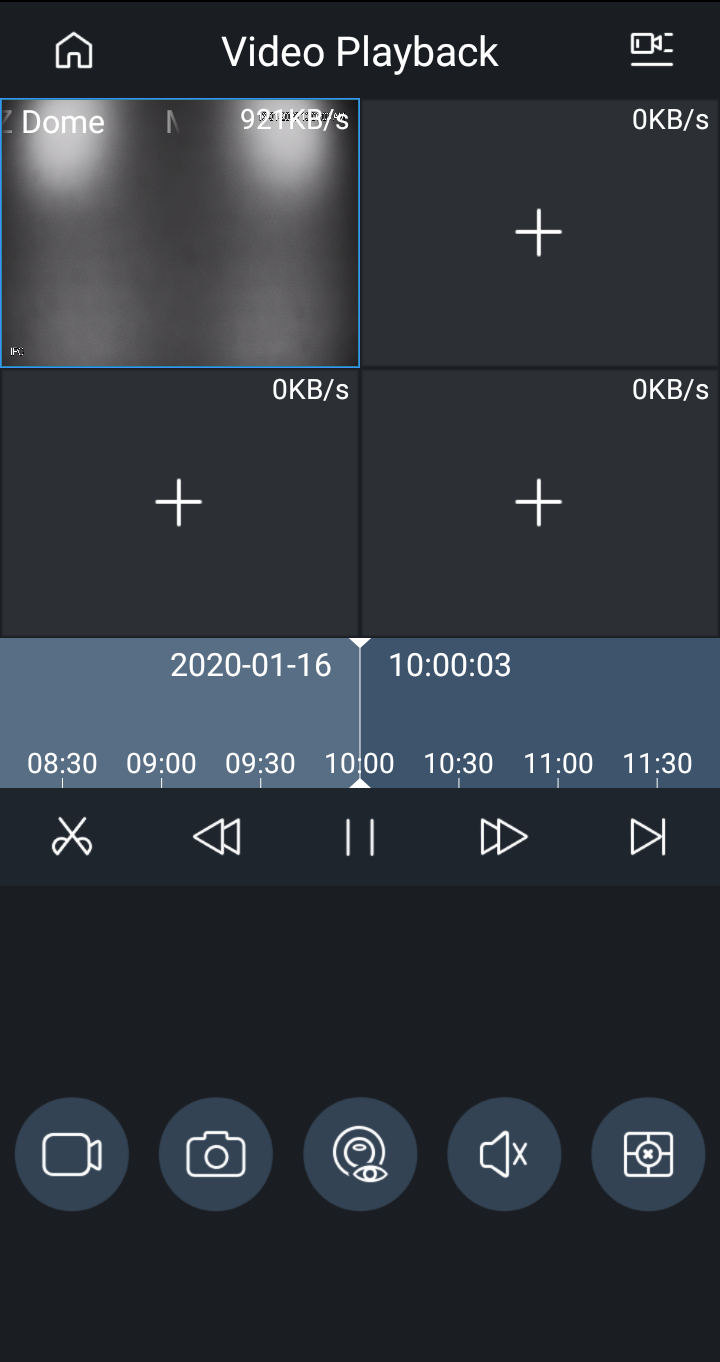 |
Here, you can playback your footage.
Dark blue sections indicate where there is recorded footage.
|
How to Backup Footage
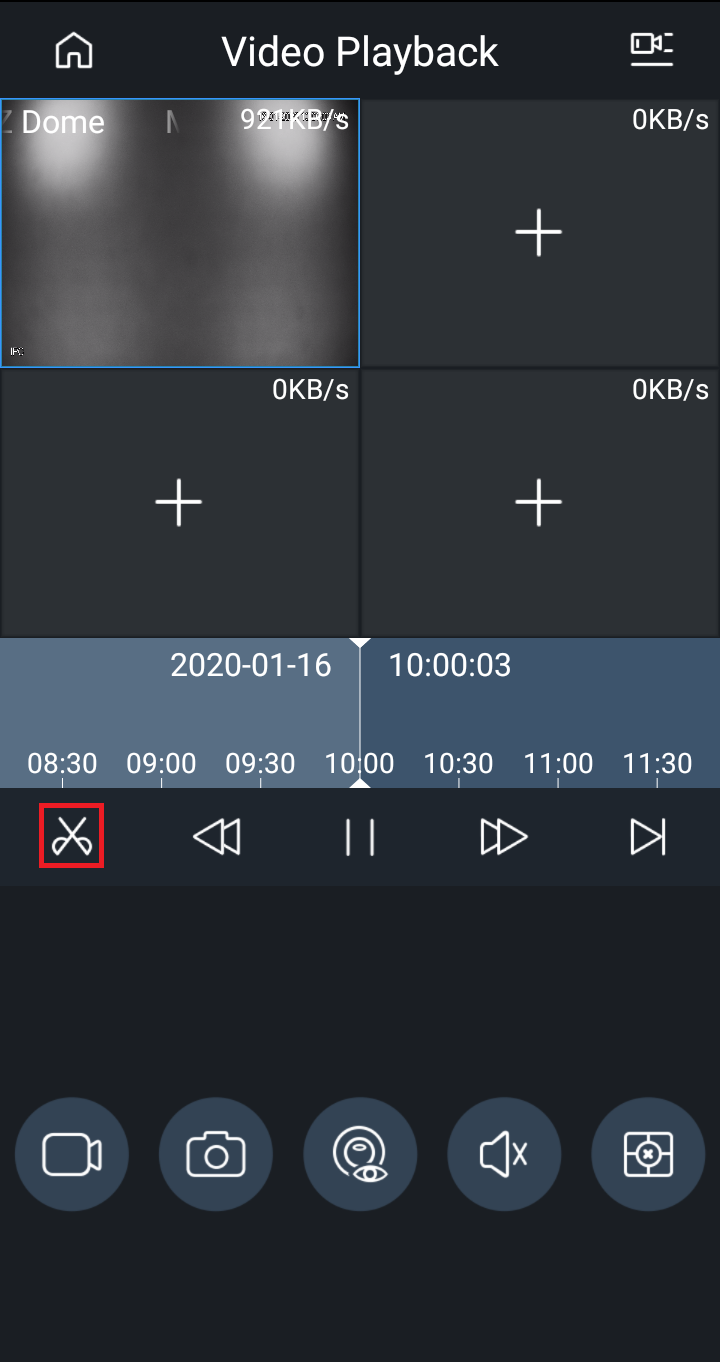 |
To backup footage, tap on the Scissors Icon. |
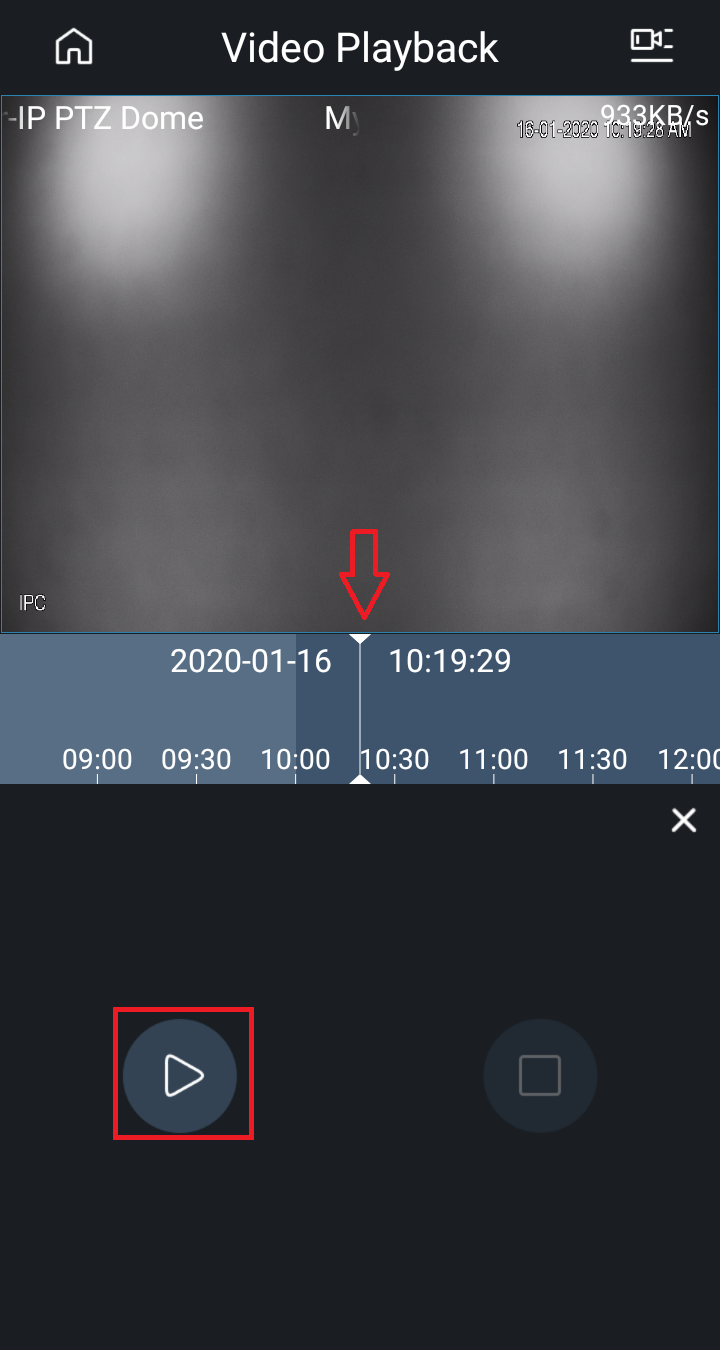 |
Drag the timeline so the white line is where you want your backup to start.
Tap on the Play Icon.
|
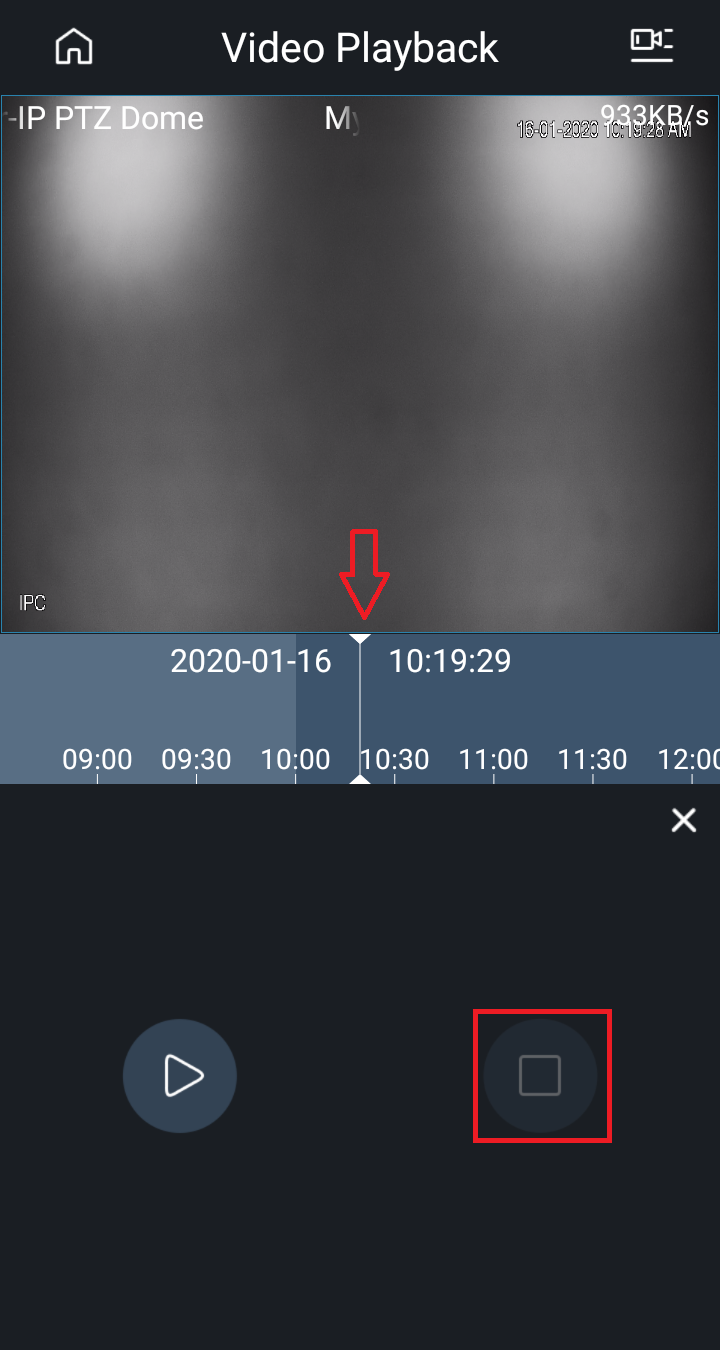 |
Drag the timeline so the white line is where you want your backup to stop.
Tap on the Stop Icon.
|
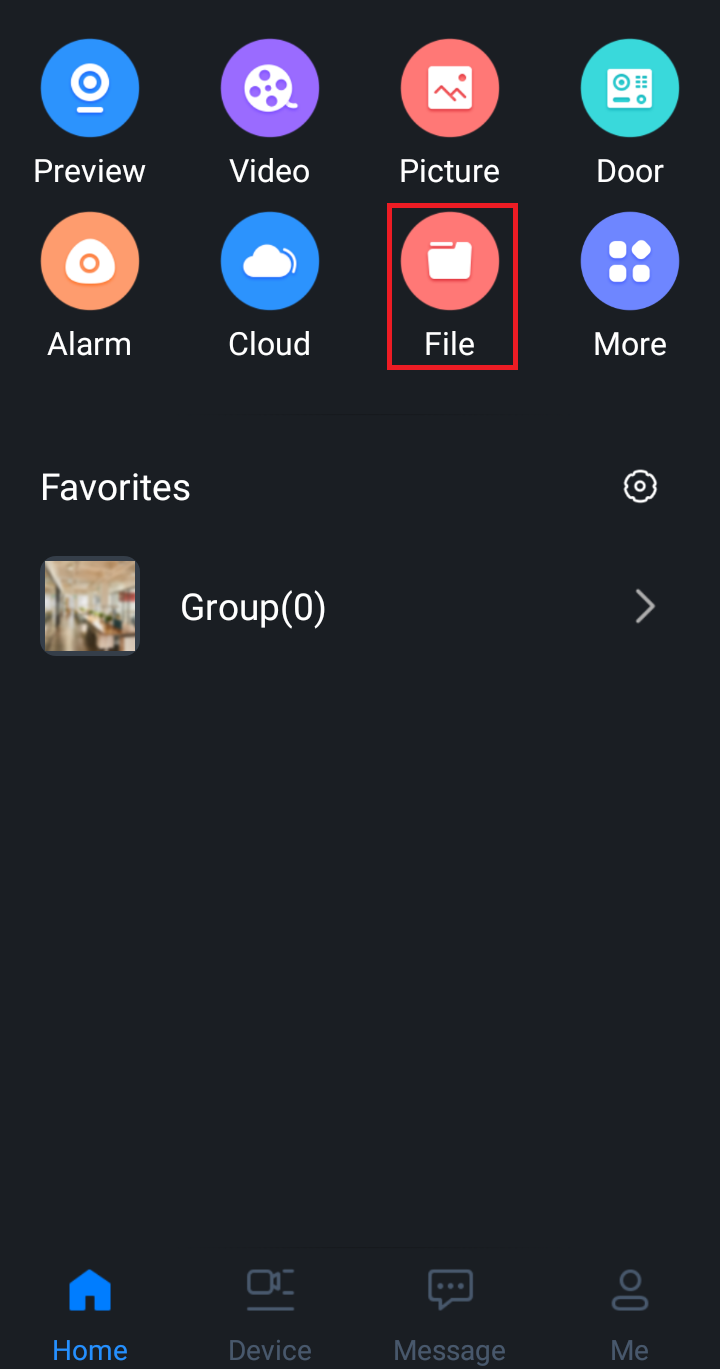 |
Go back to the Home page and Tap on File. |
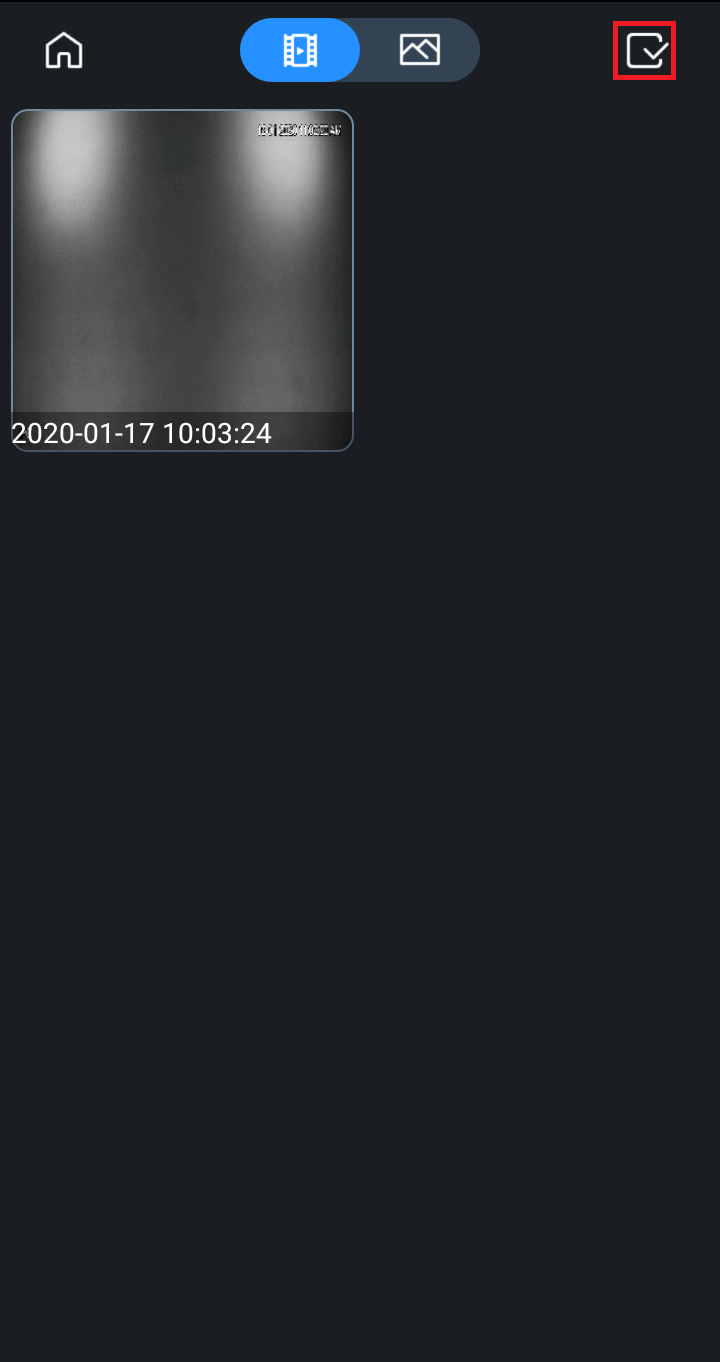 |
Tap on the Checkbox Icon. |
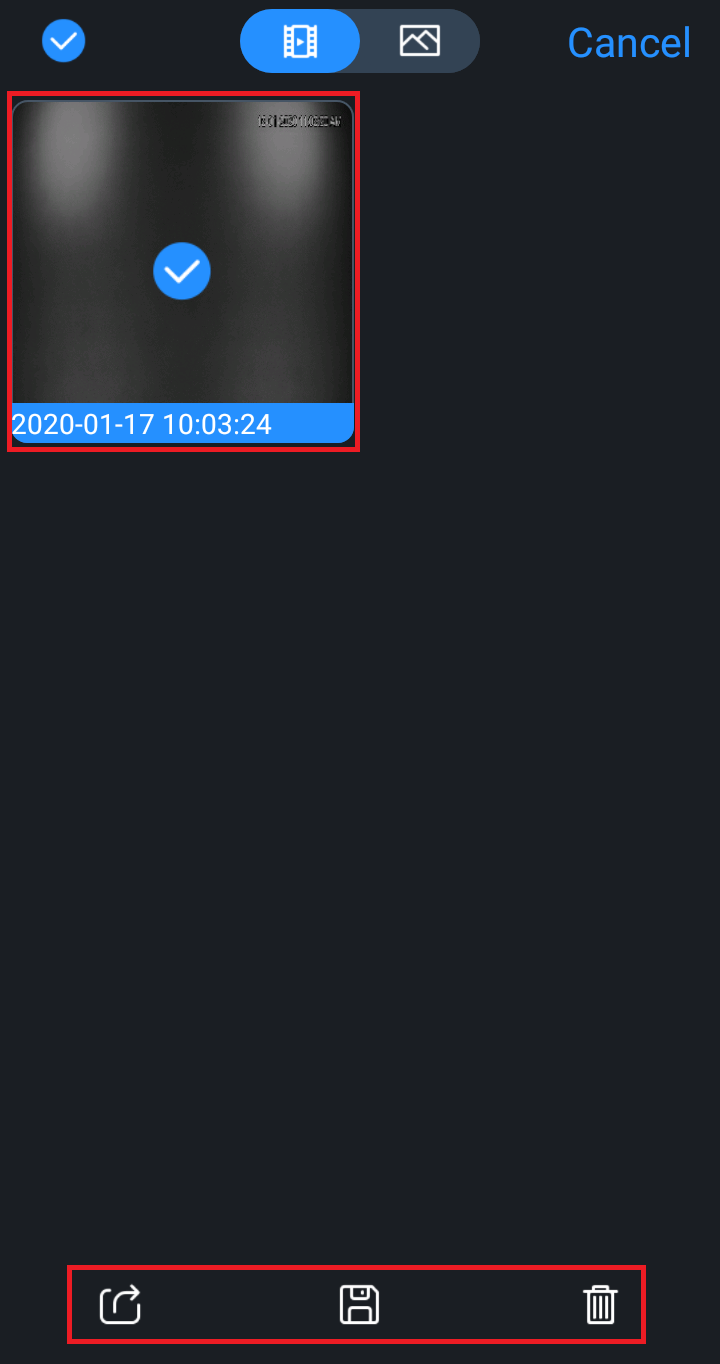 |
Tap on the files to select them.
Tapping on the Share Icon Icon will allow you to share the files via the app you select e.g Email, Text, etc.
Tapping the Save Icon will save the file to your phone.
|
Change stream type from Extra/Sub To Main
 |
Tap on Device
|
 |
Tap on the Device you wish to update |
 |
Tap on Stream Setting
|
 |
Tap on Live to edit Live and Playback to Edit Playback |
 |
Set it to Main the Tap OK. |