This guide will walk you through creating a shortcut that uses the runas command to run SmartPSS with an administrator account. You will need to enter the password of the administrator account once during setup, after that it will be saved in Windows Credential Manager and will not need to be entered again. It will also show how to change the icon of the shortcut to use the SmartPSS icon to make it user-friendly.
Please Note - This will not work on Windows 11
Step 1 - Locate the username of the administrator account
- When logged in as the Administrator account press the Windows Key + X.
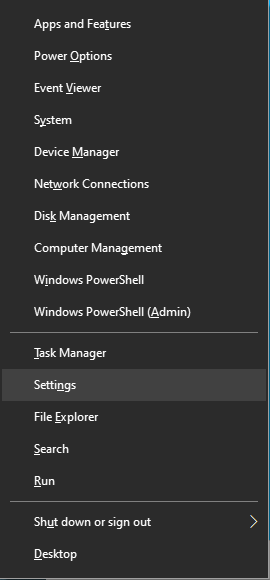
- Select Settings.
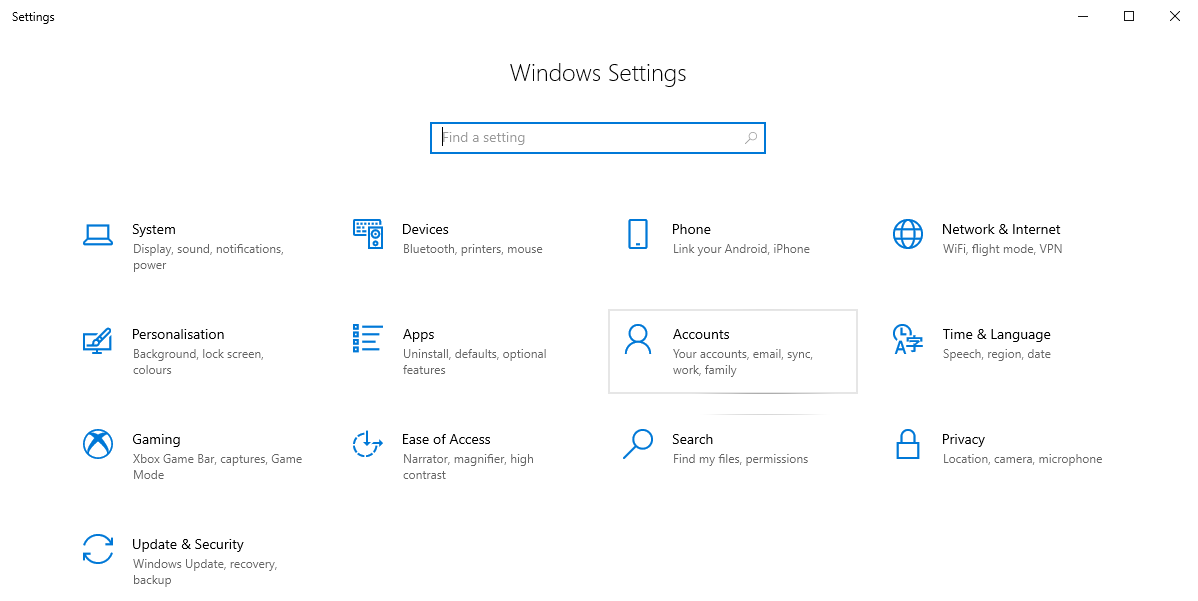
- Select Accounts.
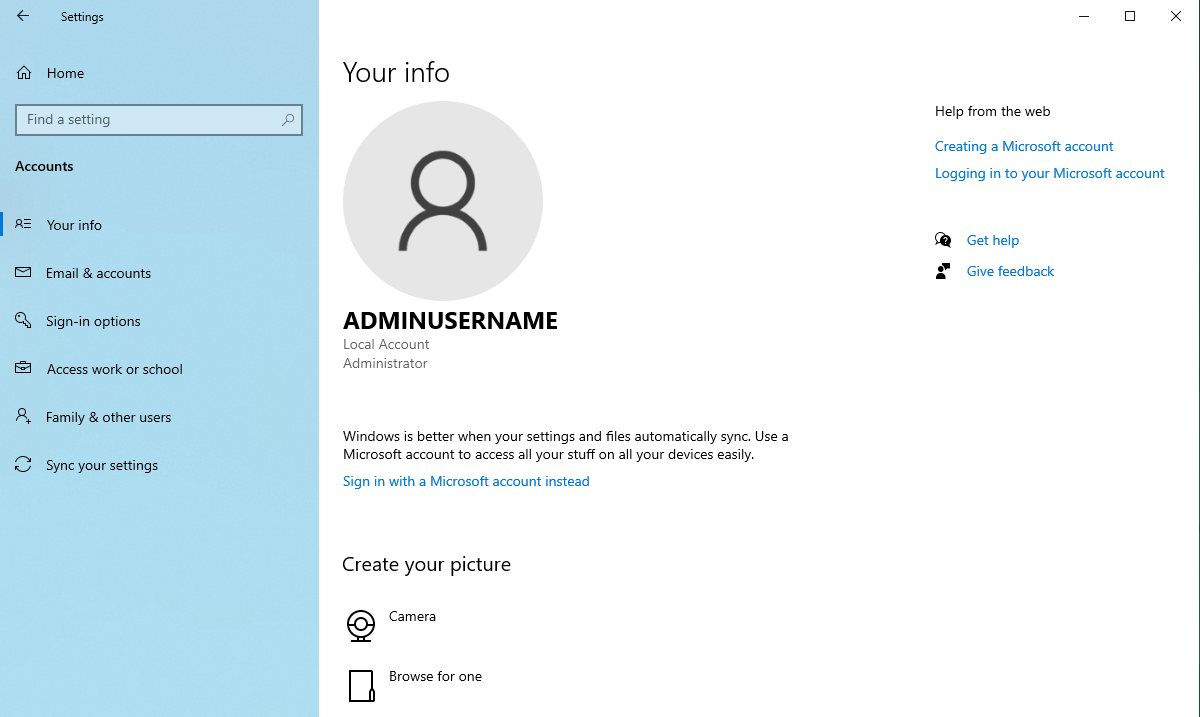
- Record the name of the account. In the image above it is AdminUsername.
Step 2 - Locate the name of the Computer
- Press the Windows Key + X.
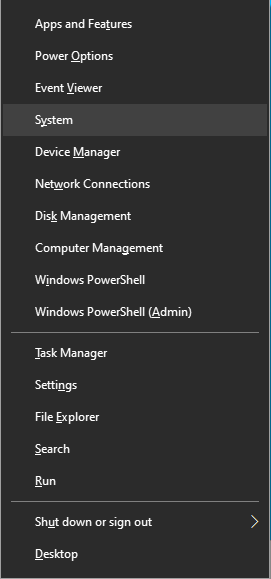
- Select System.
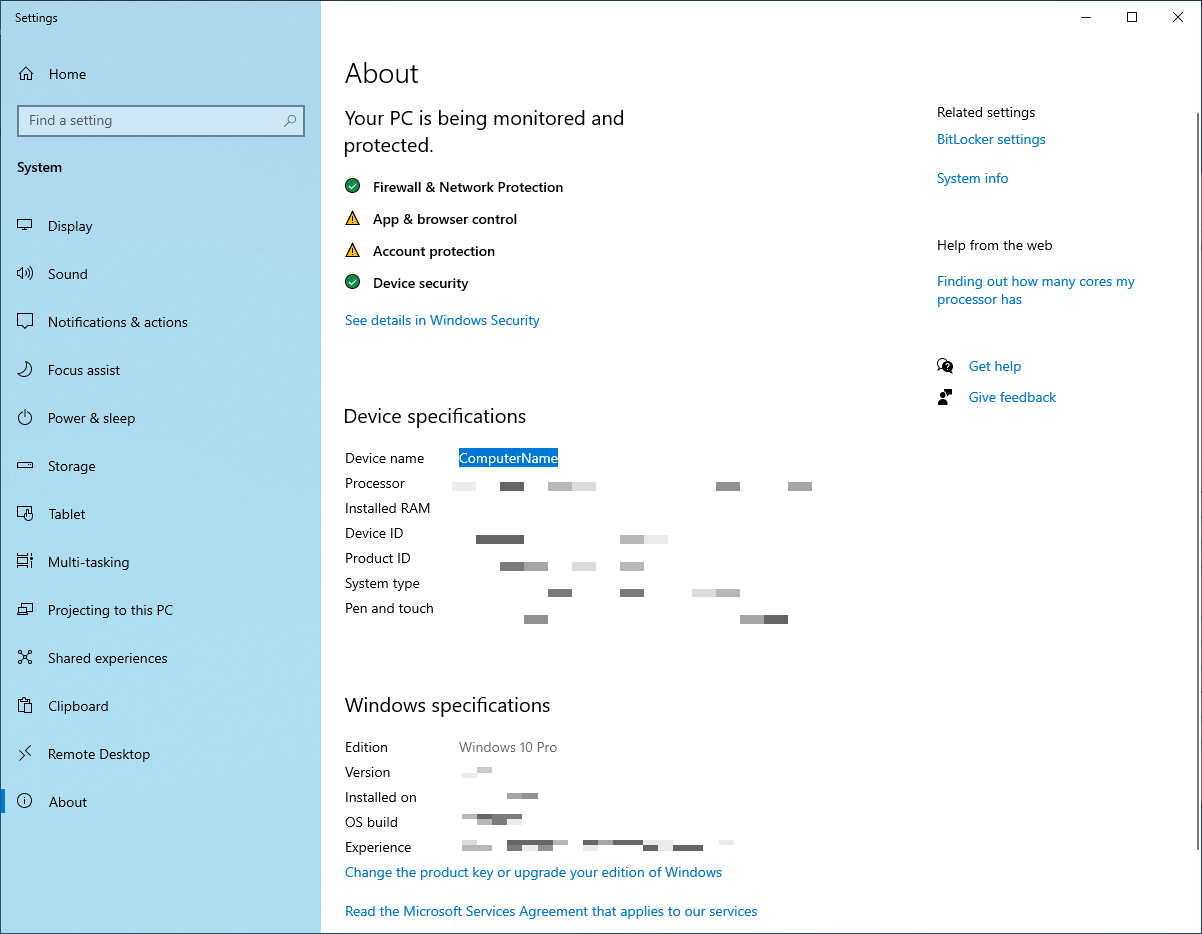
- Record the Device Name. In the image above it is ComputerName.
Step 3 - Create the Shortcut
- Log into the User Account you wish to use SmartPSS on.
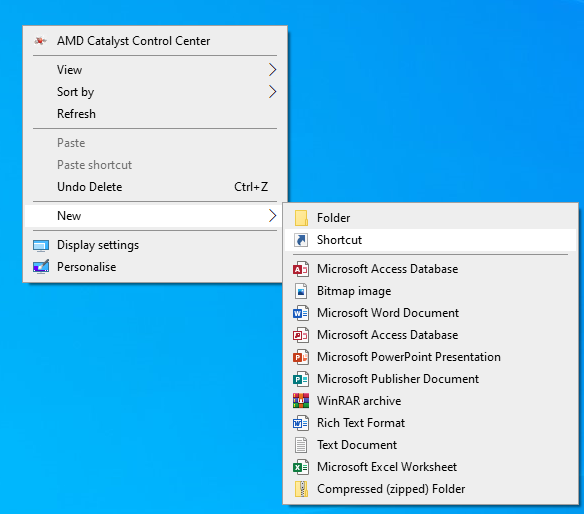
- On the desktop, right-click and select New > Shortcut.
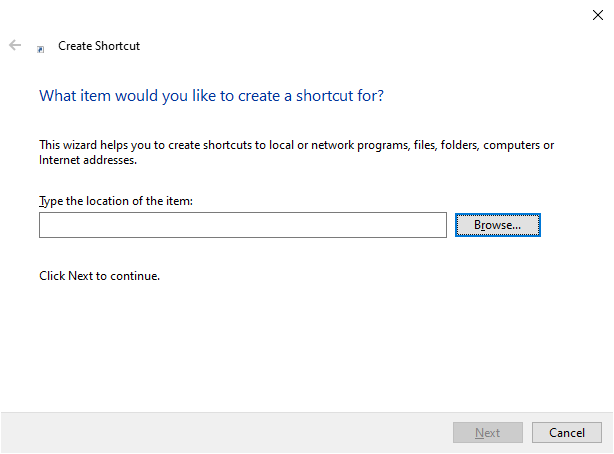
- Click Browse.
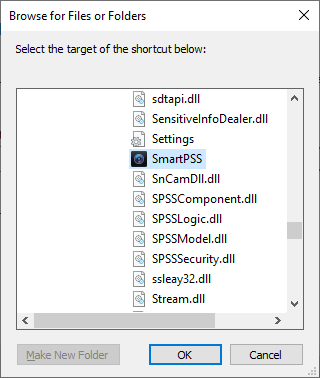
- Navigate to SmartPSS.exe and select it. Click OK.
This is commonly located at located at C:\Program Files\Smart Professional Surveillance System\SmartPSS.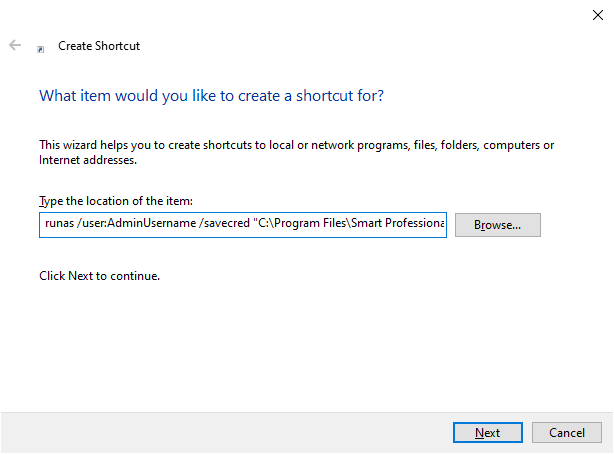
- Add runas /user:ComputerName\AdminUsername /savecred to the start of the file path.
- Replace AdminUsername with the username of the administrator account found in Step 1.
- Replace ComputerName with the Device Name found in Step 2.
- Click Next.
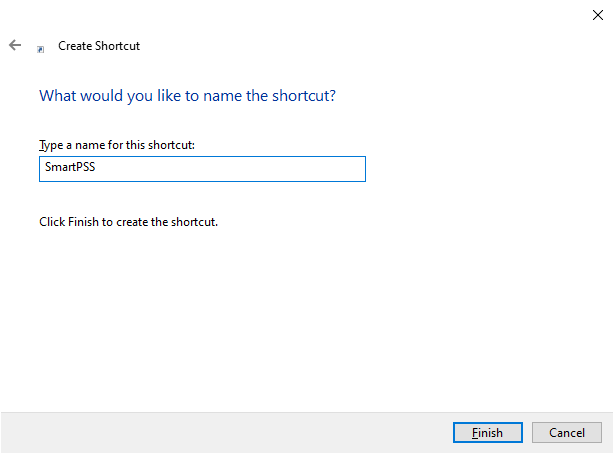
- Name the Shortcut, then click Finish.
Step 4 - Run the shortcut and enter the Administrator credentials.
-
Double-click on the Shortcut to run it.
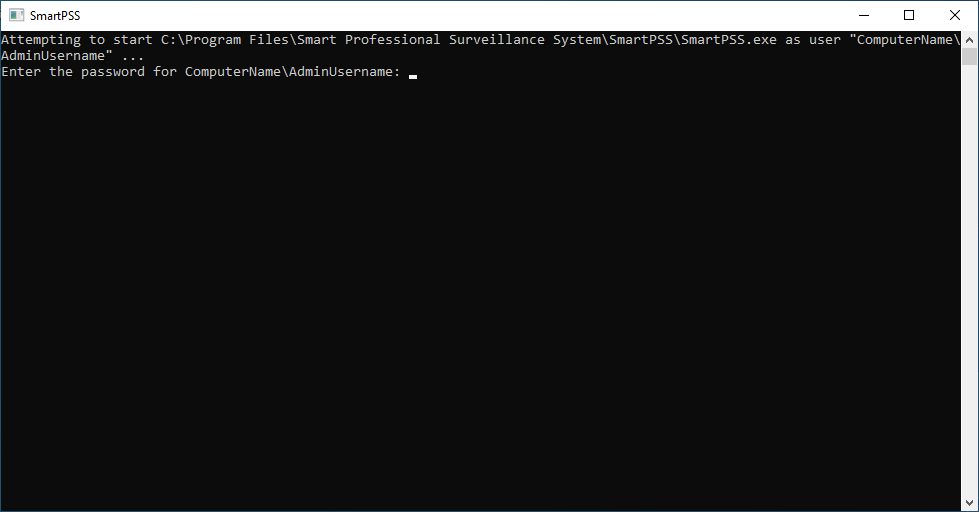
- Enter the password for the administrator account, then press the Enter key.
Please note that you will NOT be able to see the password as it is being typed in.
You will only have to enter the admin password this once. It will be saved in the Windows Credential Manager from now on. - SmartPSS will now open.
Step 5 (Optional) - Change the icon of the shortcut to use the SmartPSS icon.
-
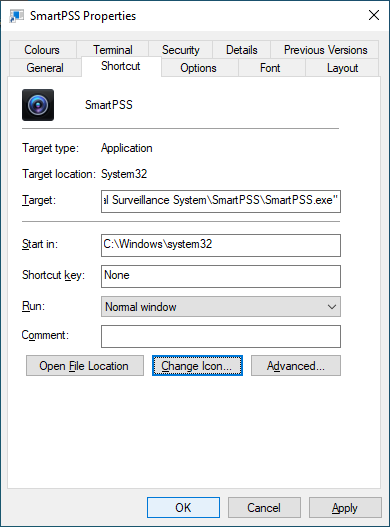
Right-click on the shortcut.
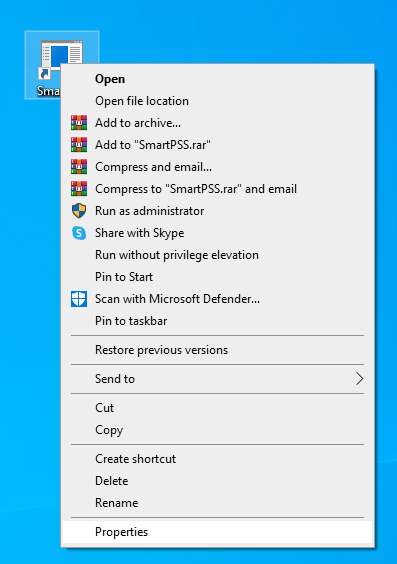
- Select Properties.
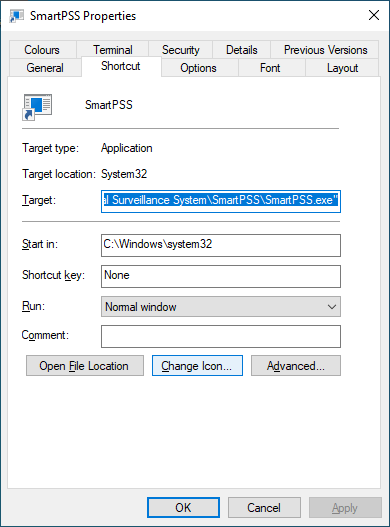
- Click Change Icon.
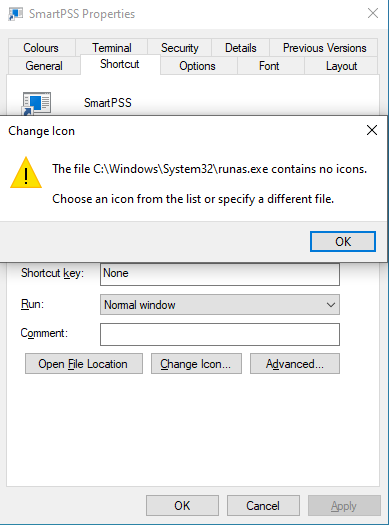
- Click OK.
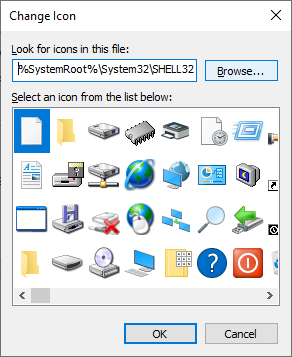
- Click Browse.
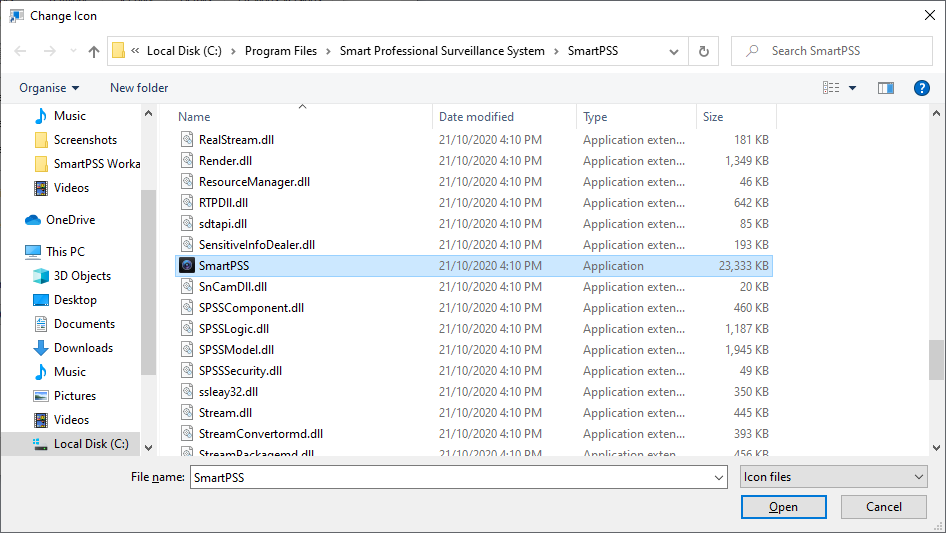
- Navigate to SmartPSS.exe and select it. Click Open.
This is commonly located at located at C:\Program Files\Smart Professional Surveillance System\SmartPSS.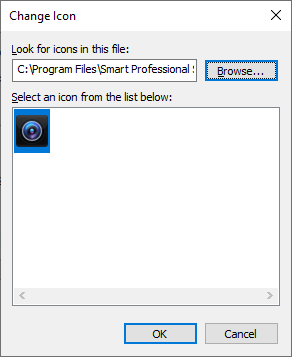
- Click OK.
- Click OK.

- Your Shortcut will now have the SmartPSS Icon.