Initialising a camera is the process of setting a password on it. All cameras manufactured post 2018 need to be initialised before use.
If connected to the POE Port of an NVR manufacturer post 2018 this process should happen automatically.
Option 1 - Initialisation via the Web Interface
The Camera will need to be connected to the Laptop via an Ethernet cable.
You can access the Web Interface by entering the camera's IP address into the address bar of Internet Explorer. 192.168.1.108 is the default IP of our cameras.
You may need to change the IP address of your computer to reach it.
How to change the IP Address of your computer
Windows 10
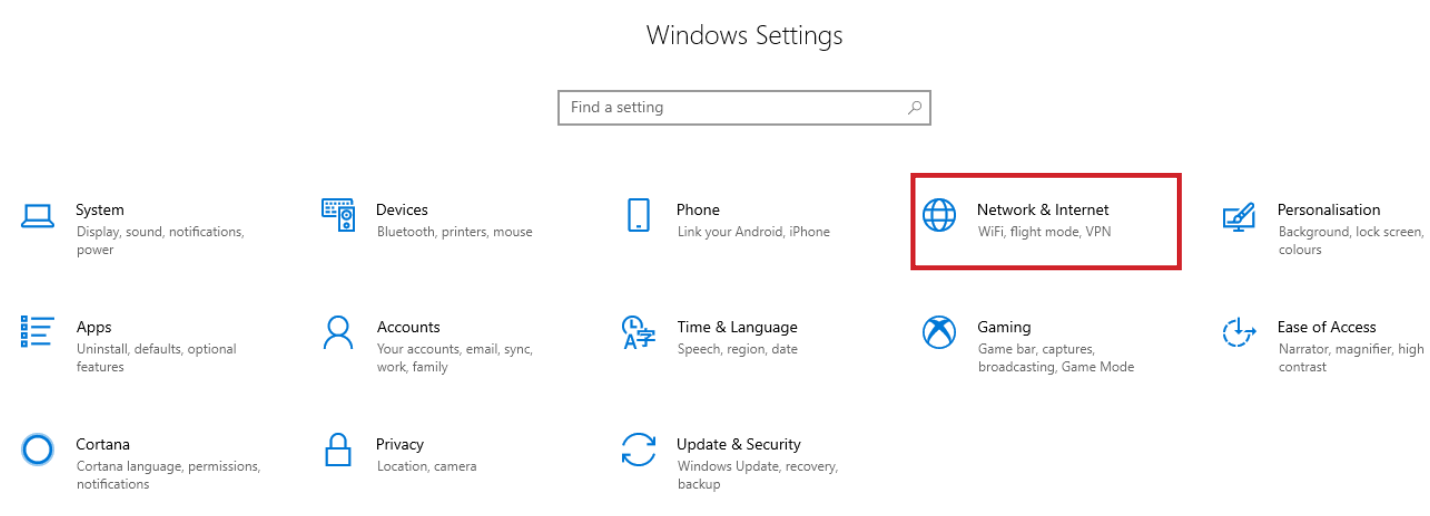
- Open Settings.
- Select Network & Internet.
- Select Status, then Change Adapter Options.
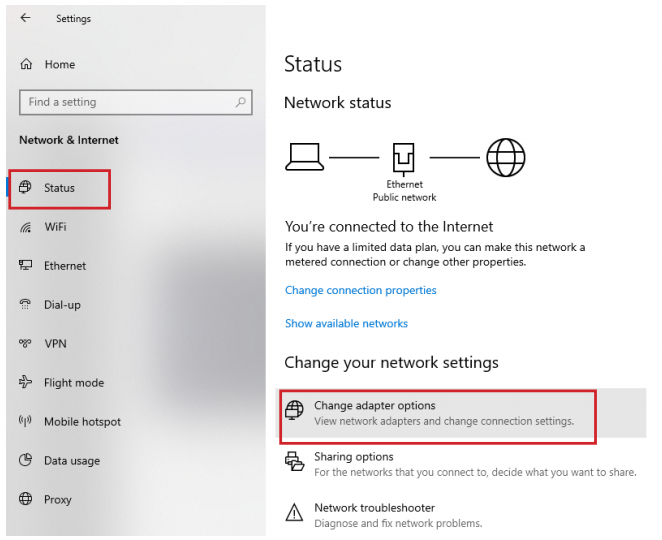
-
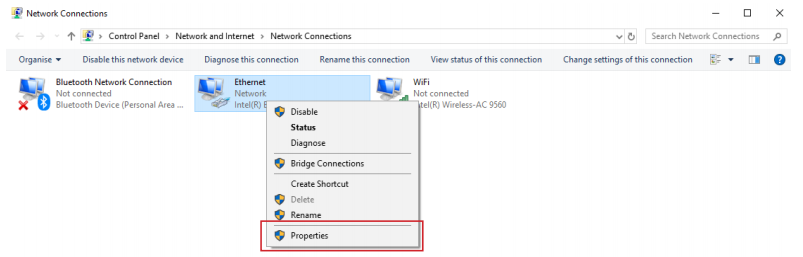
Right-click the network adapter you want to change the IP address for, and select Properties.
-
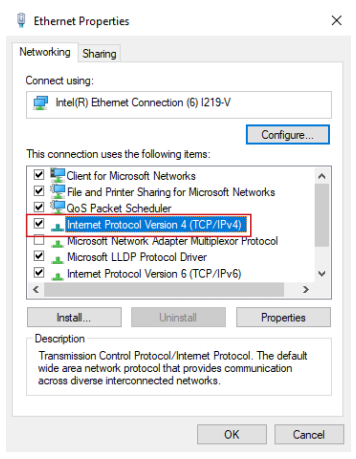
Double-click the Internet Protocol Version 4 (TCP/IPv4) item.
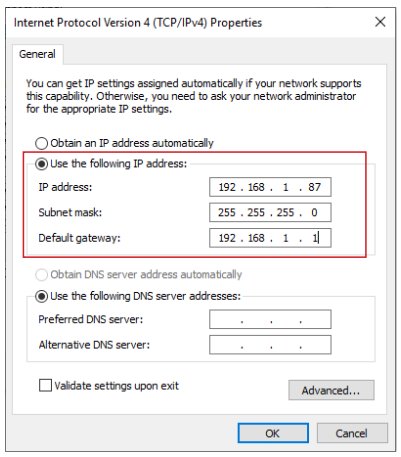
- Click Use the following IP address and enter an IP address in the same range as the device you are trying to access. (E.g when trying to access 192.168.1.108 use a IP address in the 192.168.1.x range.) Note: This cannot be the same as the device you are trying to connect to or any other device on the same network. Save your changes on both windows.
- Type the IP address of the device you are trying to access into the address bar of your web browser.
- Once finished configuring the device, change the adapter settings back to normal by following steps 1-5 and clicking Obtain an IP address automatically.
Windows 11
1. In the Windows search bar at the bottom of the page, type Control Panel and press enter.
2. Select Network and Internet.

3. Select Network and Sharing Centre.

4. Select the link for Connections in the network that you want to change the IP address for.

5. Select Properties.

6. Double-click the Internet Protocol Version 4 (TCP/IPv4) item.

7. Click Use the following IP address and enter an IP address in the same range as the device you are trying to access. (E.g when trying to access 192.168.1.108 use a IP address in the 192.168.1.x range.) Note: This cannot be the same as the device you are trying to connect to or any other device on the same network. Save your changes on both windows.

8. Type the IP address of the device you are trying to access into the address bar of your web browser.
9. Once finished configuring the device, change the adapter settings back to normal by following steps 1-6 and clicking Obtain an IP address automatically.
See the video below for a visual guide of the steps above:
Shortcut
1. In the Windows search bar at the bottom of the page, type Ncpa.cpl and press enter.
2. Right-click the network adapter you want to change the IP address for, and select Properties.
3. Select the Internet Protocol Version 4 (TCP/IPv4) item.

4. Click Use the following IP address and enter an IP address in the same range as the device you are trying to access. (E.g when trying to access 192.168.1.108 use a IP address in the 192.168.1.x range.) Note: This cannot be the same as the device you are trying to connect to or any other device on the same network. Save your changes on both windows.
5. Type the IP address of the device you are trying to access into the address bar of your web browser.
6. Once finished configuring the device, change the adapter settings back to normal by following steps 1-3 and clicking Obtain an IP address automatically.
See the video below for a visual guide of the steps above:
Delete
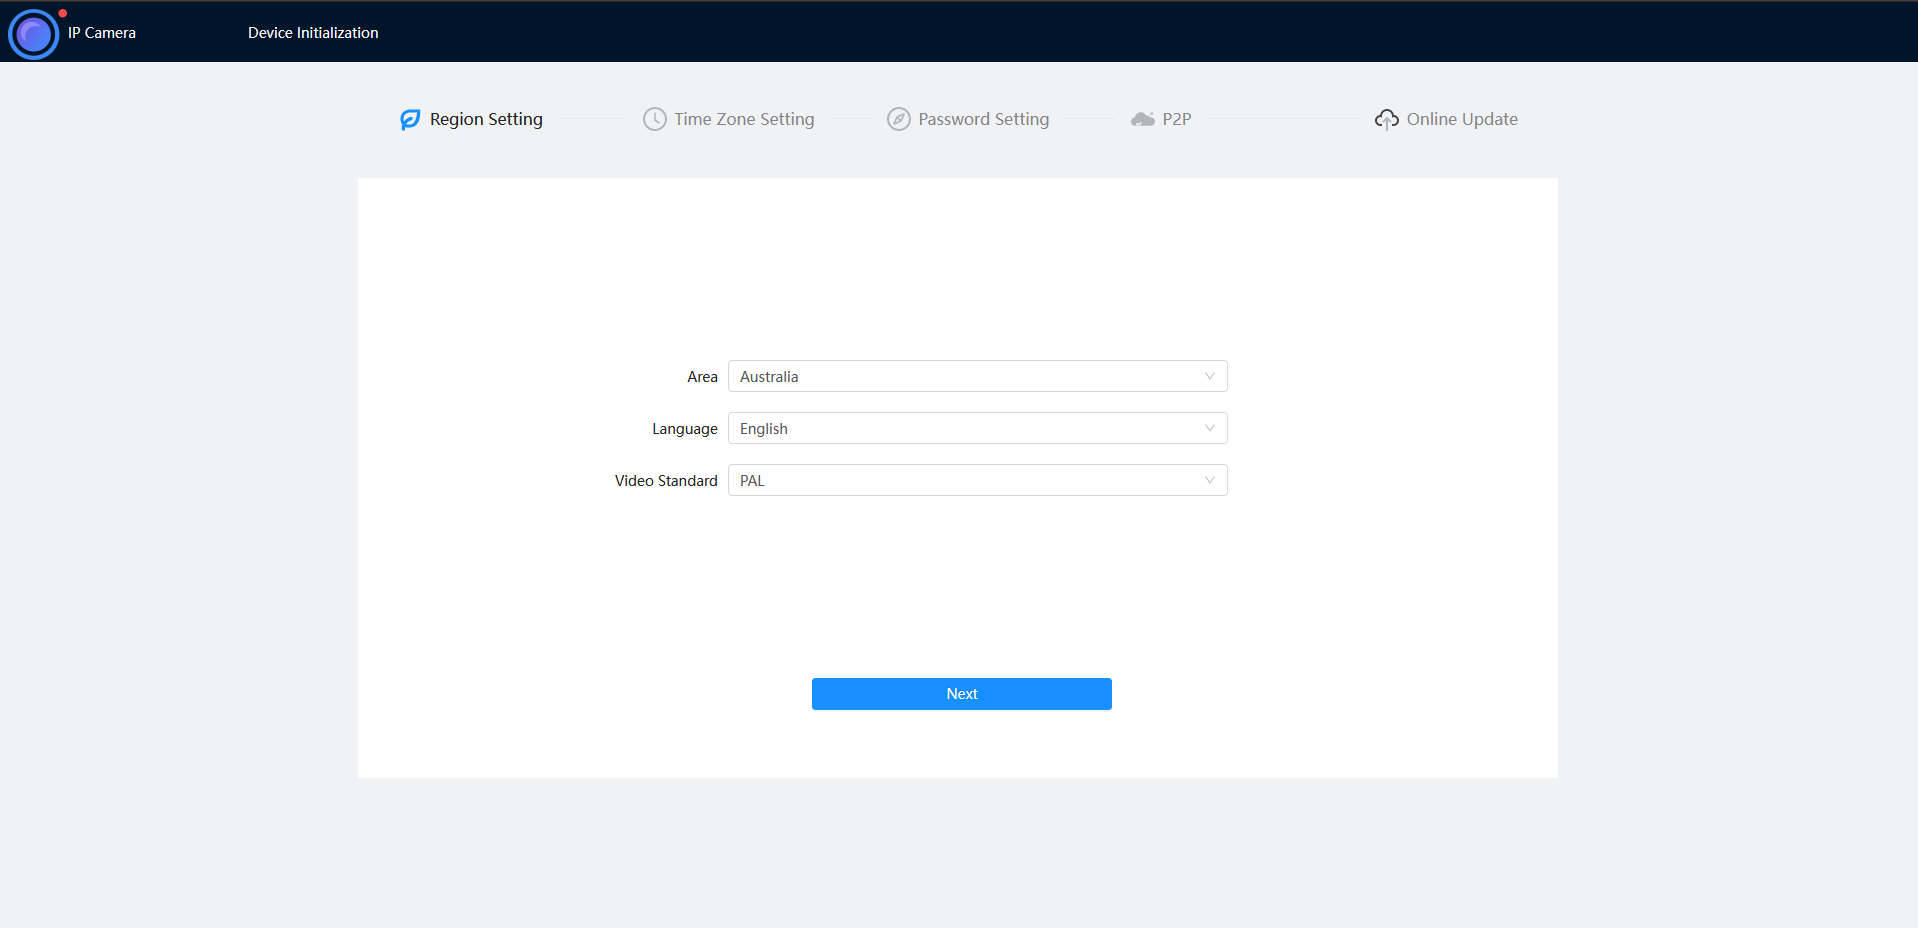
How to initialise a camera via Web interface 5.0
- Select your Region and Language.
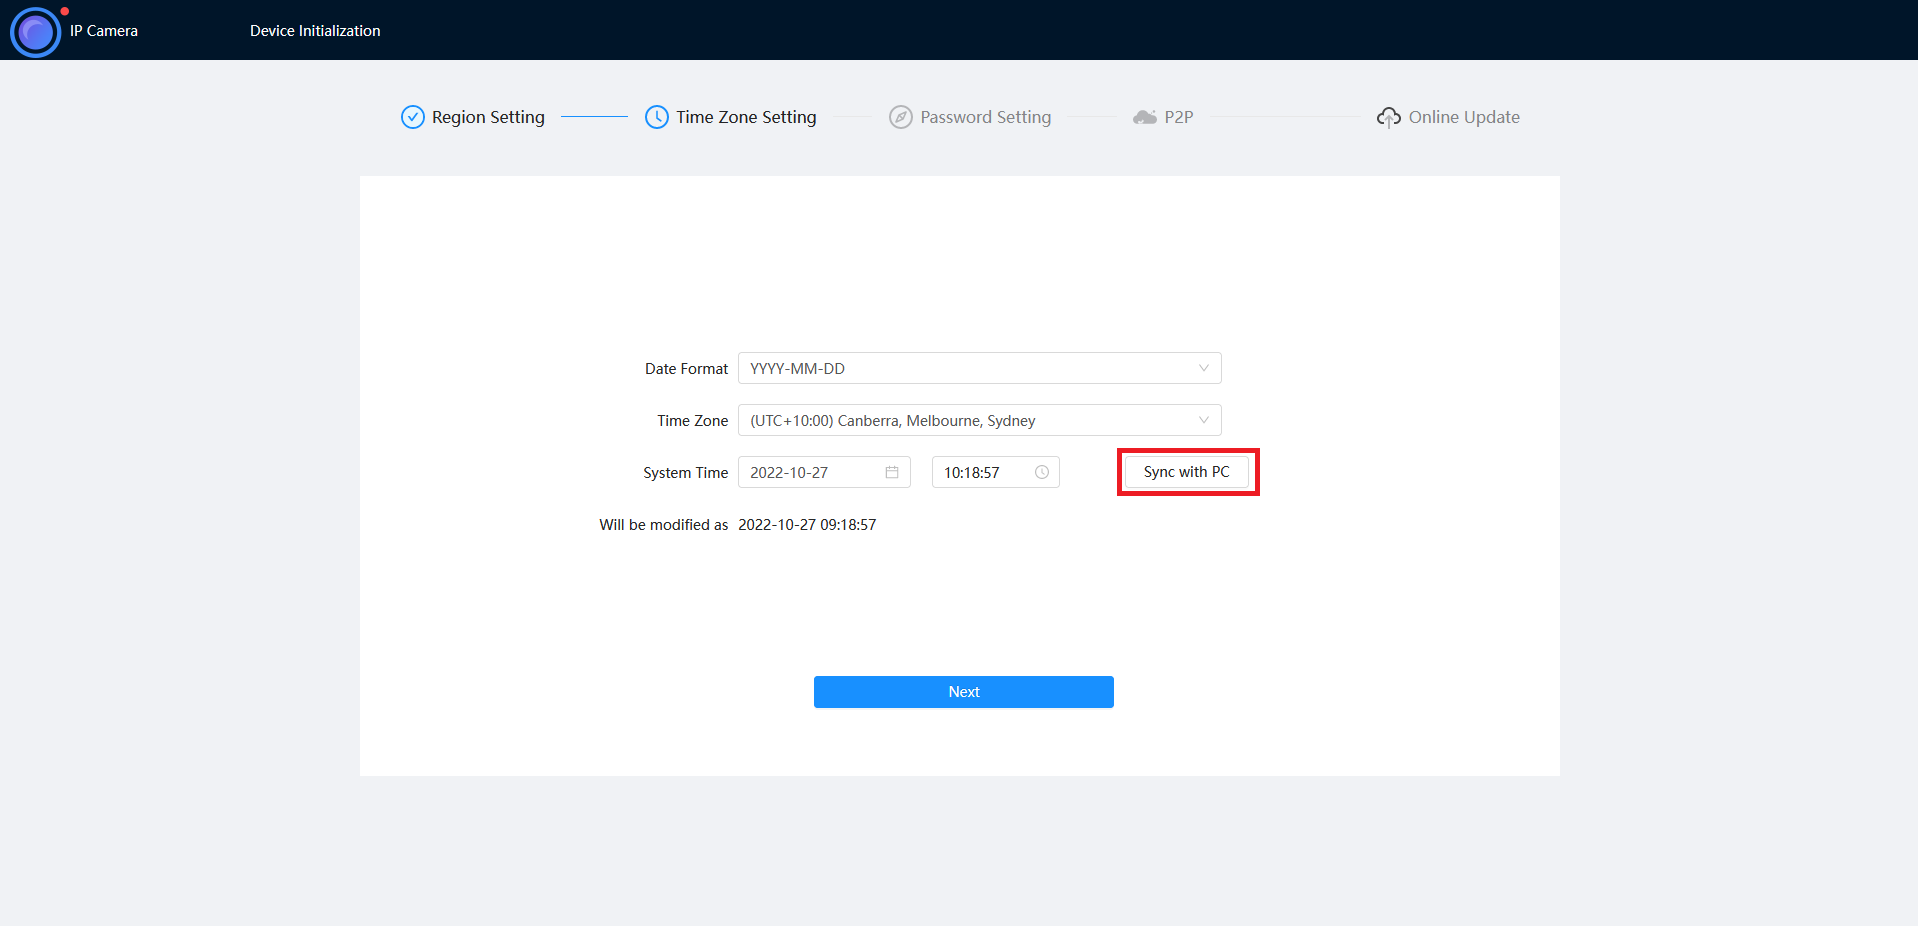
- Select your Time Zone, then press Sync with PC to sync your cameras time with the PCs time.
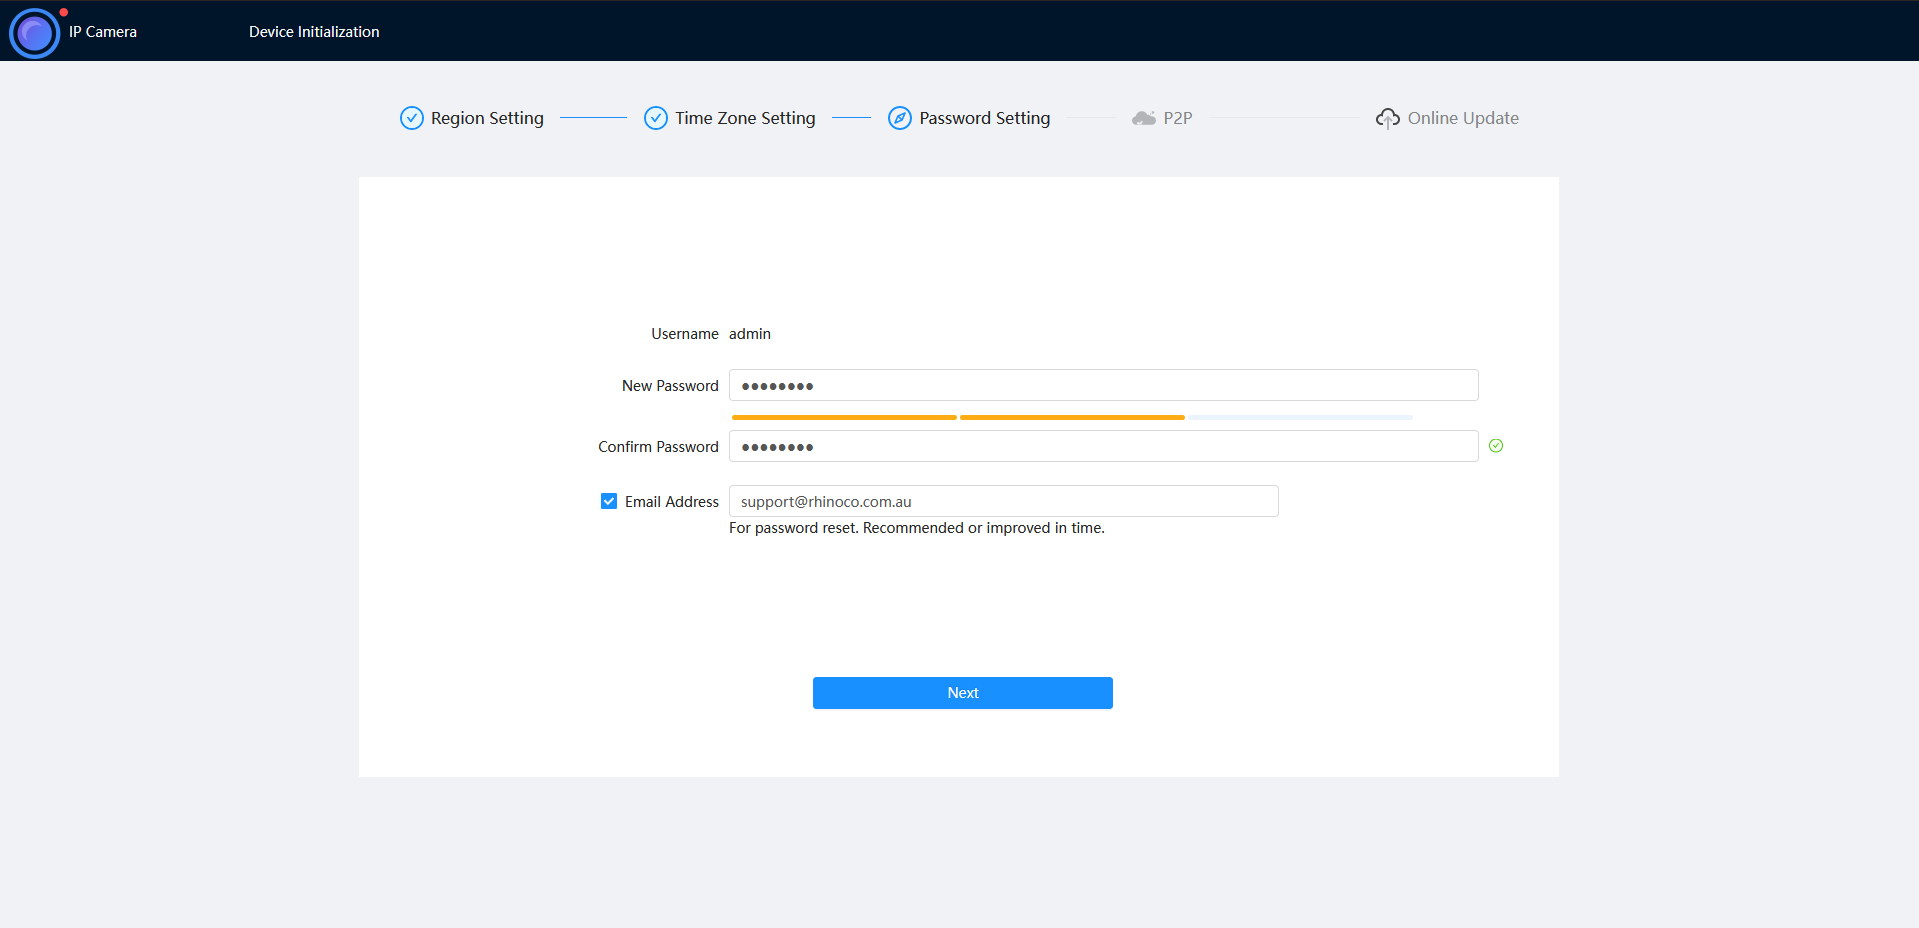
- Enter a password and recovery email.
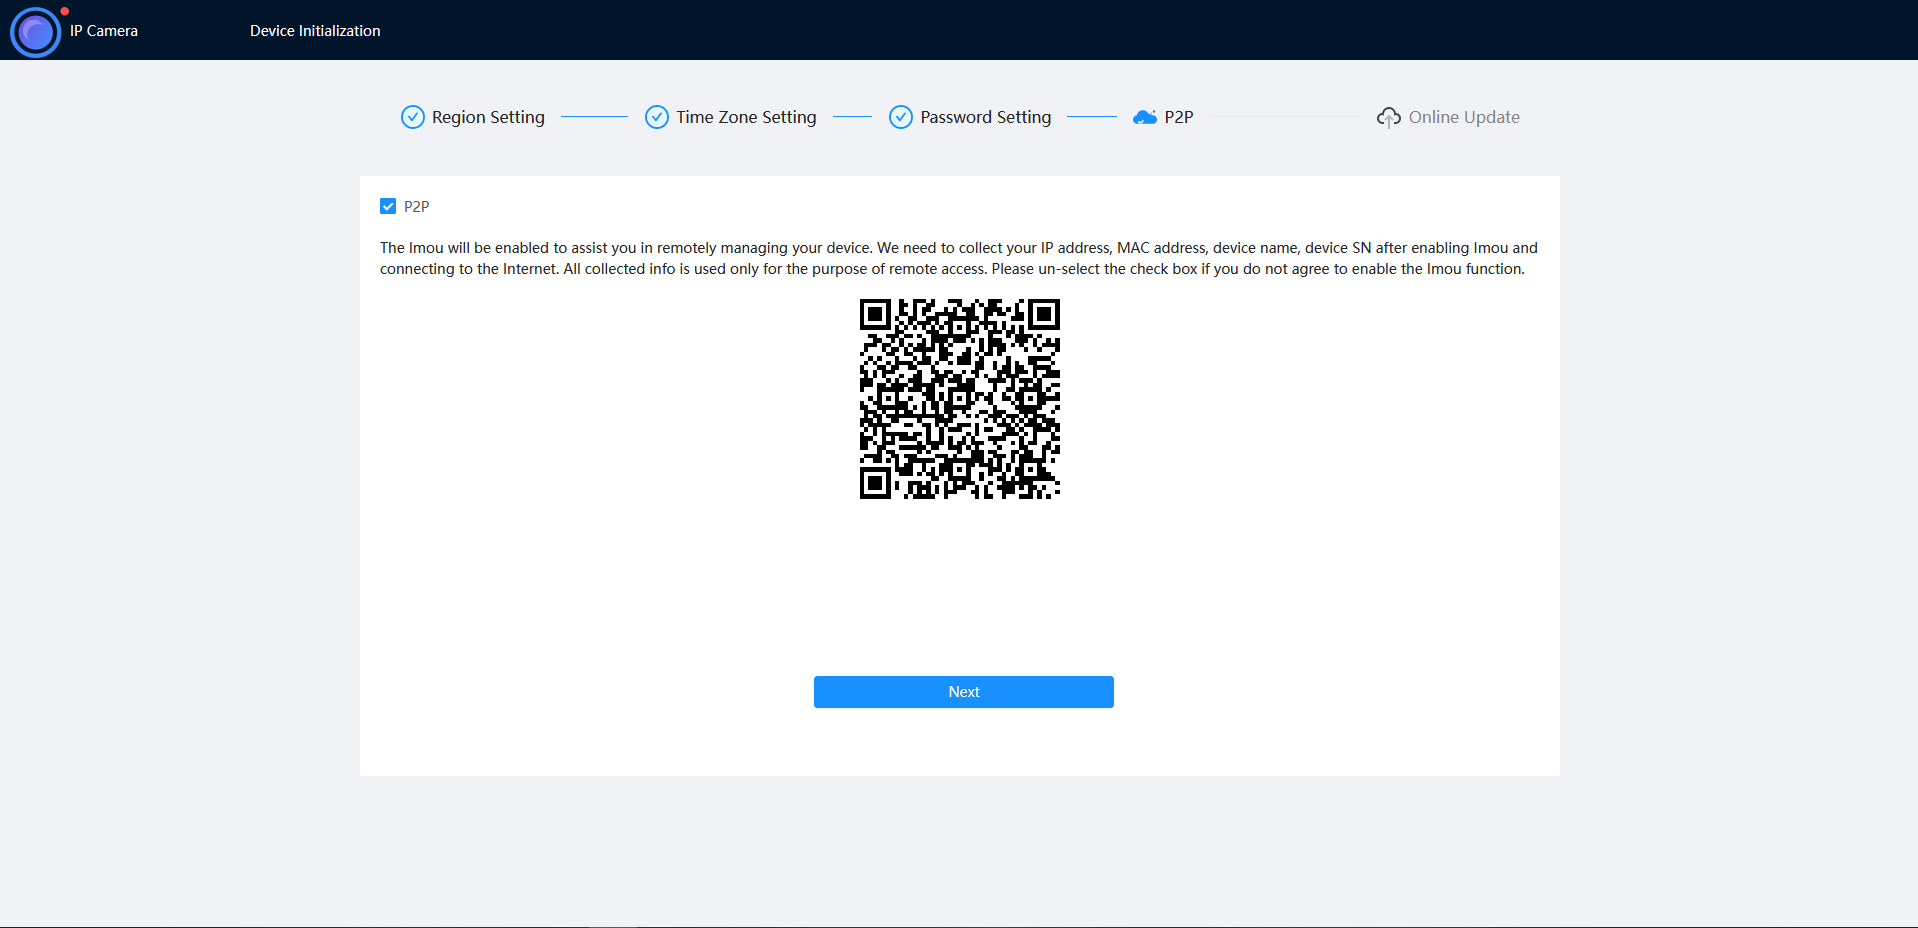
- Ensure P2P is enabled, then press Next.
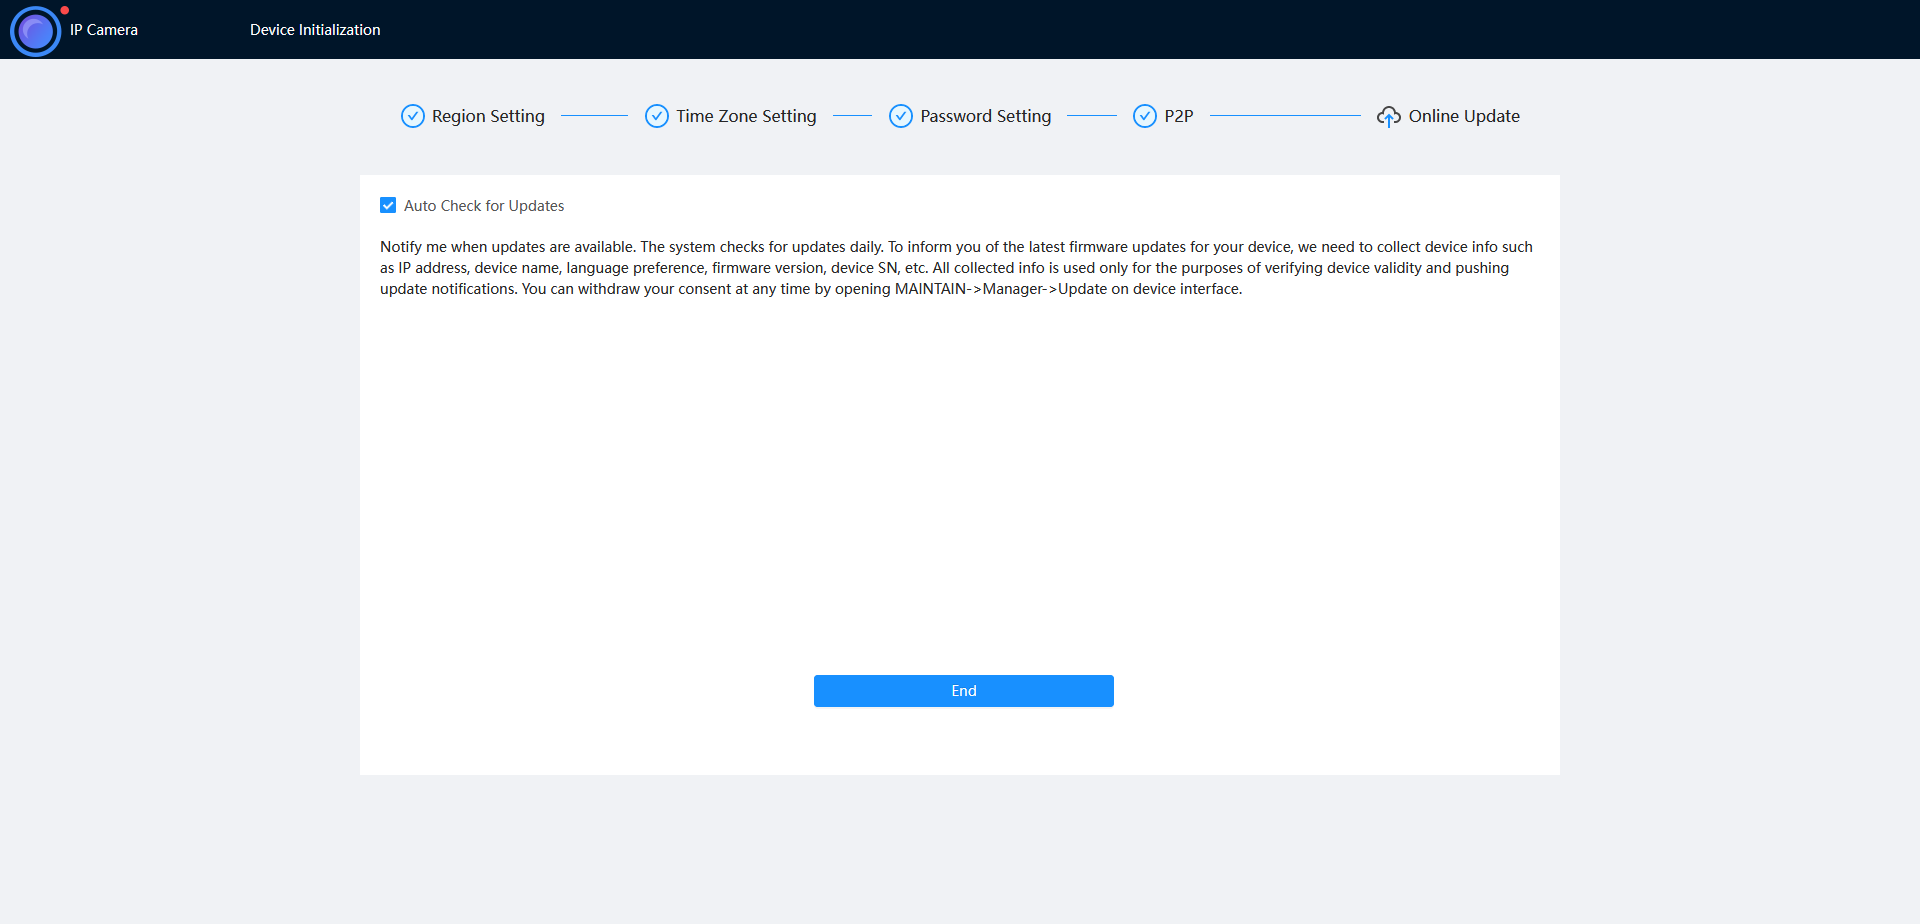
- Click End.
How to initialise a camera via Web interface 3.0
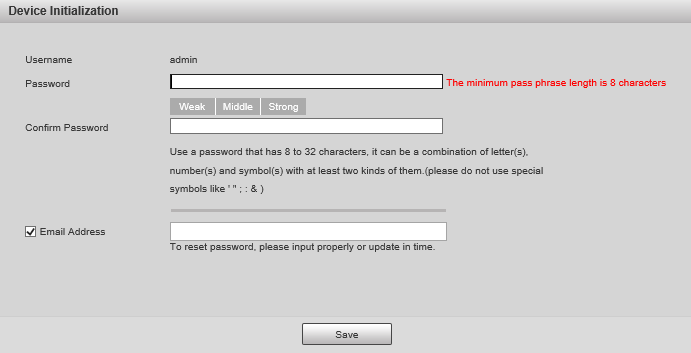
Initialize the camera by entering a new password (It will need to be at least 8 characters long), then click Save.
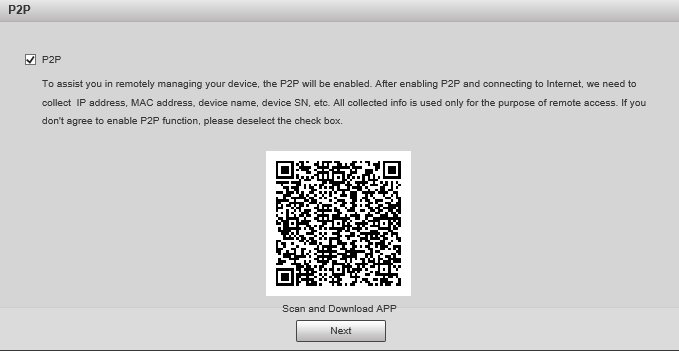
Ensure P2P is enabled and click Next
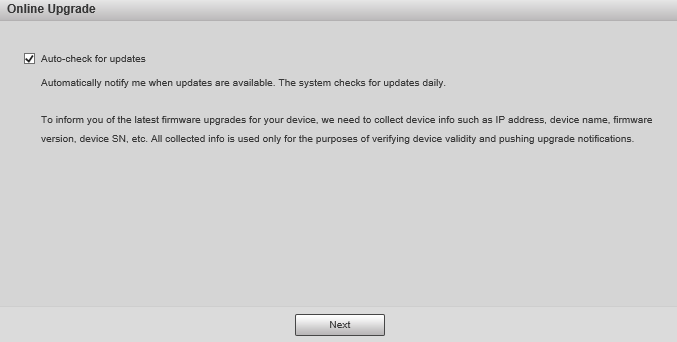
Click Next.
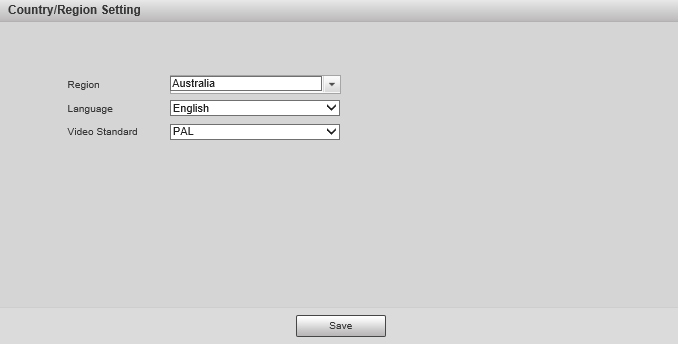
If prompted, select a region and click Save
DeleteOption 2 - Initialisation via the Config Tool
The initialisation process can also be performed using the latest version of our Config Tool - Please see the images below showing how this is done. To speed up the process the Config Tool also allows you to initialise multiple cameras at once.
- Download and open Config Tool.
- Put a check in the box
 next to the device you would like to Initialise, and select the Initialize button.
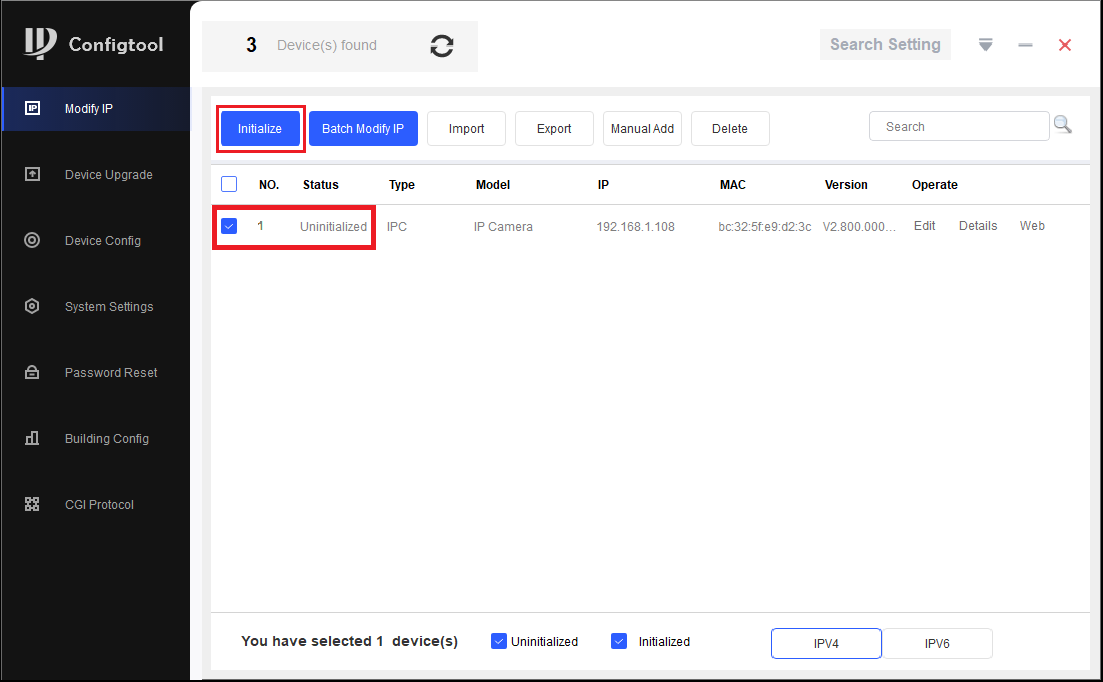
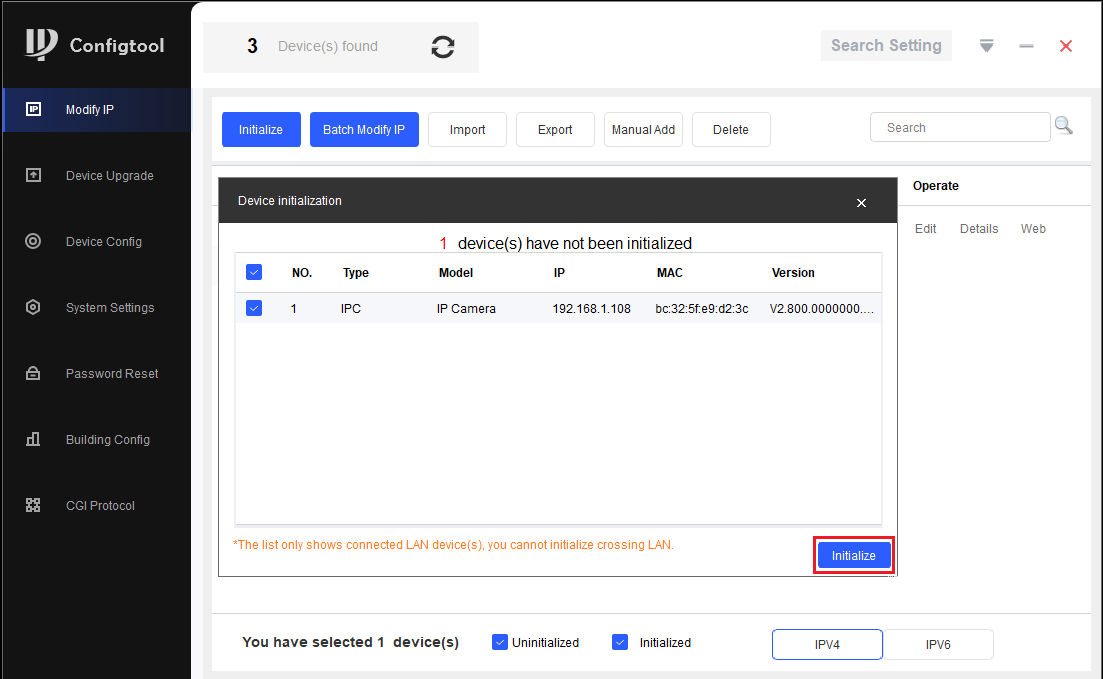
- Select the Initialize button.
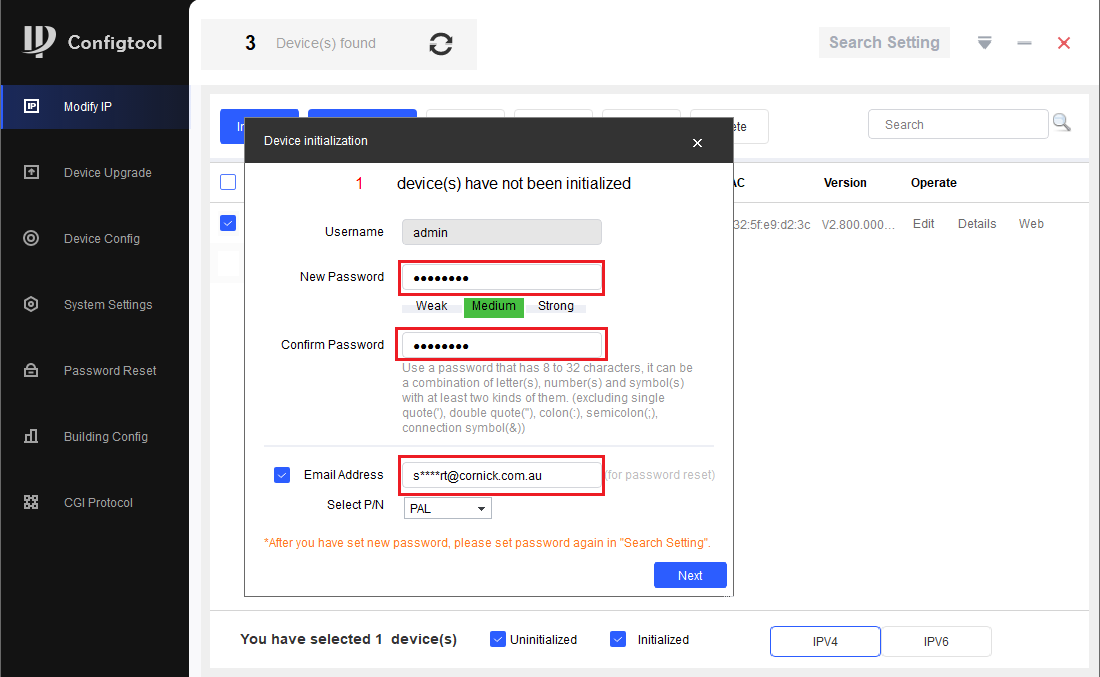
- Enter a password, that is at least 8 characters, and is a mix of letters and numbers. Enter an email address, this will be used if the password is ever forgotten. Select Next.
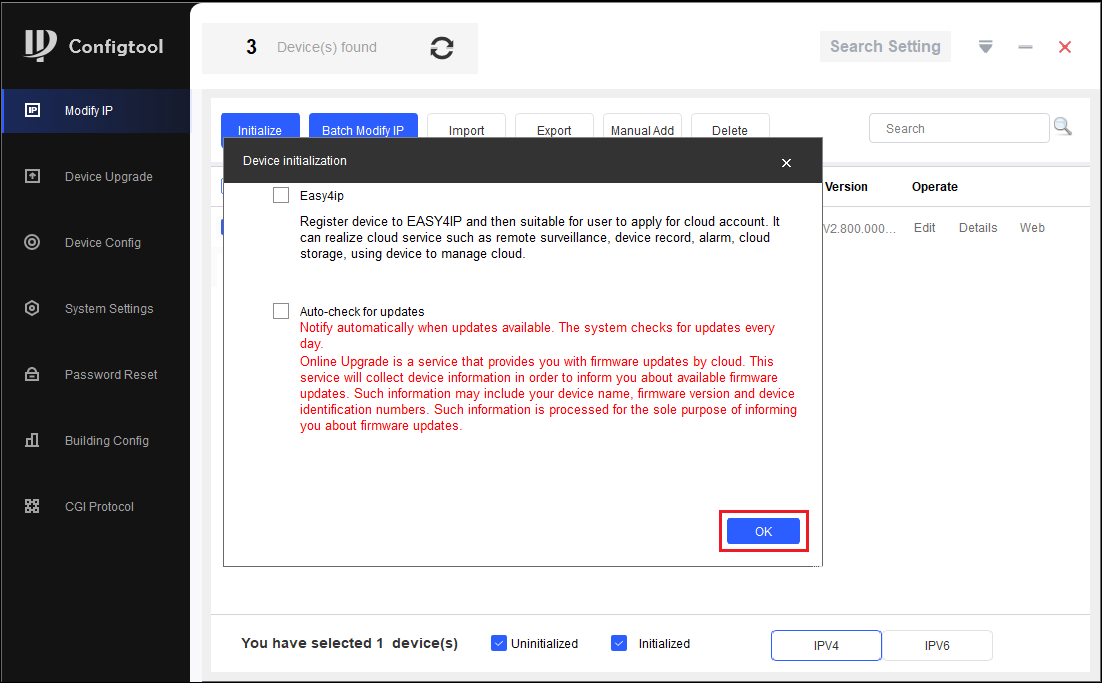
- Depending on the installation requirements, you can check or uncheck the boxes for Easy4IP (P2P Remote Access) and Auto-check for updates. Select OK.
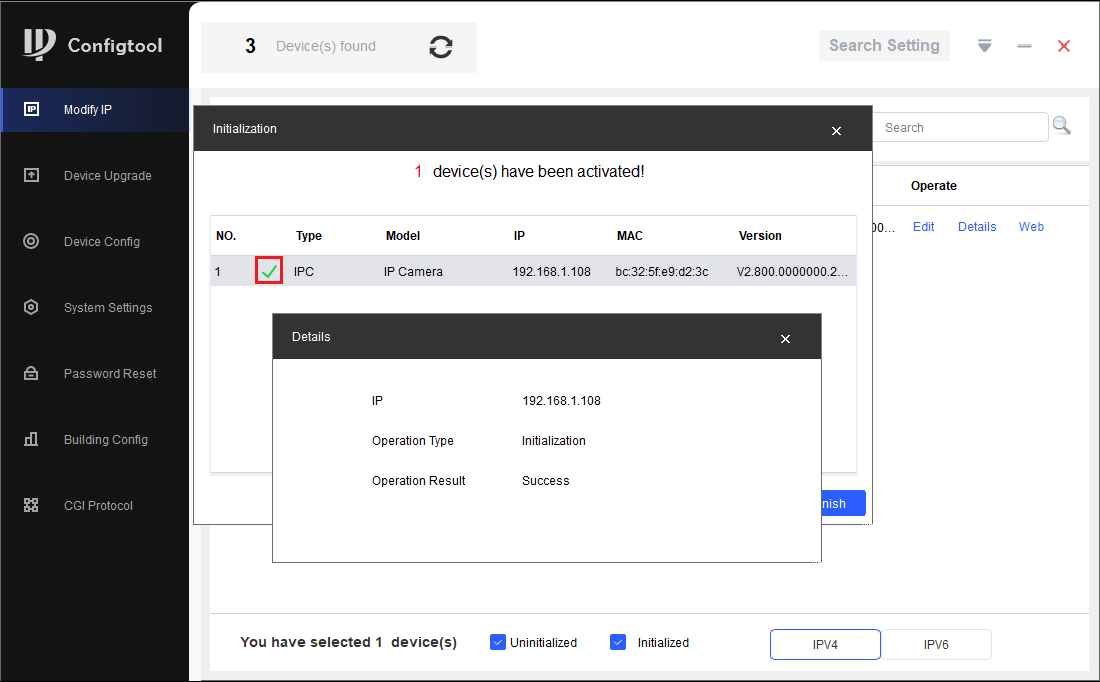
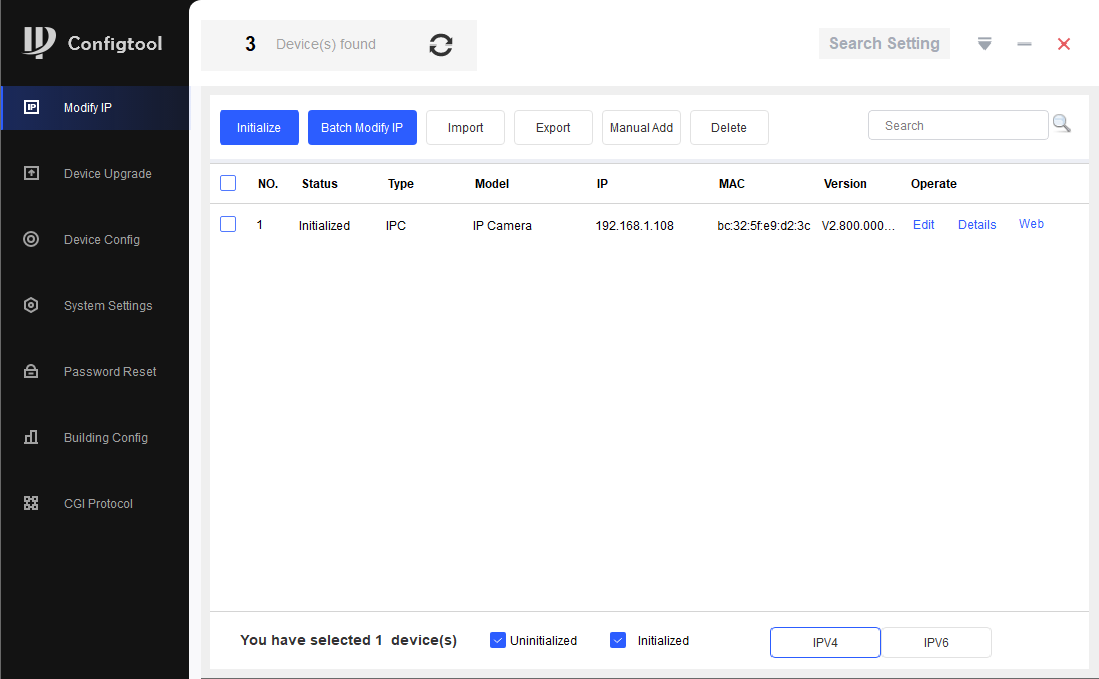
- If the status shows as Initialized, the process was completed successfully.