Keyboard and NVR Connection
When connecting the keyboard to an NVR, the keyboard and NVR must be on the same local network. The LAN ports both will need to be plugged into a network switch or a router/modem depending on the network layout on site.
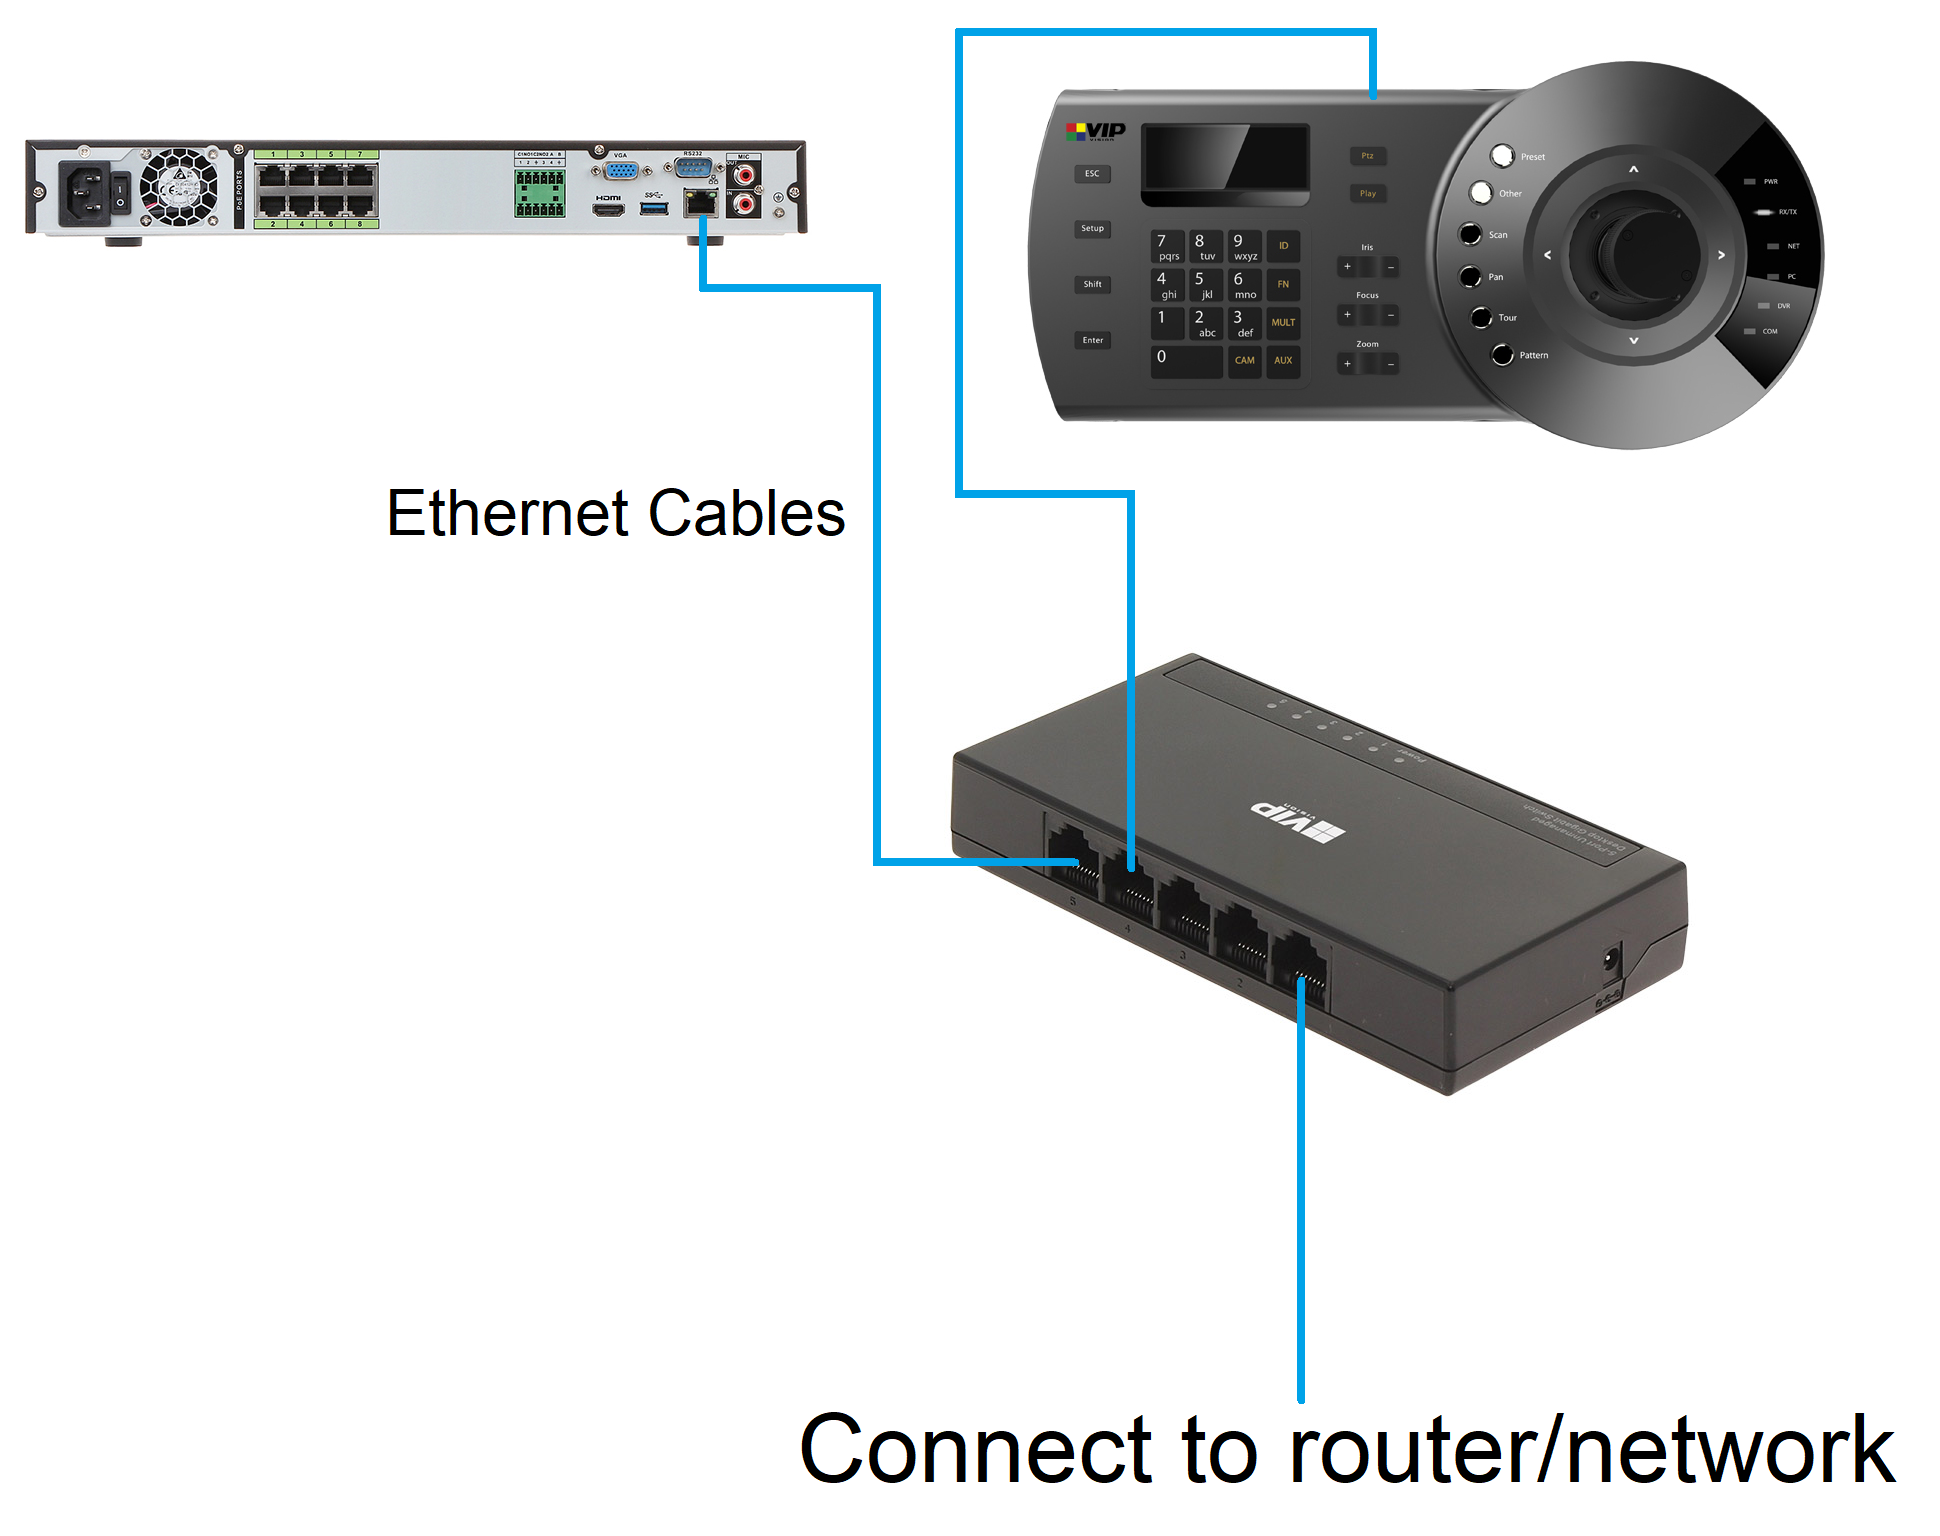
Keyboard Menu
VSIPPTZKBV2
PTZ Keyboard Setup
In this example, we are going to connect to an NVR, with a PTZ camera connected to it.
The NVR IP address is going to be 192.168.1.100, and the PTZ Keyboard will have an address of 192.168.1.150.
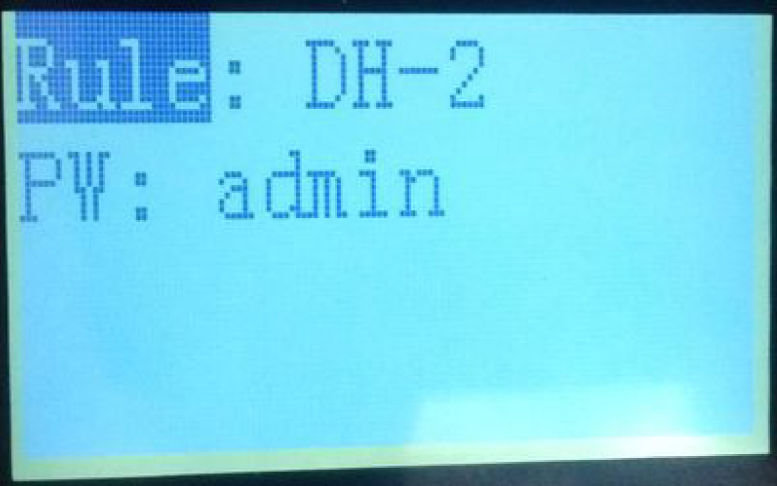
- Once the keyboard is powered up you'll then see the below display.
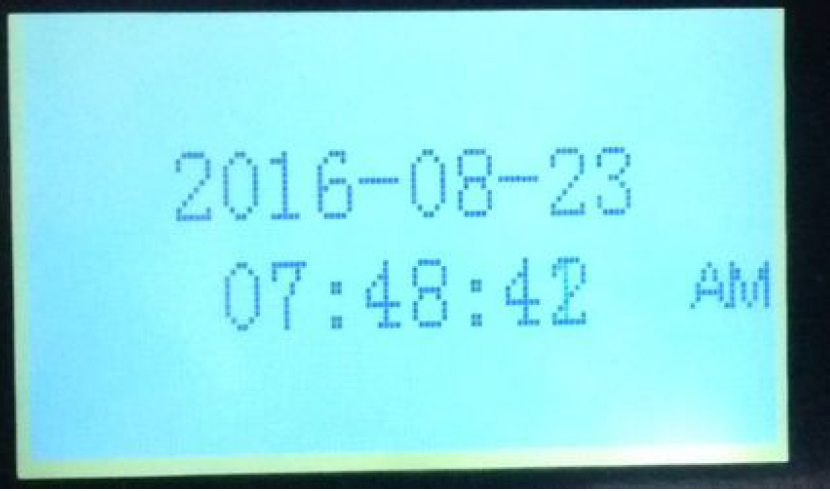
- Press the ENTER button, and input the password 888888. Press the ENTER button to proceed.
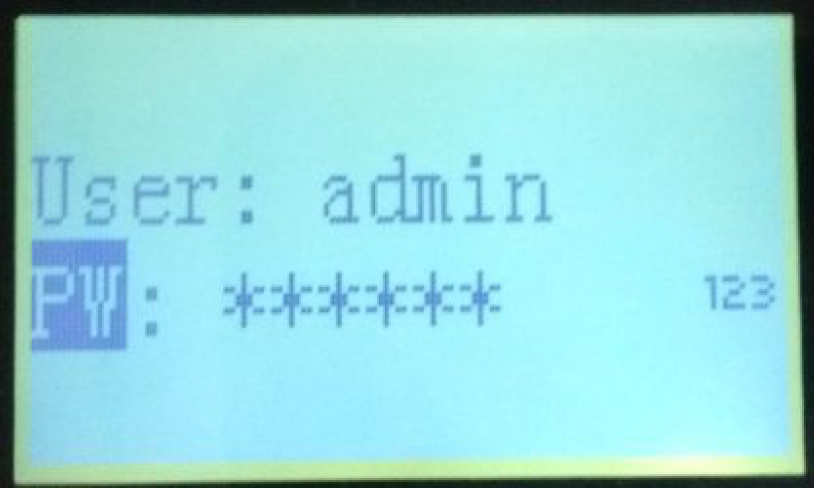
- Select Menu Settings > System > Network
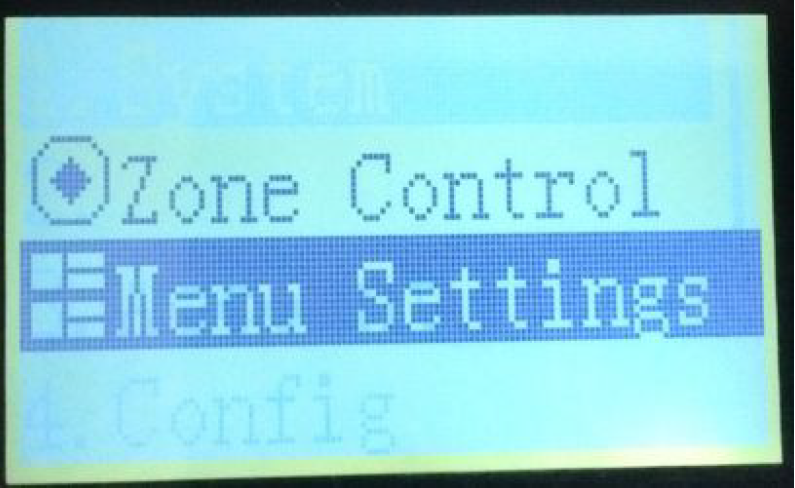
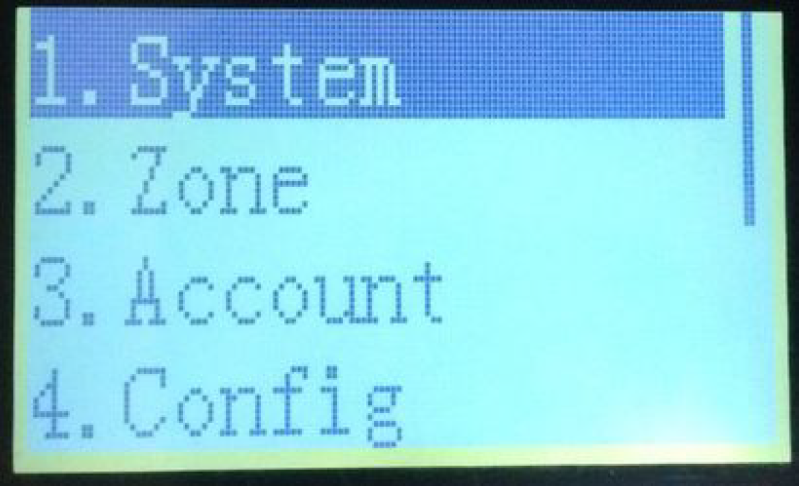
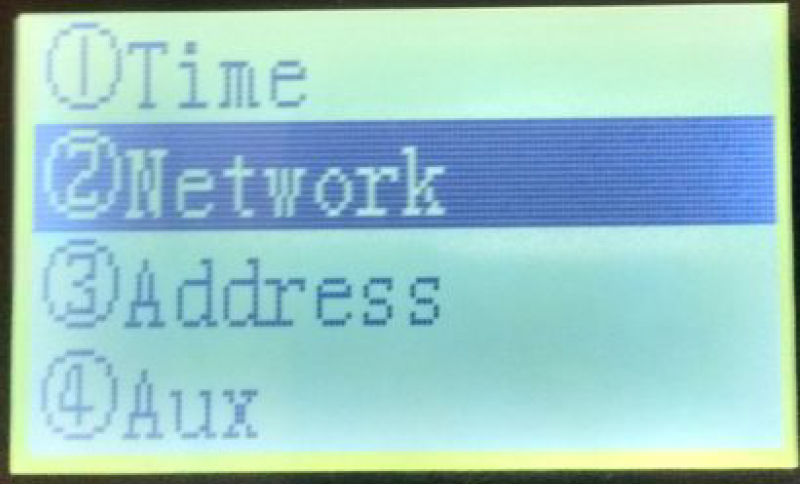
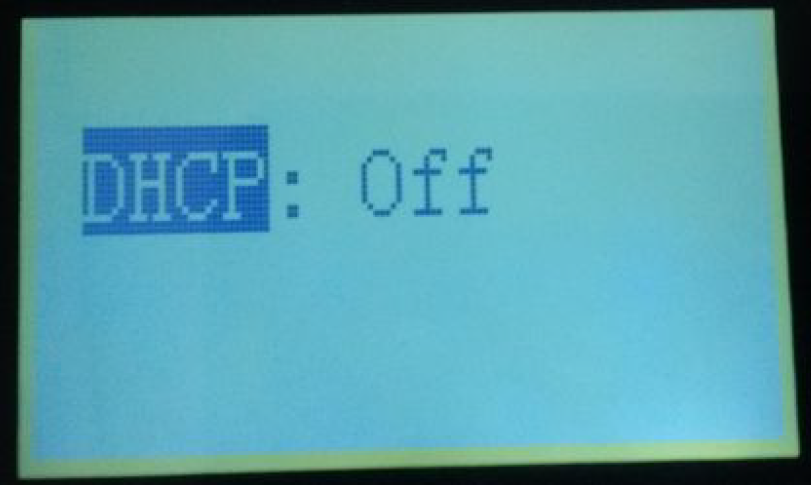
- Set DHCP to Off. Press ENTER
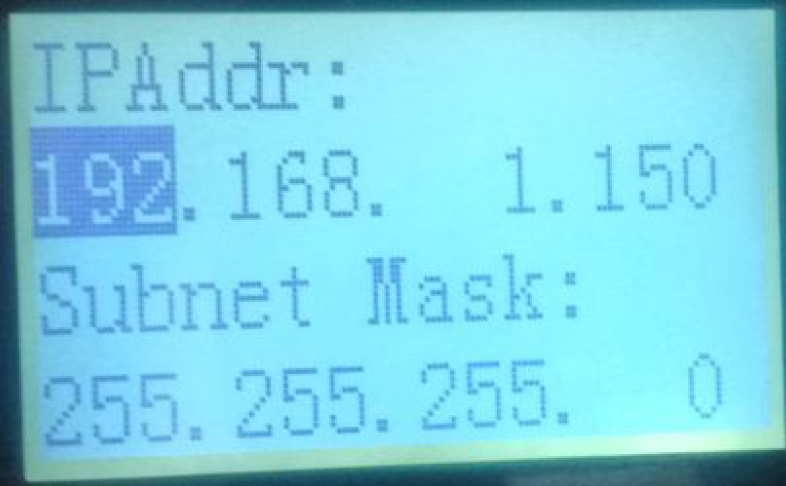
- In this menu, you may assign an IP address to the PTZ Keyboard, please ensure it is within the same network range as the recorder you are connecting to. In this case, we are going to give the PTZ Keyboard an IP address of 192.168.1.150. Press the ENTER button to save the settings.
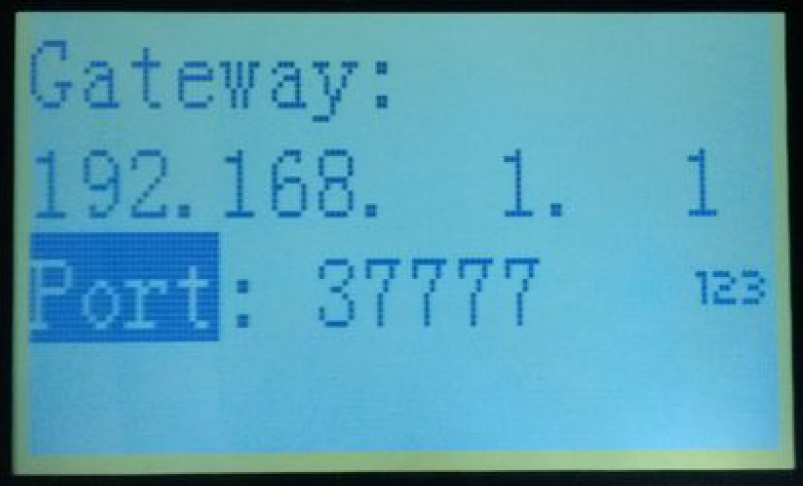
- Press the ESC button and select the Zone option.
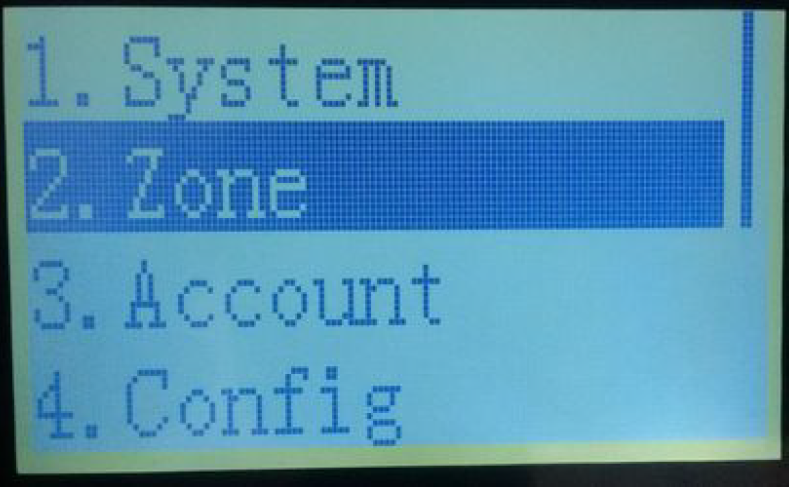
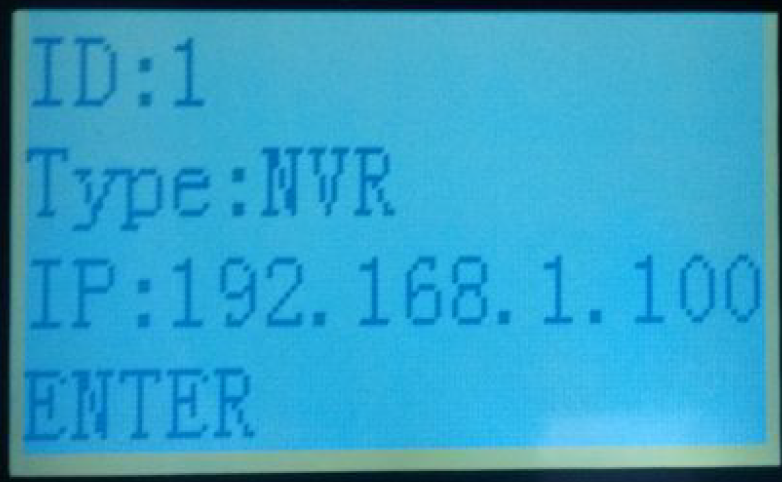
- Set the following parameters, then Press ENTER.
ID: 1
Name: Name to identify the NVR.
Type:NVR
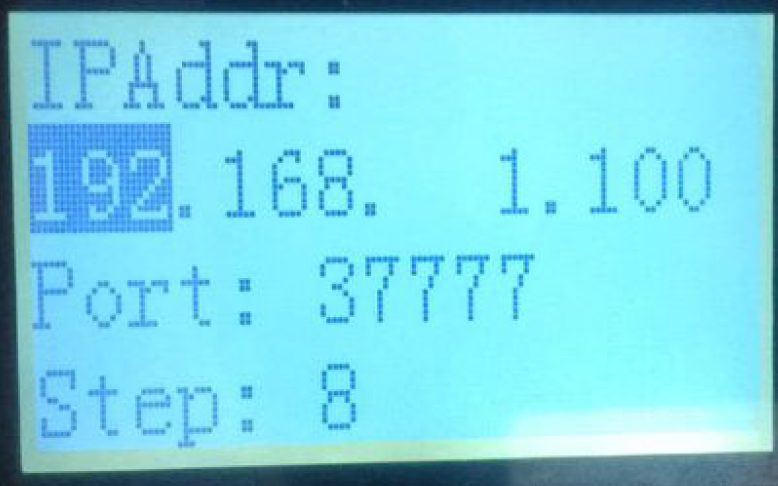
IP Addr: IP Address of the NVR (In this case the IP address is 192.168.1.100)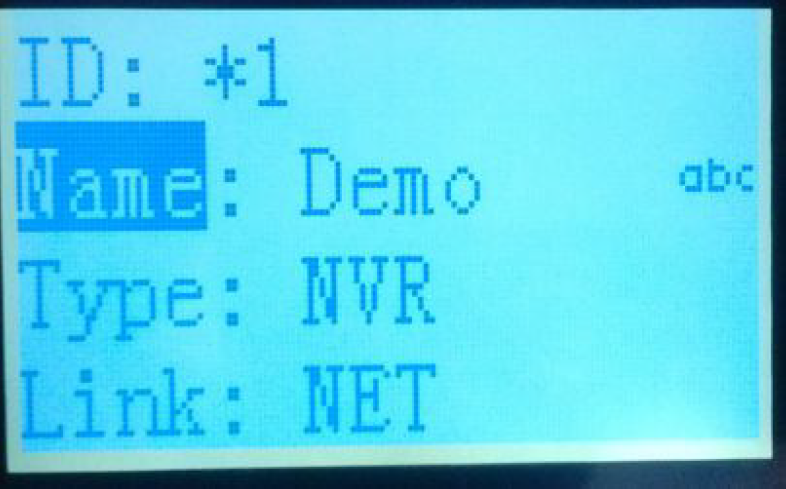
Info
If you have multiple recorders you can create different ID numbers for each recorder, each with a different IP Address and name.
PTZ Keyboard Usage
Logging into the NVR
To start using the PTZ keyboard you must first connect to the NVR.
- Press the ID Button. Enter the password (888888 by default), then press ENTER
- Enter the ID of the recorder you wish to connect to. If you followed the instructions above, the ID will likely be 1.
Viewing a Camera
To view a camera, press a number button on the keyboard (this must be the camera channel number on the NVR), then press the CAM button. You can then view the camera you have chosen in full screen on the recorder.
Controlling a PTZ
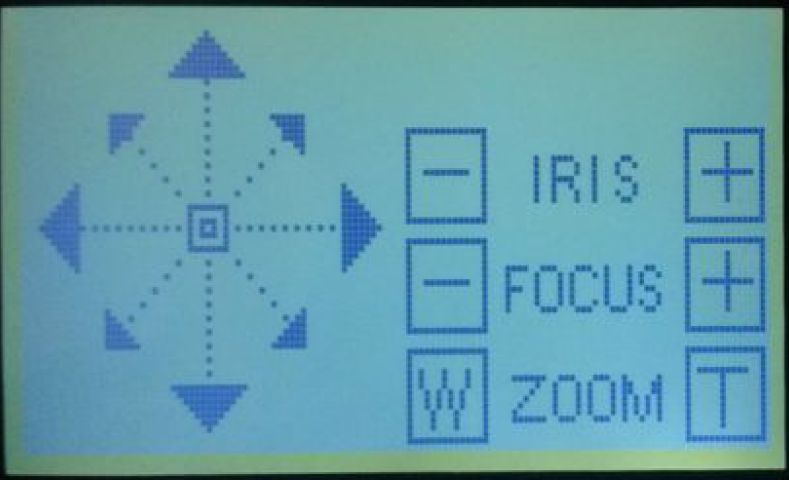
To control a PTZ camera, select a number button on the keyboard (this must be the camera channel number on the NVR), then press the PTZ button. You will now have control over the camera.
VSIPPTZKB3
PTZ Keyboard Setup
In this example, we are going to connect to an NVR, with a PTZ camera connected to it.
The NVR IP address is going to be 192.168.1.100, and the PTZ Keyboard will have an address of 192.168.1.150.
- Once the keyboard is powered up you'll then see the below display.

- Press the ENTER button, and initialize a new password by pressing shift you can switch between numbers capitals lowercase and symbols
This is the only difference with the KBV2 and KB3
Press the ENTER button to proceed.
- Select Menu Settings > System > Network


- Set DHCP to Off. Press ENTER

- In this menu, you may assign an IP address to the PTZ Keyboard, please ensure it is within the same network range as the recorder you are connecting to. In this case, we are going to give the PTZ Keyboard an IP address of 192.168.1.150. Press the ENTER button to save the settings.


- Press the ESC button and select the Zone option.

- Set the following parameters, then Press ENTER.
ID: 1
Name: Name to identify the NVR.
Type:NVR
IP Addr: IP Address of the NVR (In this case the IP address is 192.168.1.100)


Info
If you have multiple recorders you can create different ID numbers for each recorder, each with a different IP Address and name.
PTZ Keyboard Usage
Logging into the NVR
To start using the PTZ keyboard you must first connect to the NVR.
- Press the ID Button. Enter the password (888888 by default), then press ENTER
- Enter the ID of the recorder you wish to connect to. If you followed the instructions above, the ID will likely be 1.

Viewing a Camera
To view a camera, press a number button on the keyboard (this must be the camera channel number on the NVR), then press the CAM button. You can then view the camera you have chosen in full screen on the recorder.
Controlling a PTZ
To control a PTZ camera, select a number button on the keyboard (this must be the camera channel number on the NVR), then press the PTZ button. You will now have control over the camera.
